


Accessible summary
What this session covers
This intermediate session explains how to create a form that connects a clear information need with accessible participation and useful results. It covers choosing an appropriate format, writing clear questions, using sections and branching carefully, setting ownership and response controls, and reviewing results before using them in Excel or another output.
- starting with the decision and intended audience
- choosing between a form, survey, poll and quiz
- selecting question types that fit the information needed
- writing plain-language questions and answer options
- using required fields, sections and branching proportionately
- previewing the full experience on desktop and mobile
- setting ownership, permissions, timing and distribution routes
- reviewing summary and individual responses
- connecting response data to Excel when further analysis is needed
Making the session work for you
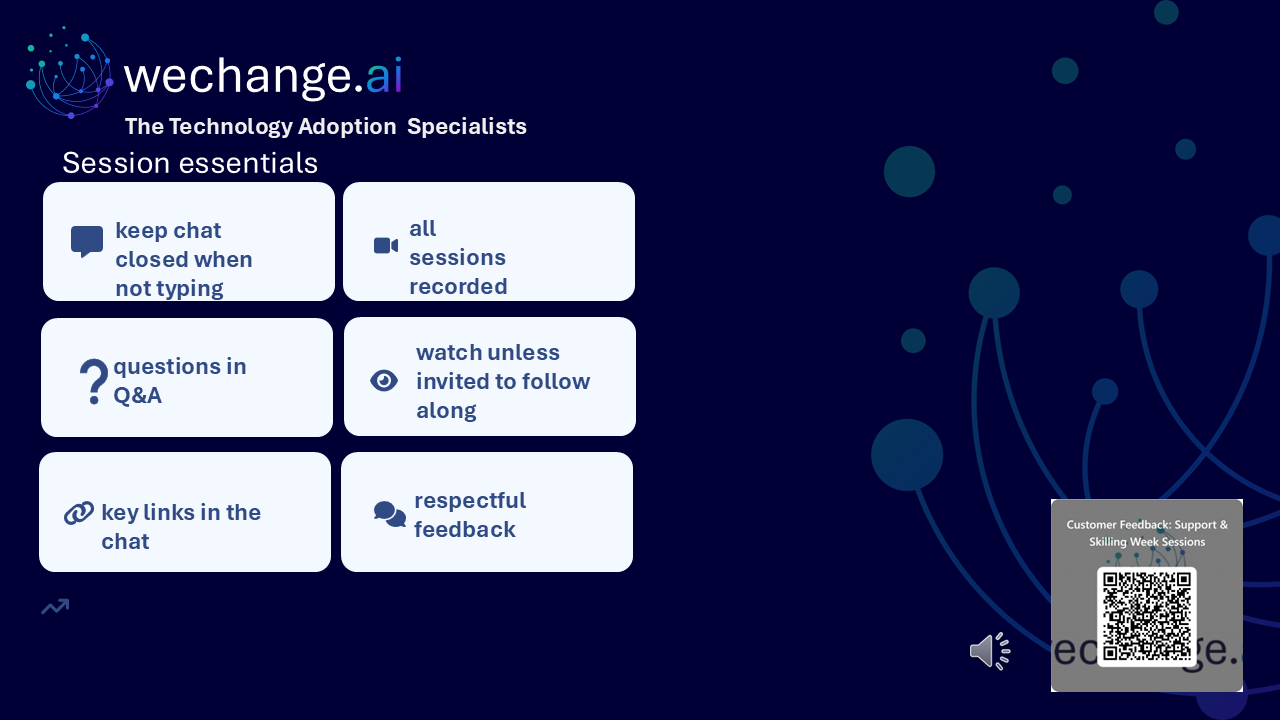
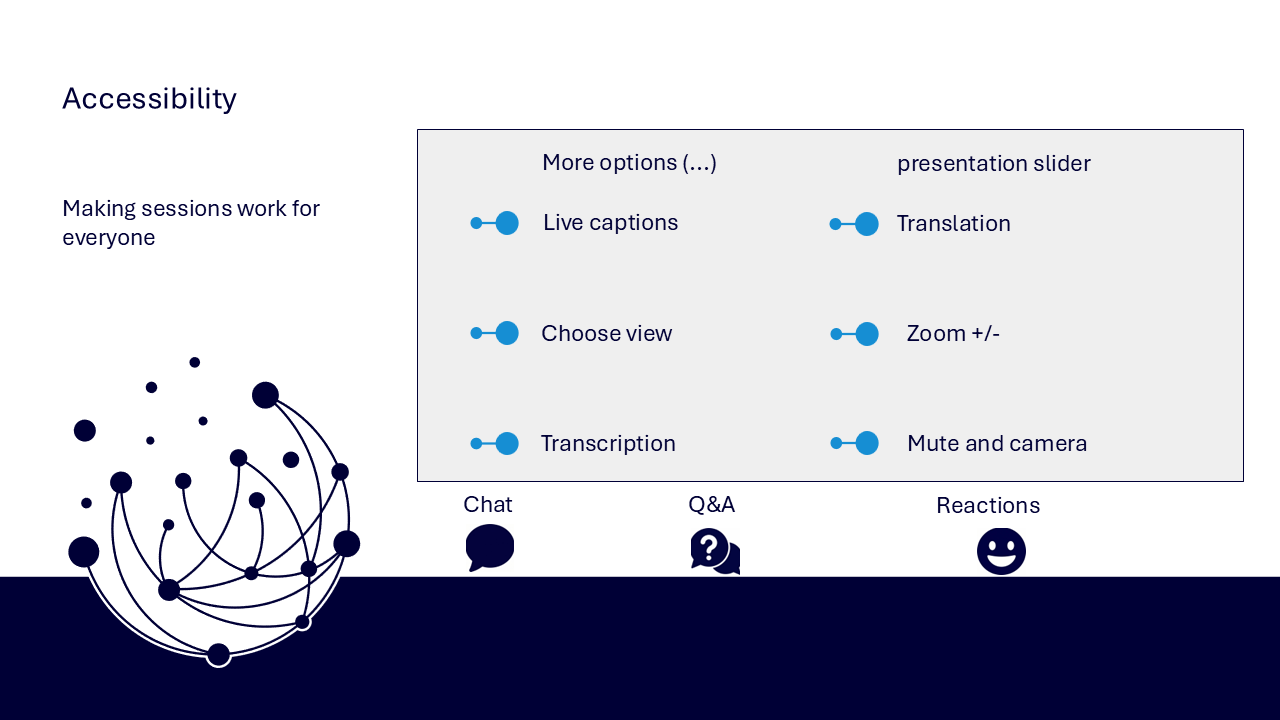
The session is delivered through a Microsoft Teams webinar using PowerPoint Live. You can personalise how you follow and take part. The session is recorded, and you can watch rather than follow along unless the trainer asks you to try something.
- use live captions or translation from the three-dots menu
- choose a view that gives you the clearest layout
- use the presentation slider to zoom in or out
- keep your camera and microphone off unless you are invited to use them
- use Q&A for questions and keep chat closed when you are not typing
- use reactions or another participation route if that works better for you
- share respectful feedback and use the key links provided in chat
Everyone can build confidence
These sessions are for everyone, whatever your starting point. The aim is to understand the full response journey rather than memorise every question type or setting.
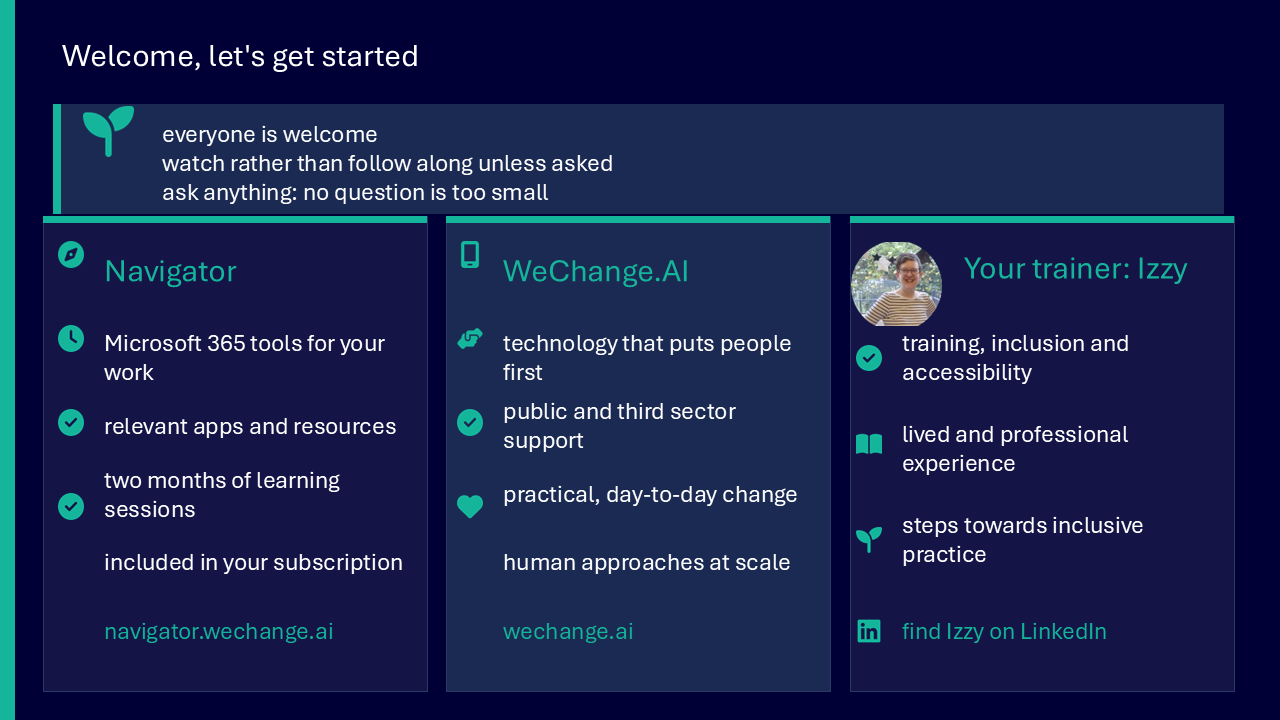
Navigator and WeChange.AI
Navigator is a personalised platform for WeChange.AI customers. It helps you find Microsoft 365 tools, resources and upcoming sessions relevant to your role.
WeChange.AI supports public and third sector organisations to use technology with confidence, purpose and impact. The focus is practical, people-centred change in day-to-day work.
Key concepts
The challenge
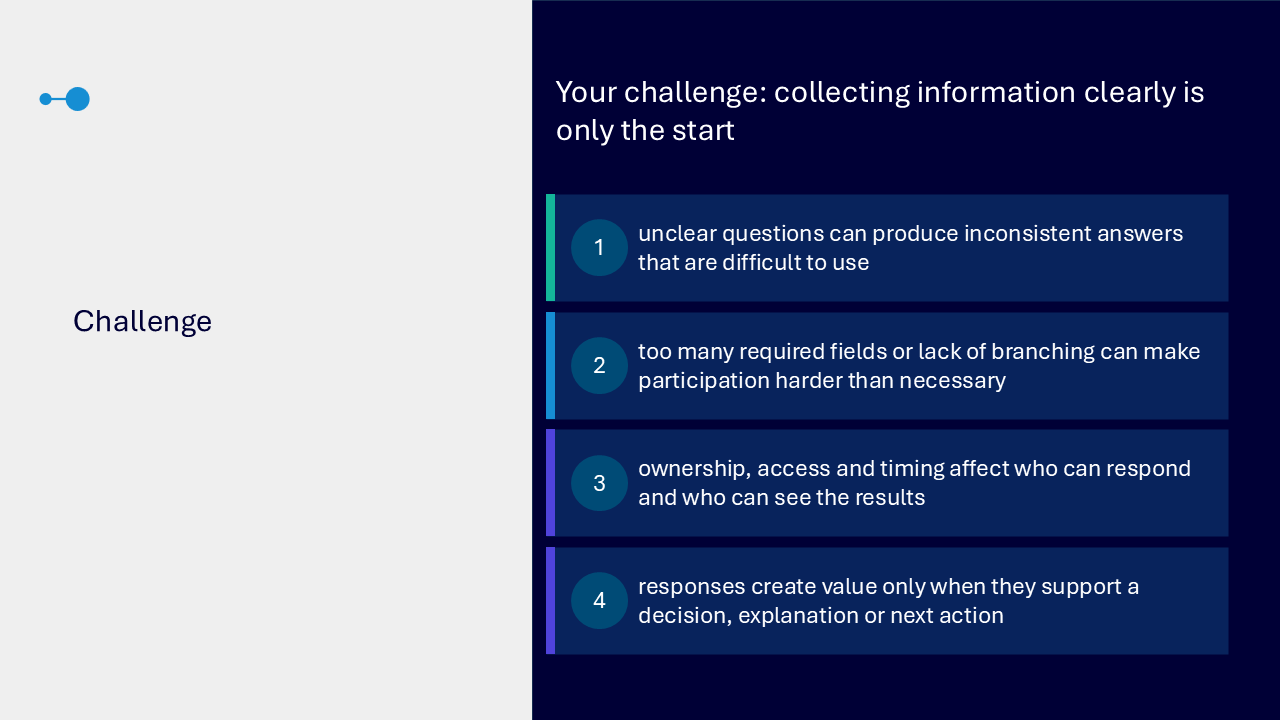
Collecting information clearly is only the start. Unclear questions can produce inconsistent answers. Too many required fields or missing branching can make participation harder. Ownership, access and timing affect who can respond and see results. Responses create value only when they support a decision, explanation or next action.
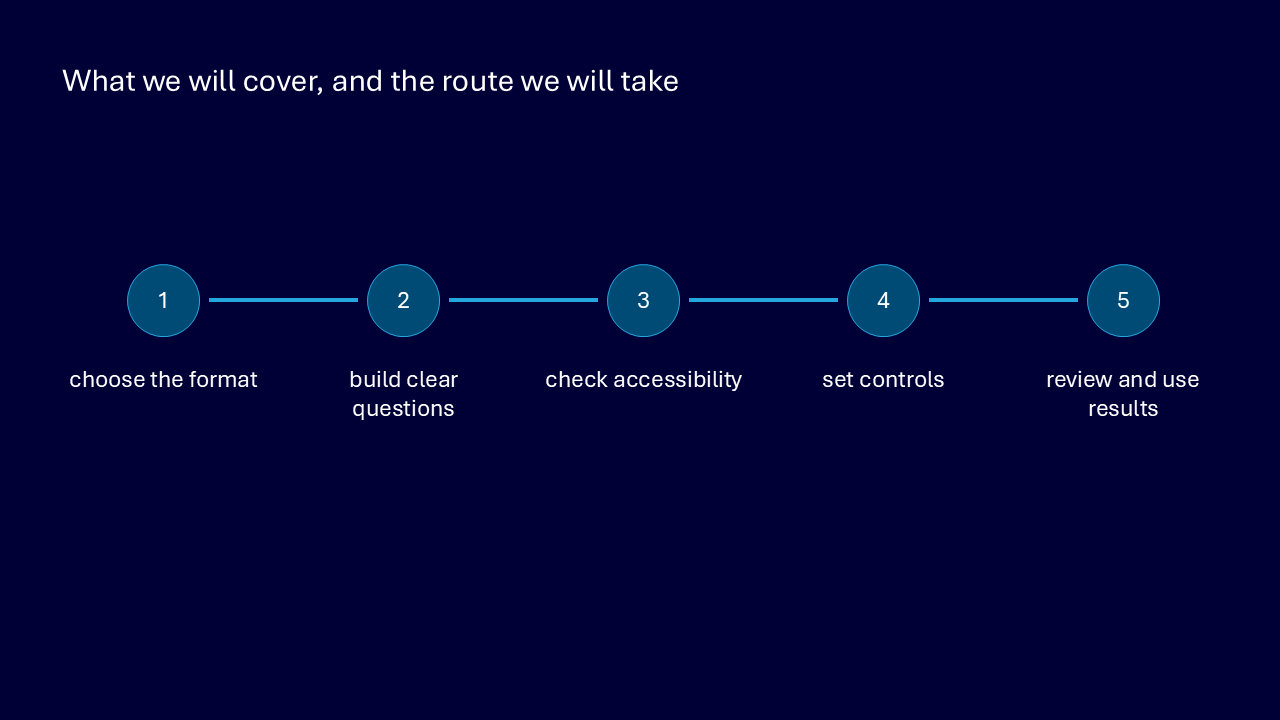
Your route through the session
- choose the format
- build clear questions
- check accessibility
- set controls
- review and use results
Start with the decision
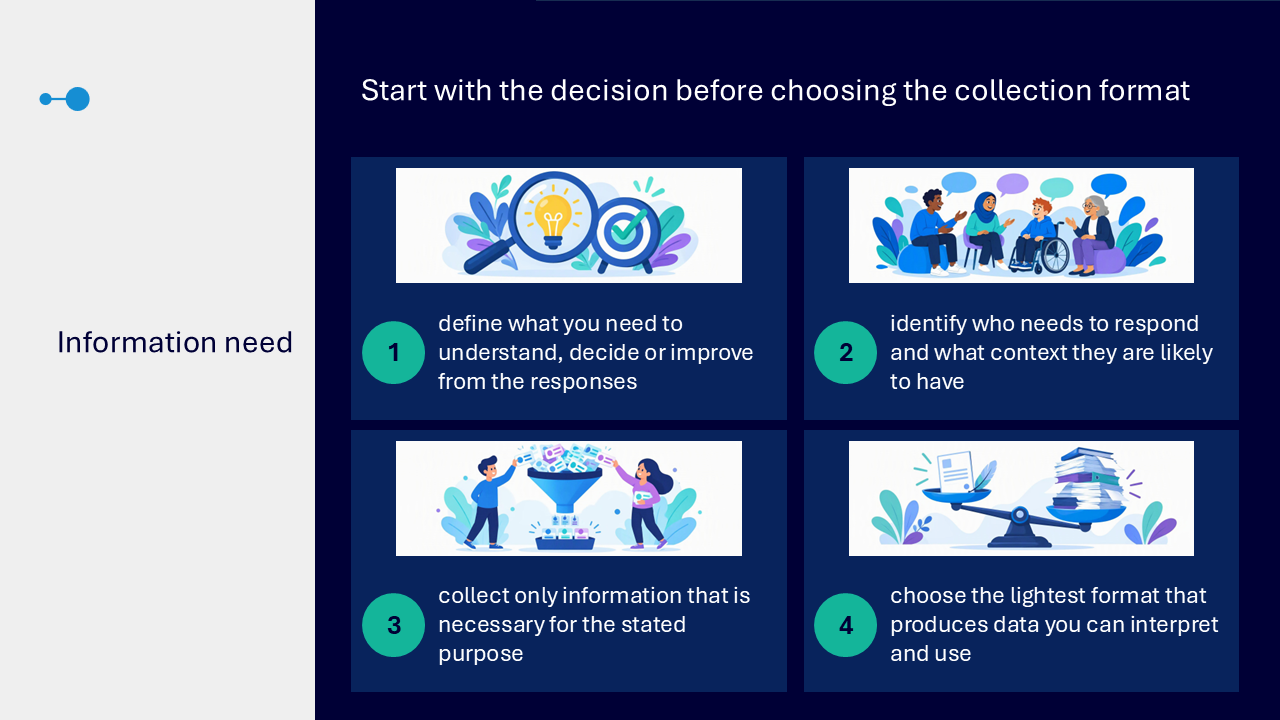
- define what you need to understand, decide or improve
- identify who needs to respond and what context they are likely to have
- collect only information necessary for the stated purpose
- choose the lightest format that produces data you can interpret and use
Choose the collection format
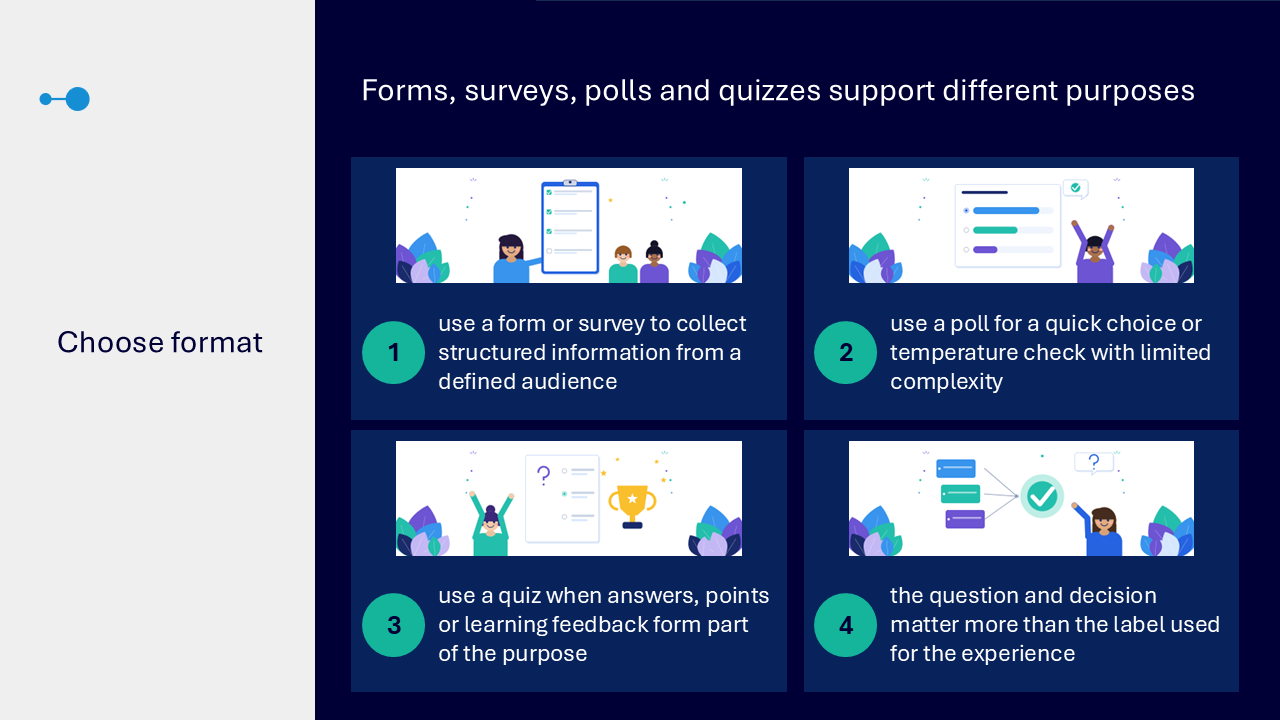
- form or survey: collect structured information from a defined audience
- poll: gather a quick choice or temperature check with limited complexity
- quiz: include answers, points or learning feedback where these support the purpose
- let the question and decision shape the experience rather than the label alone
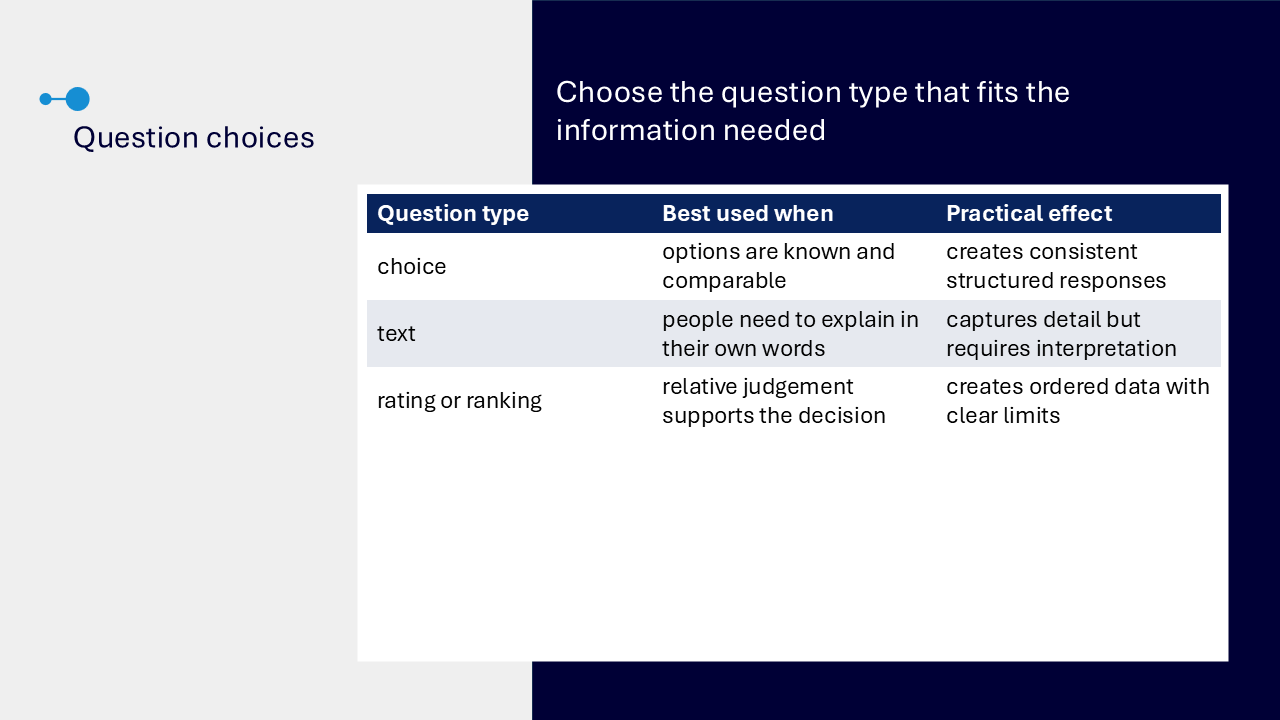
Choose the right question type
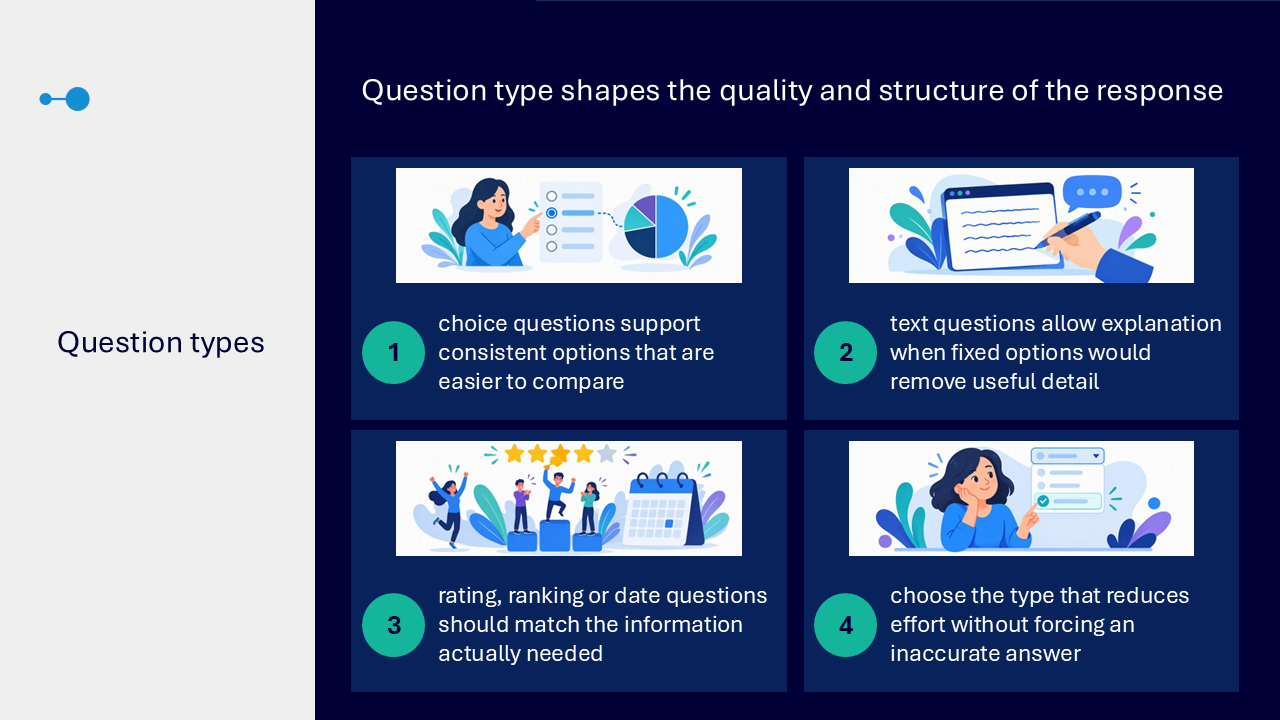
Question type affects both the effort required to respond and the structure of the resulting data.
- choice: use when the options are known and comparable
- text: use when people need to explain in their own words
- rating or ranking: use when relative judgement supports the decision
- date: use when a genuine date value is needed
- choose a type that reduces effort without forcing an inaccurate answer
Write plain-language questions
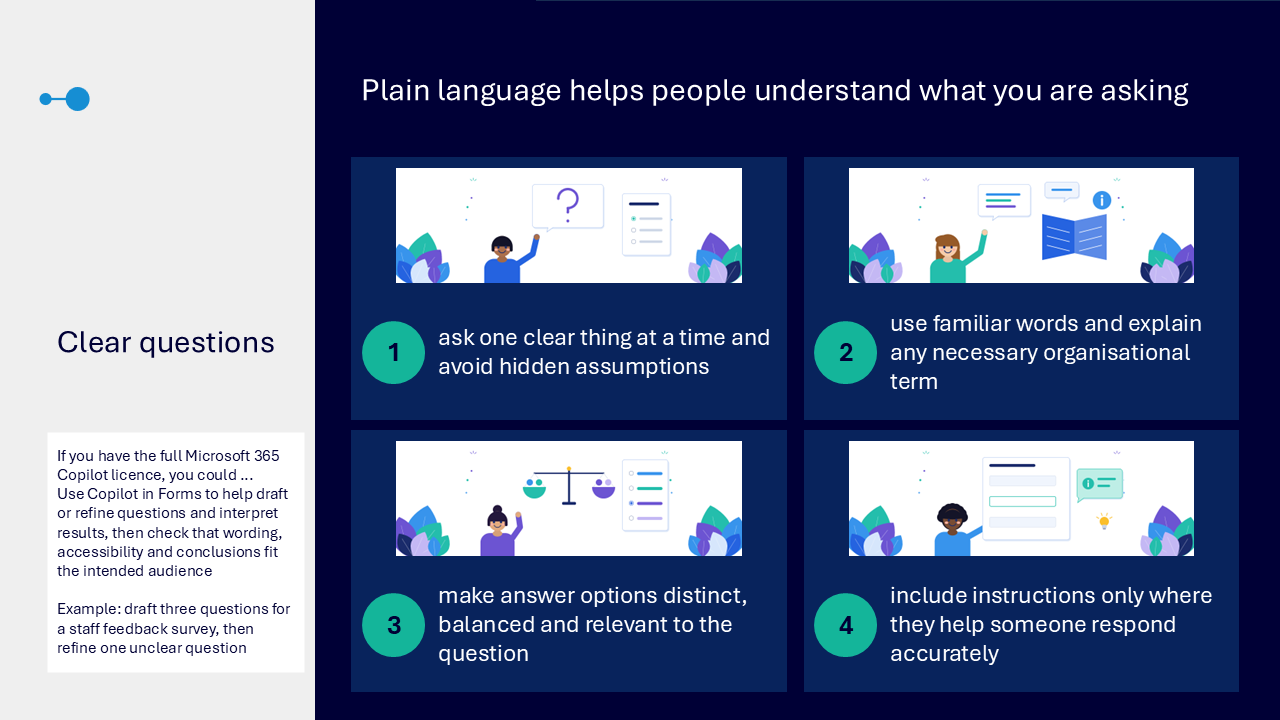
- ask one clear thing at a time
- avoid hidden assumptions
- use familiar words and explain necessary organisational terms
- make answer options distinct, balanced and relevant
- include instructions only when they help someone respond accurately
If you have the full Microsoft 365 Copilot licence, the deck describes using Copilot in Forms to draft or refine questions and interpret results. Wording, accessibility and conclusions still need checking against the audience and responses.
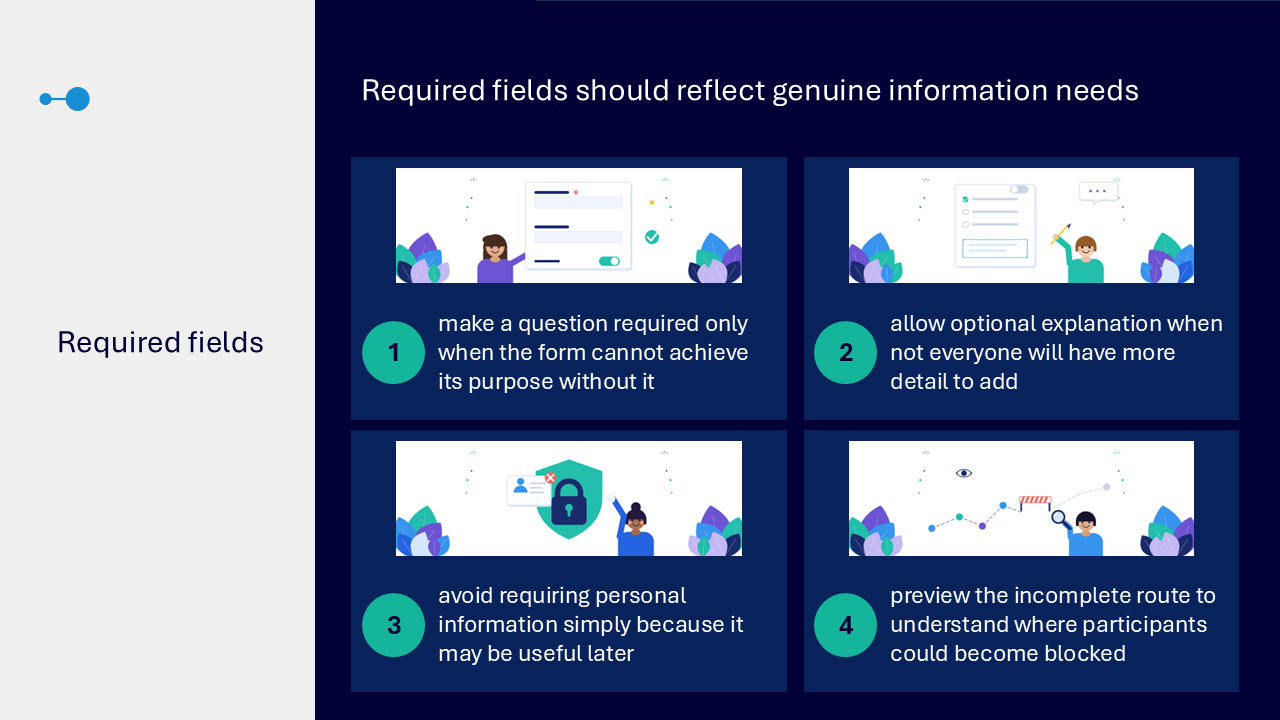
Use required fields carefully
- make a question required only when the form cannot achieve its purpose without it
- allow optional explanation when not everyone will have more detail
- avoid requiring personal information simply because it may be useful later
- preview an incomplete route to identify where participants may become blocked
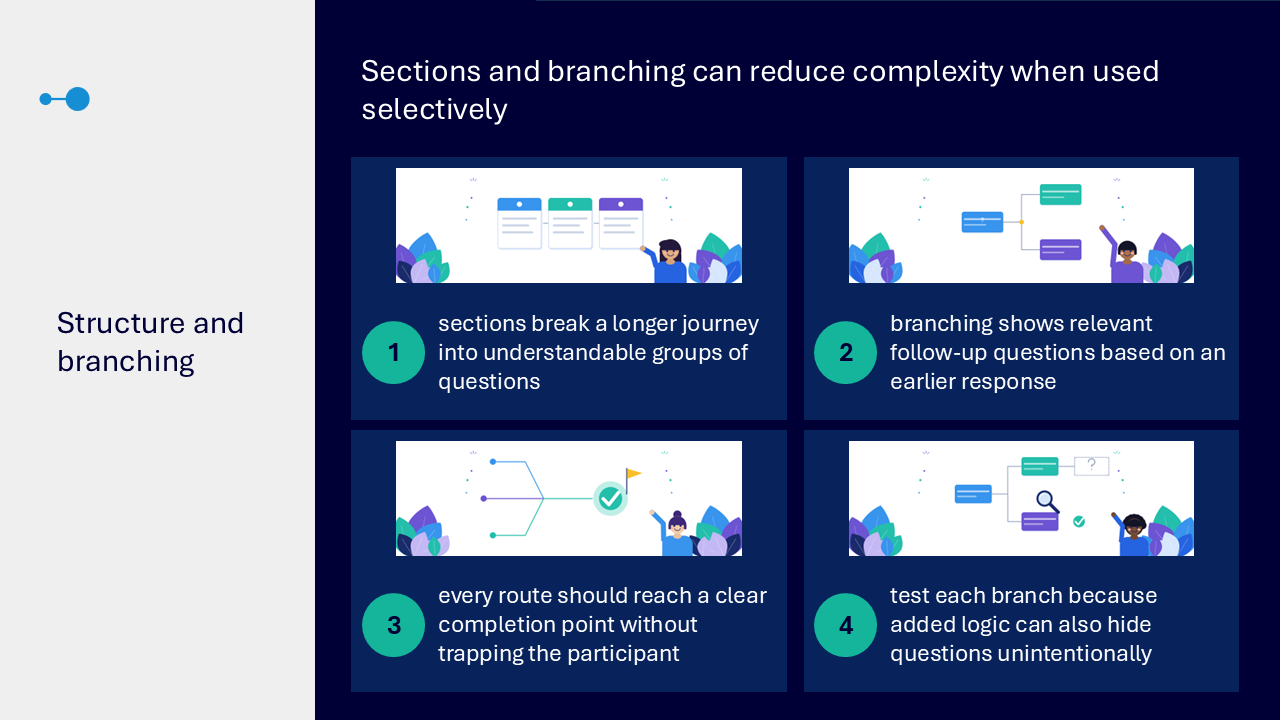
Use sections and branching selectively
- use sections to divide a longer journey into understandable groups
- use branching to show relevant follow-up questions based on an earlier answer
- ensure every route reaches a clear completion point
- test each branch because added logic can hide questions unintentionally
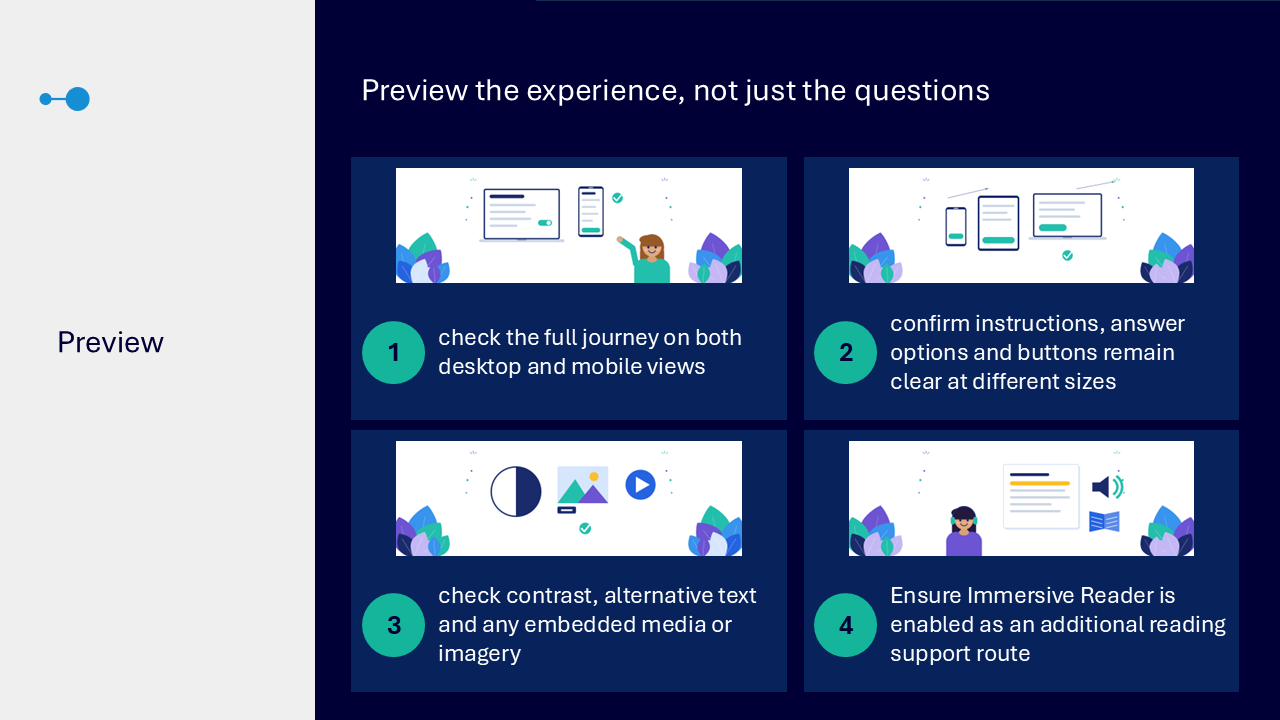
Preview the experience
Preview the form as a respondent rather than only checking the question editor.
- complete the full journey in desktop and mobile views
- test the main route and each branch
- check that instructions, answer options and buttons remain clear at different sizes
- check contrast, alternative text and embedded media or imagery
- ensure Immersive Reader is enabled as an additional reading route
Set ownership and response controls
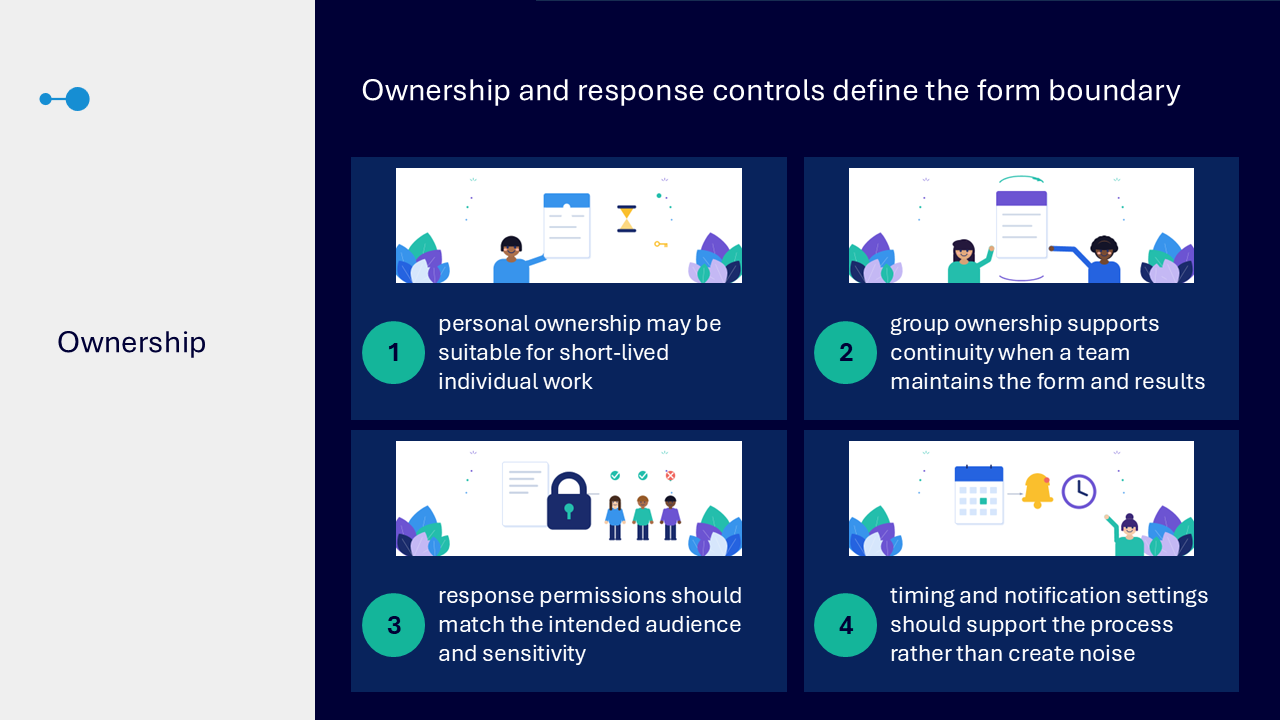
- use personal ownership for suitable short-lived individual work
- use group ownership when a team needs to maintain the form and results
- match response permissions to the intended audience and sensitivity
- set timing and notifications to support the process without creating noise
Choose a sharing route
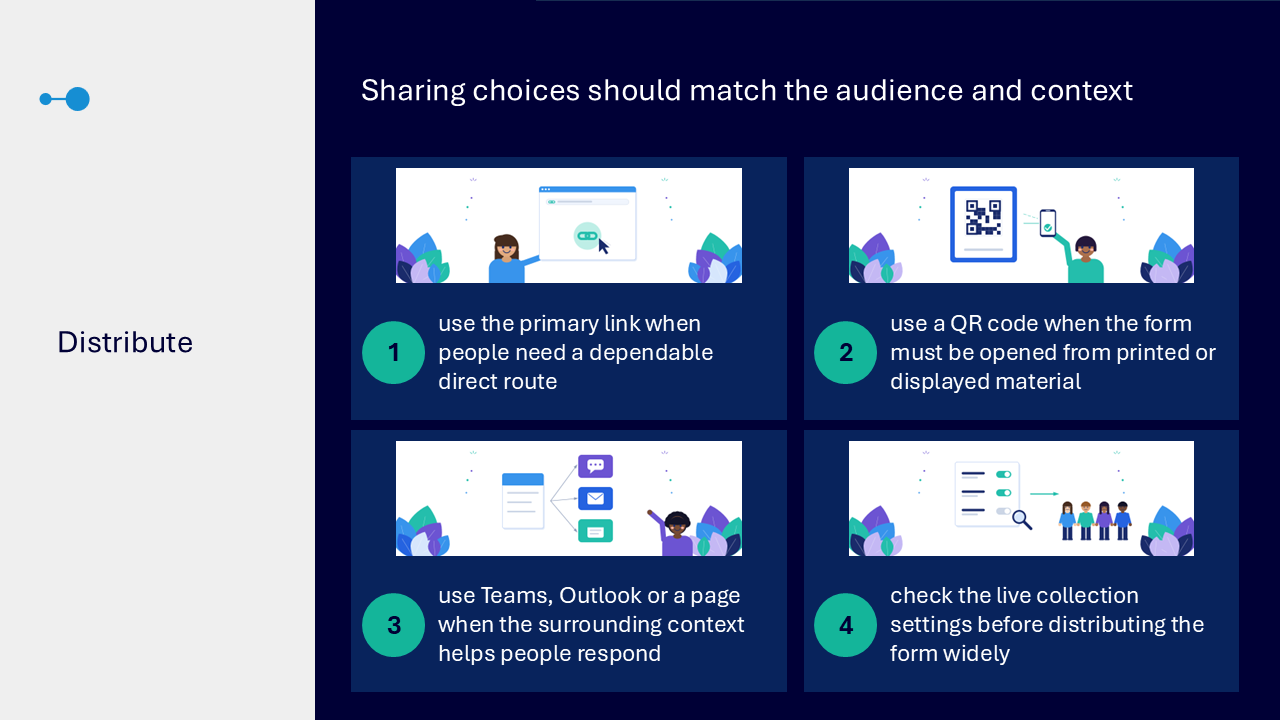
- use the primary link for a dependable direct route
- use a QR code for printed or displayed material
- use Teams, Outlook or a page when surrounding context helps people respond
- check live collection settings before distributing the form widely
Review results in context
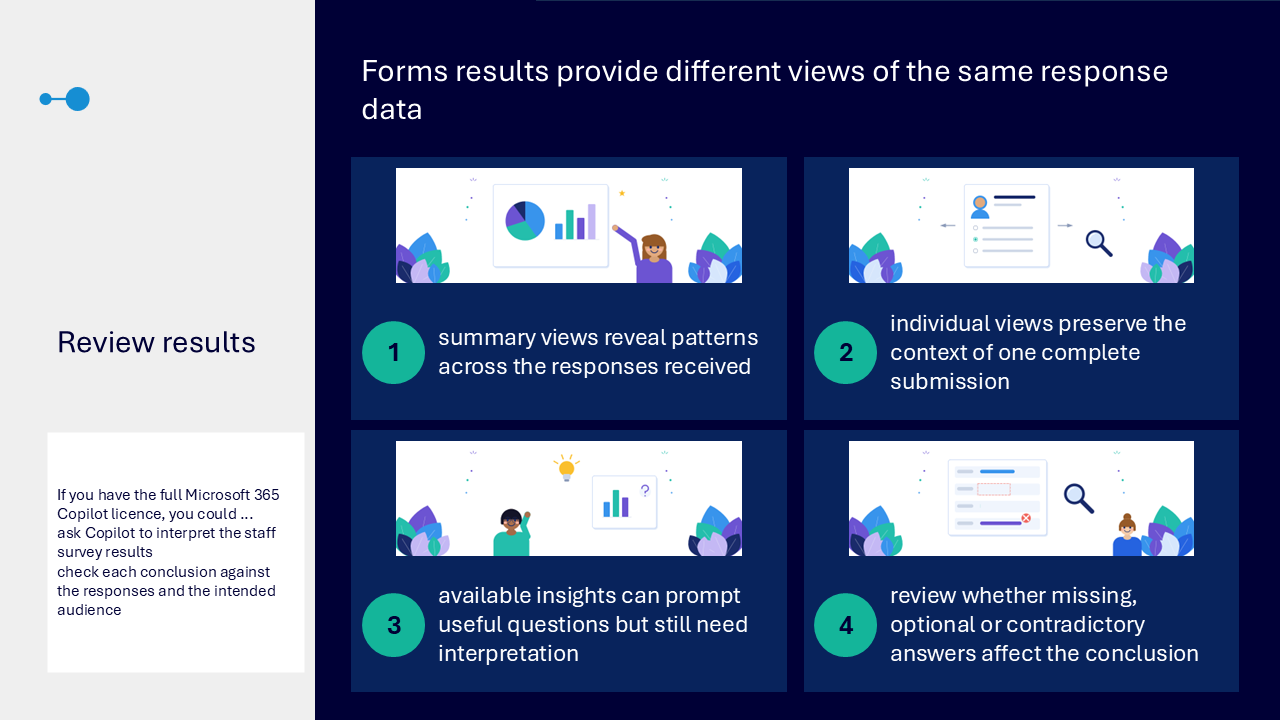
- use summary views to identify patterns across responses
- use individual views to retain the context of a complete submission
- treat available insights as prompts for interpretation rather than final conclusions
consider whether missing, optional or contradictory answers affect the conclusion
Ask Copilot to interpret staff survey results where the full Microsoft 365 Copilot licence is available. Each conclusion should be checked against the responses and intended audience.
Connect responses to Excel
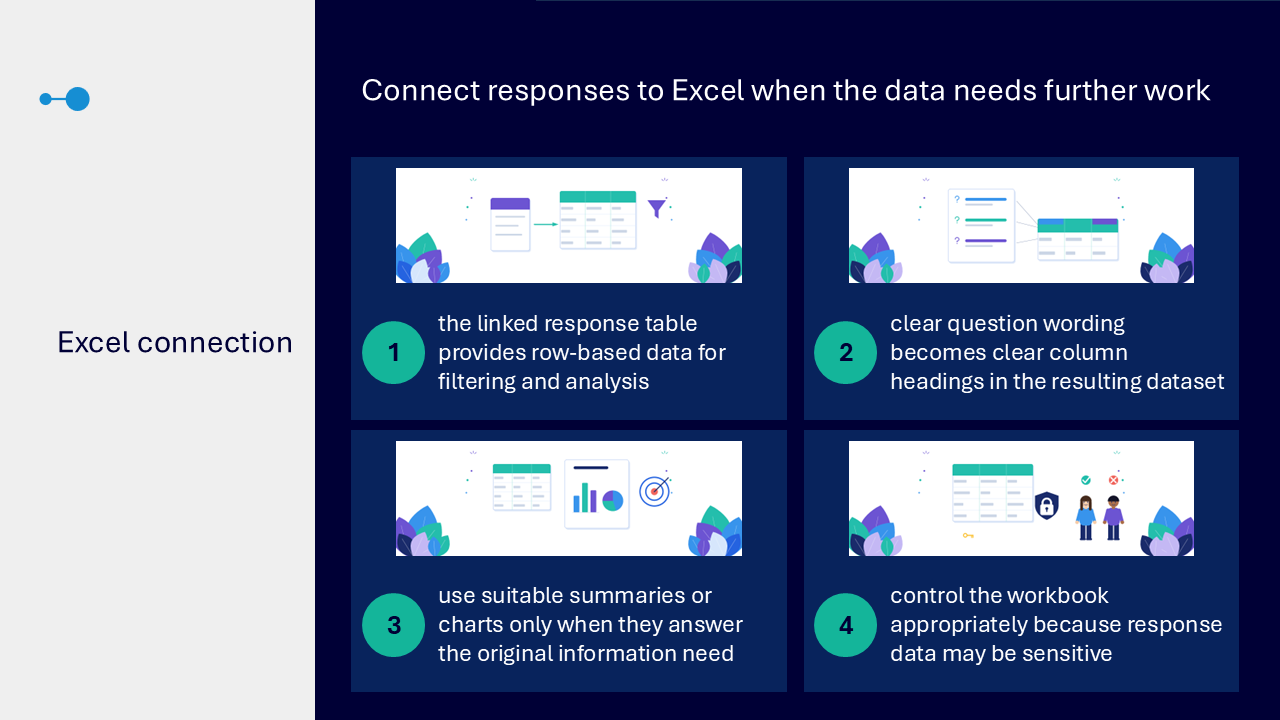
- use the linked response table for row-based filtering and analysis
- recognise that clear question wording becomes clear column headings
- use summaries or charts only where they answer the original information need
- control the workbook appropriately because response data may be sensitive
Turn responses into action
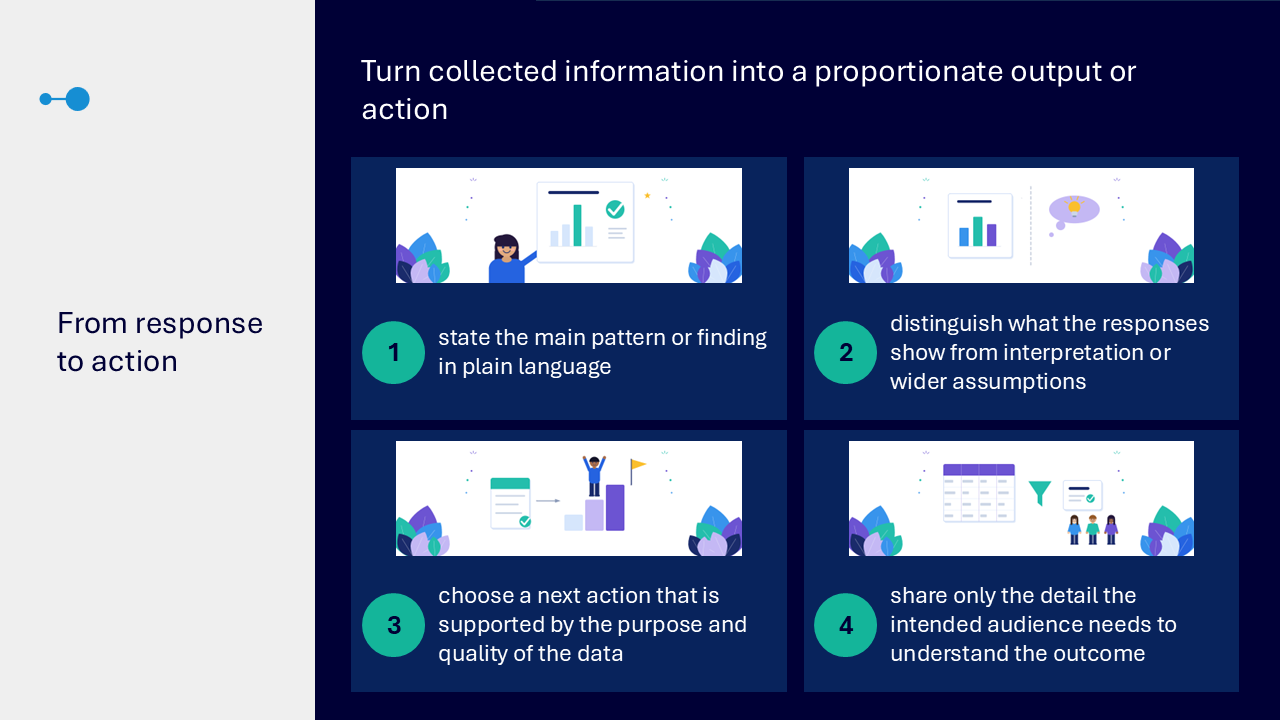
- state the main pattern or finding in plain language
- distinguish what the responses show from interpretation or wider assumptions
- choose a next action supported by the purpose and quality of the data
- share only the detail the intended audience needs
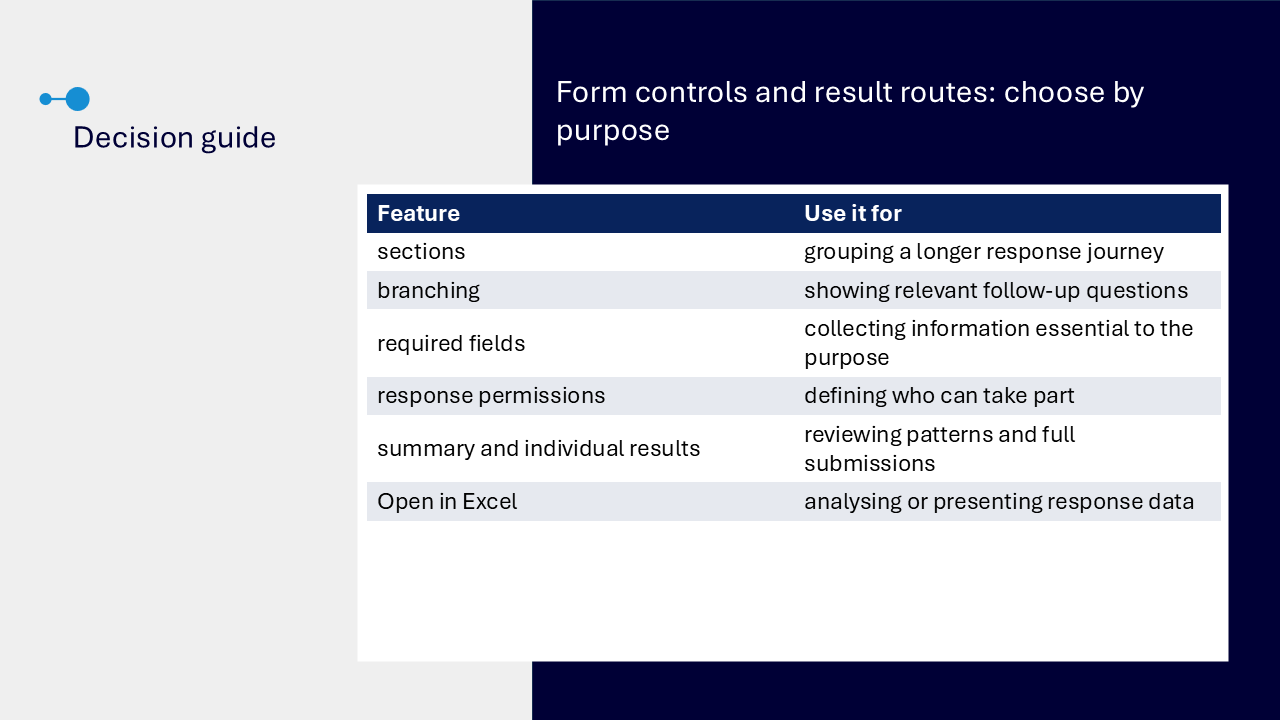
Choose controls and result routes by purpose
- sections: group a longer response journey
- branching: show relevant follow-up questions
- required fields: collect information essential to the purpose
- response permissions: define who can take part
- summary and individual results: review patterns and full submissions
- Open in Excel: analyse or present response data
What the visuals and demonstrations showed
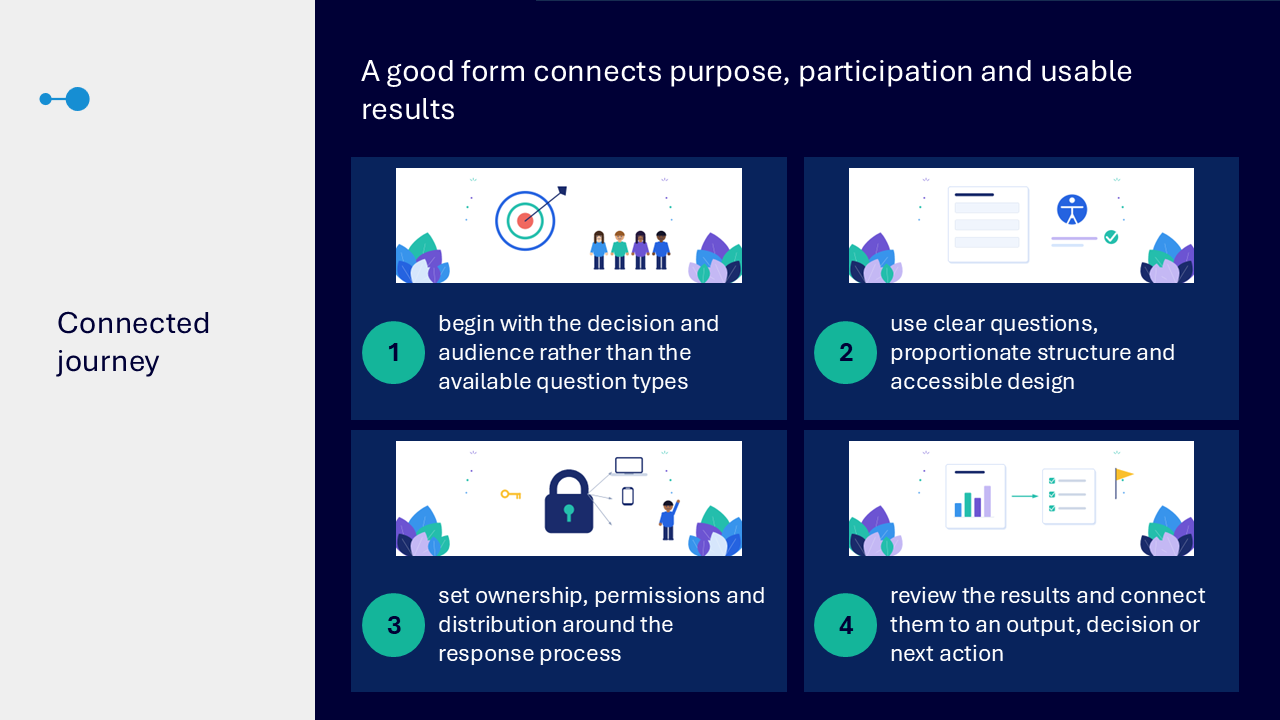
The visual sequence followed a survey from the original information need through question design, accessible participation, controls and use of the results.
- defining the decision and intended audience
- choosing between a form, survey, poll and quiz
- matching choice, text, rating, ranking or date questions to the need
- rewriting unclear wording in plain language
- reviewing whether each required field is essential
- building sections and testing every branch
- previewing the respondent experience on desktop and mobile
- checking contrast, alternative text, media and Immersive Reader
- choosing personal or group ownership
- matching response permissions and distribution to the audience
- reviewing summary and individual response views
- checking insights against the responses
- opening row-based response data in Excel
- stating a proportionate finding and next action
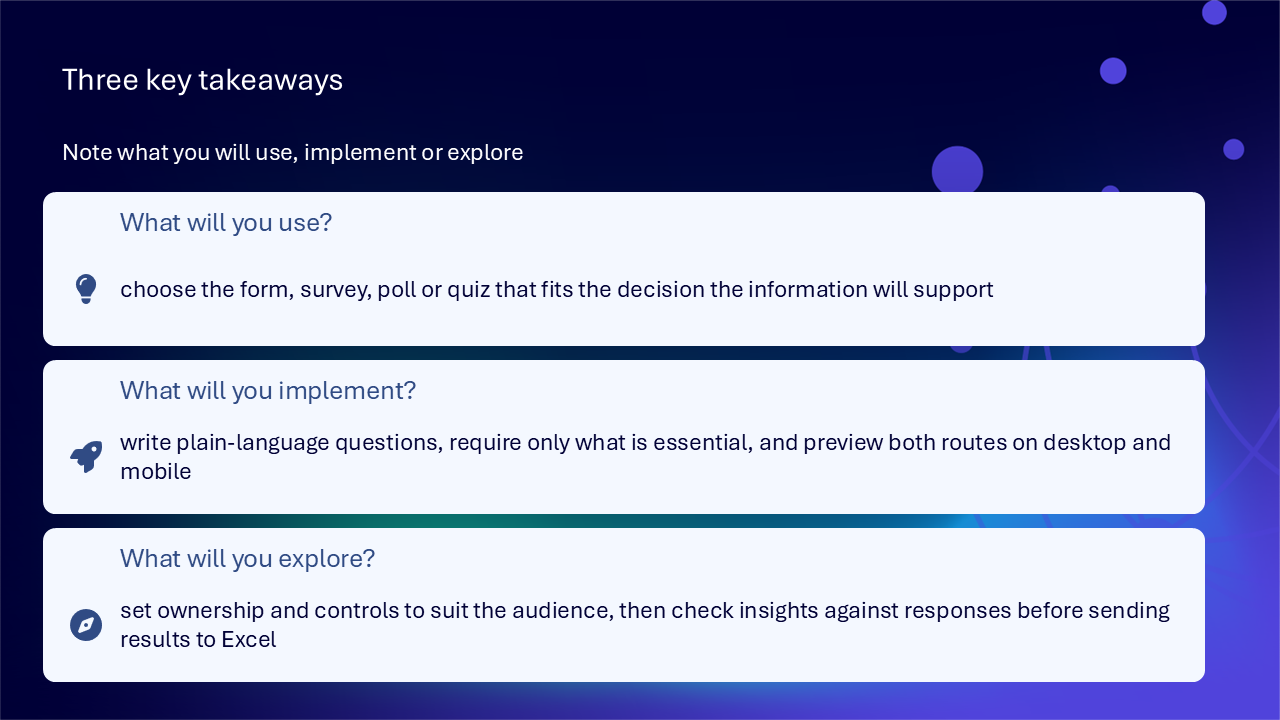
Key takeaways
- choose the form, survey, poll or quiz that fits the decision
- write plain-language questions and require only essential information
- use sections and branching only where they reduce effort
- preview every route on desktop and mobile
- match ownership and response controls to the audience
- check insights against the responses before sending results to Excel
- turn results into a proportionate output, decision or action
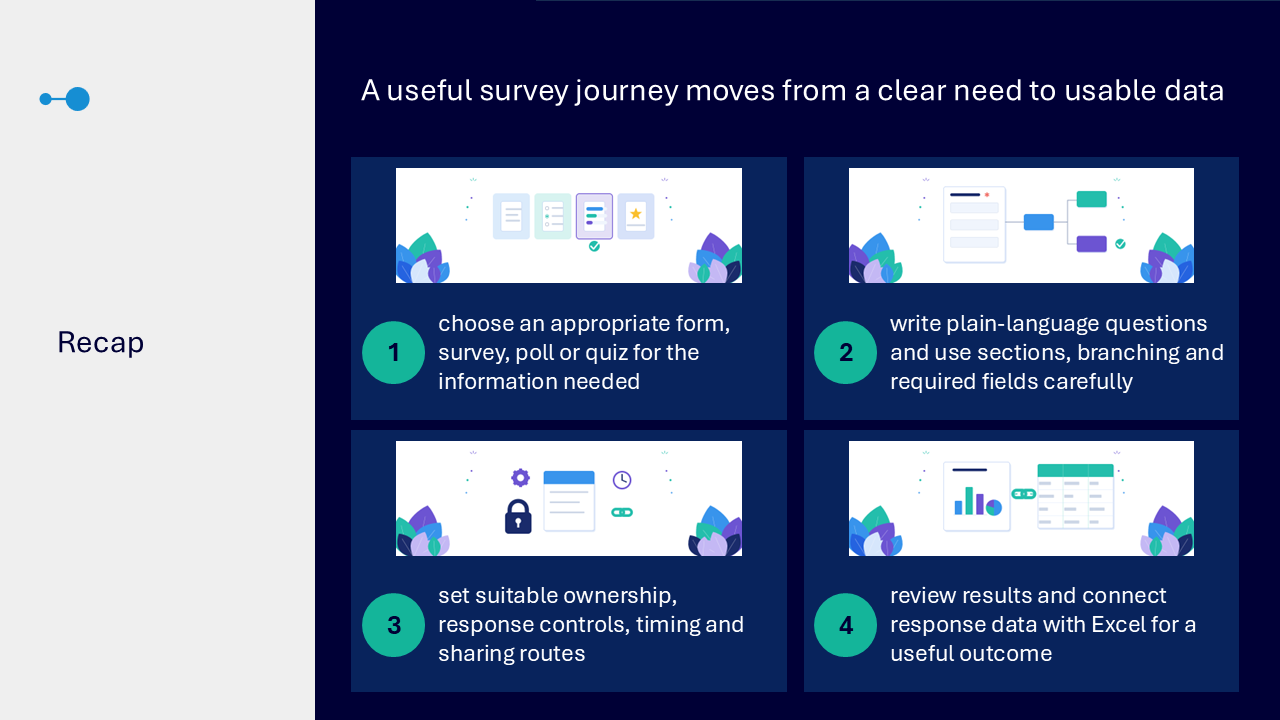
A useful survey journey
- define the need and audience
- choose the lightest appropriate format
- write clear questions using suitable response types
- use required fields, sections and branching carefully
- preview every route and accessibility option
- set ownership, permissions, timing and sharing routes
- review results in context
- use Excel only when further work supports the original need
Actions you can take
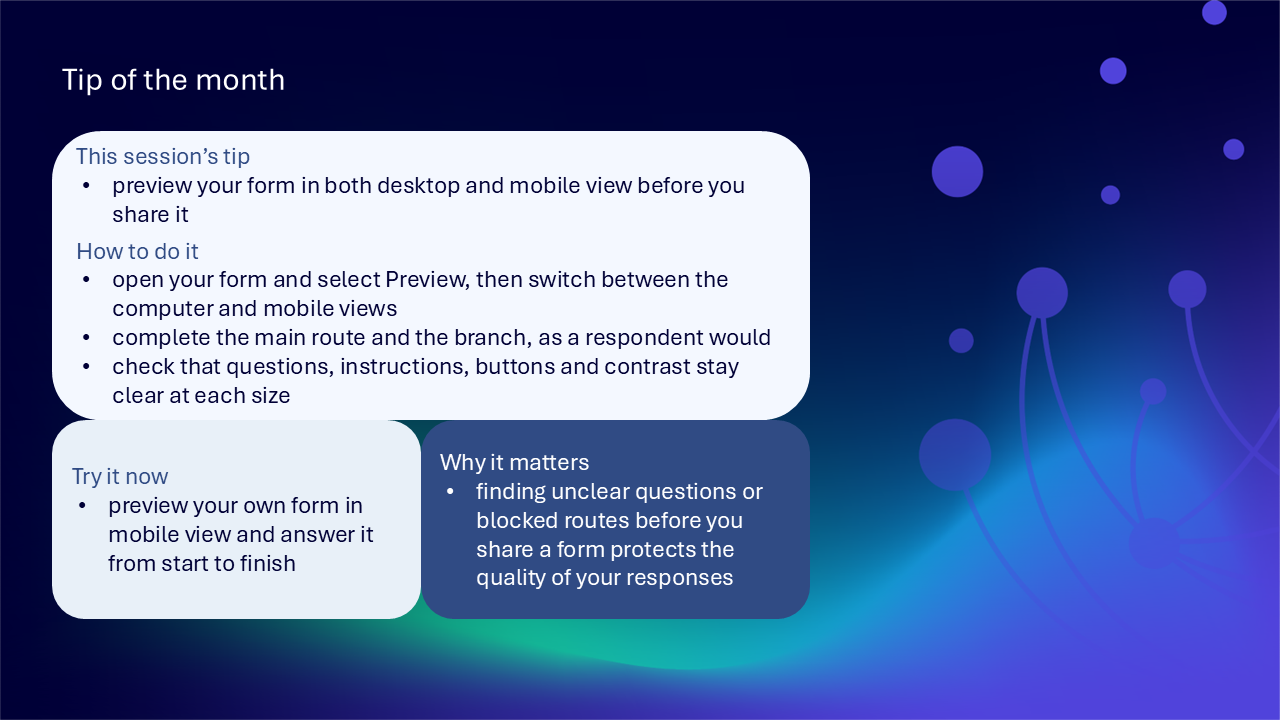
Try the tip of the month
This session’s tip: preview your form in desktop and mobile view before sharing
How to do it: select Preview, switch between computer and mobile views, complete the main route and each branch, and check questions, instructions, buttons and contrast at each size
Why it matters: finding unclear questions or blocked routes before sharing protects the quality of responses
Try it now: preview your own form in mobile view and answer it from start to finish
Build confidence with one practical route
- write the decision one form should support
- identify the intended respondents
- remove any information request that is not necessary
- check that each question asks one clear thing
- choose the response type that fits each information need
- make only essential questions required
- test all branches
- preview the full route on desktop and mobile
- review ownership and response permissions
- submit a test response and check both summary and individual views
Questions and feedback
Questions are welcome. If something is unclear, ask for it to be explained another way or demonstrated again. Feedback helps WeChange.AI understand what matters to you.
Complete the Support and Skilling Week feedback form
Contact WeChange.AI
For skilling queries, email training@wechange.ai.
Andrew Boxall, Managing Director: andrew@wechange.ai
Paul Ford, Industry Director for Education and Philanthropies: paul@wechange.ai
Josh Wilson, Industry Specialist: josh@wechange.ai
Elle Avilla, Customer Success and Delivery Skilling Lead: elle@wechange.ai
Izzy Pochin, Resources and Accessibility Lead: izzy@wechange.ai
Activity sheet
Follow one practical journey from defining the decision through to building accessible questions, setting controls, reviewing responses and choosing a proportionate next action.
How to use this activity sheet
This sheet supports Session 14: Microsoft Forms. Use it after the live session, or follow selected steps while your trainer demonstrates one survey from initial purpose through to results and Excel.
- work at your own pace and pause after each activity
- use a new practice form or non-sensitive fictional scenario
- collect only information needed for the stated purpose
- preview every route before sharing
- your available settings may vary by licence and organisational controls
What you will achieve
- define the decision and audience before choosing the collection format
- choose between a form, survey, poll and quiz by purpose
- match question types to the information needed
- write clear questions and balanced answer options
- use required fields, sections and branching proportionately
- preview desktop, mobile and branch routes
- set ownership, response permissions, timing and notifications
- choose a distribution route that fits the audience
- review summary and individual responses
- connect results to Excel when further analysis is needed
- separate response evidence from interpretation and wider assumptions
Your learning route
| Stage | You will practise |
|---|---|
| 1. Define the need | decision, audience and necessary information |
| 2. Choose the format | form, survey, poll or quiz |
| 3. Build questions | type, wording, options and required fields |
| 4. Shape the route | sections and branching |
| 5. Preview access | desktop, mobile and participant journeys |
| 6. Set controls | ownership, permissions, timing and notifications |
| 7. Share | link, QR code, Teams, Outlook or page |
| 8. Use results | summary, individual responses, Excel and action |
Before you start
- sign in to Microsoft Forms with your organisational account
- choose a fictional or non-sensitive information need
- decide who the intended respondents are
- prepare no more than six practice questions
- avoid collecting personal or sensitive information unless it is essential and authorised
- allow about 45 to 60 minutes, or complete one activity at a time
Notice: some settings and features vary by licence and organisational configuration. Complete only activities available and authorised in your environment.
Activity 1: Start with the decision
Outcome: Define what the responses must help somebody understand, decide or improve.
- Name the intended decision-maker or user of the results.
- Write what they need to understand, decide or improve.
- Identify who needs to respond and what context they are likely to have.
- List only the information necessary for the purpose.
- Write what a useful result would look like.
| Planning question | Your answer |
|---|---|
| Who will use the results? | |
| What must they understand or decide? | |
| Who needs to respond? | |
| What information is essential? | |
| What would a useful result look like? |
Pause and check
Activity 2: Choose the lightest collection format
Outcome: Match the format to the information and decision rather than the label alone.
| Format | Useful when | Practice decision |
|---|---|---|
| form or survey | structured information is needed from a defined audience | |
| poll | a quick choice or temperature check needs limited complexity | |
| quiz | answers, points or learning feedback form part of the purpose |
- Review the information need.
- Decide whether you need structured responses, a quick choice or learning feedback.
- Choose the lightest format that produces usable data.
- Record why a simpler or more complex option would be less suitable.
The format I chose: ____________________________________________________________________
My reason: ____________________________________________________________________
Pause and check
Activity 3: Choose suitable question types
Outcome: Reduce respondent effort without forcing an inaccurate answer.
| Question type | Best used when | Trade-off to consider |
|---|---|---|
| choice | options are known and comparable | options must be distinct and complete enough |
| text | people need to explain in their own words | responses require interpretation |
| rating or ranking | relative judgement supports the decision | the scale and limits must be clear |
| date | a genuine date is needed | do not request timing unless it serves the purpose |
- Draft one choice question.
- Draft one text question only where explanation is useful.
- Add a rating, ranking or date question only if it supports the decision.
- Check that no question type forces an inaccurate response.
The question type I changed: ____________________________________________________________________
Why the new type fits better: ____________________________________________________________________
Pause and check
Activity 4: Write clear questions and answer options
Outcome: Ask one clear thing at a time using familiar, neutral wording.
- Read each question aloud.
- Split any question that asks two things at once.
- Remove hidden assumptions.
- Replace unfamiliar wording or explain an unavoidable organisational term.
- Make answer options distinct, balanced and relevant.
- Add instructions only where they help somebody respond accurately.
| Review check | Original wording | Improved wording |
|---|---|---|
| one thing at a time | ||
| familiar or explained terms | ||
| neutral wording | ||
| distinct answer options |
Notice: If Copilot in Forms is available, treat suggested questions or interpretations as a draft. Check wording, accessibility and conclusions against the intended audience and actual responses.
Pause and check
Activity 5: Use required fields proportionately
Outcome: Require a response only when the form cannot achieve its purpose without it.
- Review each question currently marked Required.
- Ask whether the form can still achieve its purpose without that answer.
- Make non-essential questions optional.
- Allow optional explanation where not everyone will have detail to add.
- Avoid requiring personal information because it might be useful later.
- Preview the route with an optional question unanswered.
| Question | Required or optional | Reason |
|---|---|---|
Pause and check
Activity 6: Use sections and branching selectively
Outcome: Reduce complexity while ensuring every participant can reach a clear completion point.
- Group related questions into sections when the journey is longer.
- Choose one answer that needs a relevant follow-up question.
- Create the branch.
- Check where every response option leads.
- Complete the main route.
- Complete the branch route.
- Correct any hidden question or route that does not reach completion.
| Route | Starting answer | Following question or section | Completion reached |
|---|---|---|---|
| main route | |||
| branch route |
Pause and check
Activity 7: Preview the complete experience
Outcome: Check the form as a respondent on desktop and mobile views.
- Open Preview.
- Complete the main route in desktop view.
- Complete the branch route in desktop view.
- Switch to mobile view.
- Complete the journey again.
- Check questions, instructions, answer options and buttons.
- Check contrast, alternative text and any media or imagery.
- Confirm any available Immersive Reader route is enabled or visible.
| Preview check | Desktop finding | Mobile finding | Action |
|---|---|---|---|
| question clarity | |||
| answer options | |||
| buttons and completion | |||
| contrast and imagery | |||
| branch route |
Pause and check
Activity 8: Set ownership and response controls
Outcome: Match continuity, audience access and timing to the response process.
| Control | Your decision | Reason |
|---|---|---|
| personal or group ownership | ||
| who can respond | ||
| start or end timing, if needed | ||
| notifications | ||
| who can access results |
- Decide whether personal ownership is suitable for short-lived individual work.
- Use group ownership where a team needs longer-term continuity – you can add the Form to the group retrospectively but it’s better to create it in the Team to start with.
- Set response permissions to match the intended audience and sensitivity.
- Use timing only where the process needs it.
- Use notifications only where they support the process.
- Review the full boundary before sharing.
Pause and check
Activity 9: Choose an appropriate sharing route
Outcome: Provide a dependable route with enough surrounding context for people to respond.
| Sharing route | Useful when |
|---|---|
| primary link | people need a dependable direct route |
| QR code | the form must be opened from printed or displayed material |
| Teams, Outlook or a page | surrounding context helps people respond |
- Check that the live response settings are correct.
- Choose the route that fits the audience and context.
- Write a short invitation stating purpose, expected effort and any closing point.
- Test the link or QR code.
- Share only if authorised, otherwise keep the route as a practice plan.
The sharing route: ____________________________________________________________________
The context respondents need: ____________________________________________________________________
The test I completed: ____________________________________________________________________
Pause and check
Activity 10: Review results in context
Outcome: Use summary and individual views without overstating what the responses show.
- Open the Responses area after using safe practice submissions.
- Review the summary view for an overall pattern.
- Open an individual response to preserve the context of one submission.
- Check missing, optional or contradictory answers.
- Distinguish what the responses show from your interpretation.
- Record one question the data cannot answer.
| Results check | Your finding |
|---|---|
| summary pattern | |
| individual context | |
| missing or optional responses | |
| contradictory response | |
| interpretation | |
| unanswered question |
Pause and check
Activity 11: Connect responses to Excel
Outcome: Use row-based response data for further work only when it serves the original information need.
- Open the response data in Excel using the available Forms route.
- Check that question wording has produced understandable column headings.
- Identify one field suitable for filtering or analysis.
- Use a summary or chart only if it answers the original need.
- Check the result against the Forms responses.
- Control the workbook appropriately because response data may be sensitive.
| Excel check | Your note |
|---|---|
| clear column headings | |
| field used for filtering or analysis | |
| summary or chart purpose | |
| check against responses | |
| workbook access and ownership |
Pause and check
Activity 12: Turn responses into a proportionate action
Outcome: State a finding plainly and choose a next step supported by the purpose and quality of the data.
- Write the main pattern or finding in plain language.
- State the scope of the responses.
- Separate direct evidence from interpretation or wider assumptions.
- Record an important limitation.
- Choose a next action supported by the evidence.
- Share only the detail the intended audience needs.
| Outcome element | Your wording |
|---|---|
| main finding | |
| scope | |
| interpretation | |
| limitation | |
| next action | |
| audience detail needed |
Pause and check
Put it into practice: create a useful staff feedback survey
Scenario
A service team wants feedback about a new process. They need comparable responses, space for optional explanation and a clear decision about what to improve next.
- define the decision and intended respondents
- choose a survey or form rather than a poll or quiz
- use choice questions for comparable information
- use one optional text question for explanation
- require only information essential to the purpose
- add a branch only where a follow-up is relevant
- preview every route on desktop and mobile
- choose ownership and response permissions for continuity and sensitivity
- share through a route that provides useful context
- review summary and individual responses
- use Excel only for further analysis that answers the original question
- state the finding, limitation and next action separately
The decision: ____________________________________________________________________
The respondent group: ____________________________________________________________________
The question and branch structure: ____________________________________________________________________
The controls and sharing route: ____________________________________________________________________
The finding, limitation and action: ____________________________________________________________________
Quick reference: choose the Forms feature
| If you need to… | Try… |
|---|---|
| collect structured information | a form or survey |
| ask a quick simple choice | a poll |
| include answers, points or learning feedback | a quiz |
| create comparable responses | choice questions |
| allow explanation | an optional text question |
| group a longer journey | sections |
| show relevant follow-up questions | branching |
| collect essential information | required fields used selectively |
| define who can take part | response permissions |
| check the respondent journey | desktop and mobile Preview |
| review patterns and full submissions | summary and individual results |
| analyse row-based response data | Open in Excel, with appropriate controls |
Your three takeaways
My most useful learning: ____________________________________________________________________
What I will implement: ____________________________________________________________________
What I will explore further: ____________________________________________________________________
If you need help
- name the form, question, branch, setting or results view involved
- describe whether you were designing, previewing, sharing or reviewing responses
- note the exact wording of any message or unexpected route
- ask your local support route about group ownership, permissions, licences or unavailable features
- protect response data and avoid sharing screenshots containing personal, confidential or sensitive information
Confidence grows through a repeatable survey journey: define the decision, ask only what is needed, test every route, set the right boundary and use the responses proportionately.
Reflective journal
Why we ask you to reflect
Continuing Professional Development (CPD) is formative and it is about what it achieves for you and your organisation.
Instead of formally assessing your learning, we ask you to write a reflective note. This should reflect on how the learning was relevant and how it will impact your working practices.
Taking time to reflect on your learning makes it more likely you will embed it in your future practice.
What to cover and when
What your reflection should cover
- how the learning was relevant to you
- how the learning will impact your practice
When to complete it
Reflect as soon as possible following the skilling session. This keeps your note contemporaneous (written close to the time) and meaningful. Fill it in on your device, so the boxes expand as you type.
| Topic | What to know |
|---|---|
| Timing | Complete the note as soon as possible after the training event. |
| Purpose | To embed the learning within your subsequent practice. |
| Focus | How the learning was relevant and how it will impact your practice. |
Your reflective note
Complete each row below. Write in your own words. Your notes are private to you unless you choose to share them.
| Prompt | Your response |
|---|---|
| Skilling session title | |
| Date of the skilling session | |
| Date you completed this note | |
| How was the learning relevant to you and your work? | |
| How will the learning impact your practice? |
Recommended resources
These curated resources accompany the WeChange.AI skilling offer of Continuing Professional Development (CPD) accredited, and non-accredited, sessions. Use them before a session to build familiarity, or afterwards to revisit and apply the learning in day-to-day work.
Alongside these resources, Navigator helps WeChange.AI customers find personalised recommendations and available learning on Microsoft 365 tools, accessibility and AI relevant to their role. Returning to Navigator after a session can help you connect new knowledge with practical workplace needs, choose a useful next step and keep learning visible as confidence grows.
The Forms support hub, with guidance on collecting information and working with the results. A useful bookmark for looking up a feature later.
Shows how to build and distribute forms. A good place to start before you add sections or branching.
Explains how to send respondents to different questions depending on their answers. It notes that you can only branch forward to a later question, so plan your question order first.
Explains how Immersive Reader reads form content aloud to support comprehension. Helpful to know about when you ask other people to complete a form.
Explains how to set alerts for response counts, timings and key events. It helps you hear about responses at the right moment without checking constantly.
Explains the response summary and individual results, and how to open responses in an Excel workbook for deeper analysis. It also covers deleting, printing or sharing a summary link.
Explains how to collect structured information in Forms and have it flow into Excel through Power Automate. A next step once you are comfortable reviewing results by hand.