


Accessible summary
What this session covers
This foundational session explains how to create Word documents that are clear, structured, accessible and easier to review. It starts with audience and purpose, then uses Word features to organise, navigate, update, collaborate on and check the document before sharing.
- starting with the audience, purpose and required action
- using built-in heading styles and list commands for genuine structure
- navigating and reorganising longer documents
- making controlled updates with Find and Replace
- using templates, links and references consistently
- choosing comments or Track Changes for different review needs
- using Editor, Accessibility Checker and human judgement before sharing
Making the session work for you
The session is delivered through a Microsoft Teams webinar using PowerPoint Live. You can personalise how you follow and take part. The session is recorded, and you can watch rather than follow along unless the trainer asks you to try something.
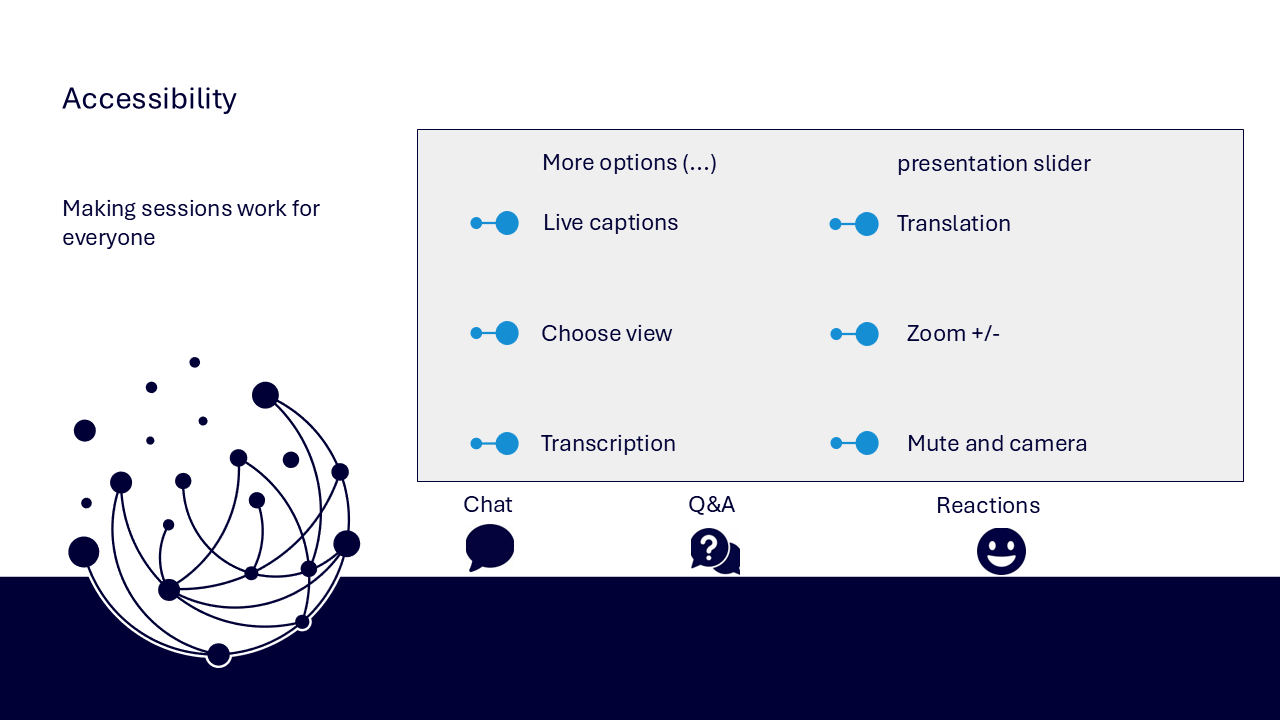
- use live captions or translation from the three-dots menu
- choose a view that gives you the clearest layout
- use the presentation slider to zoom in or out
- keep your camera and microphone off unless you are invited to use them
- use Q&A for questions and keep chat closed when you are not typing
- use reactions or another participation route if that works better for you
- share respectful feedback and use the key links provided in chat
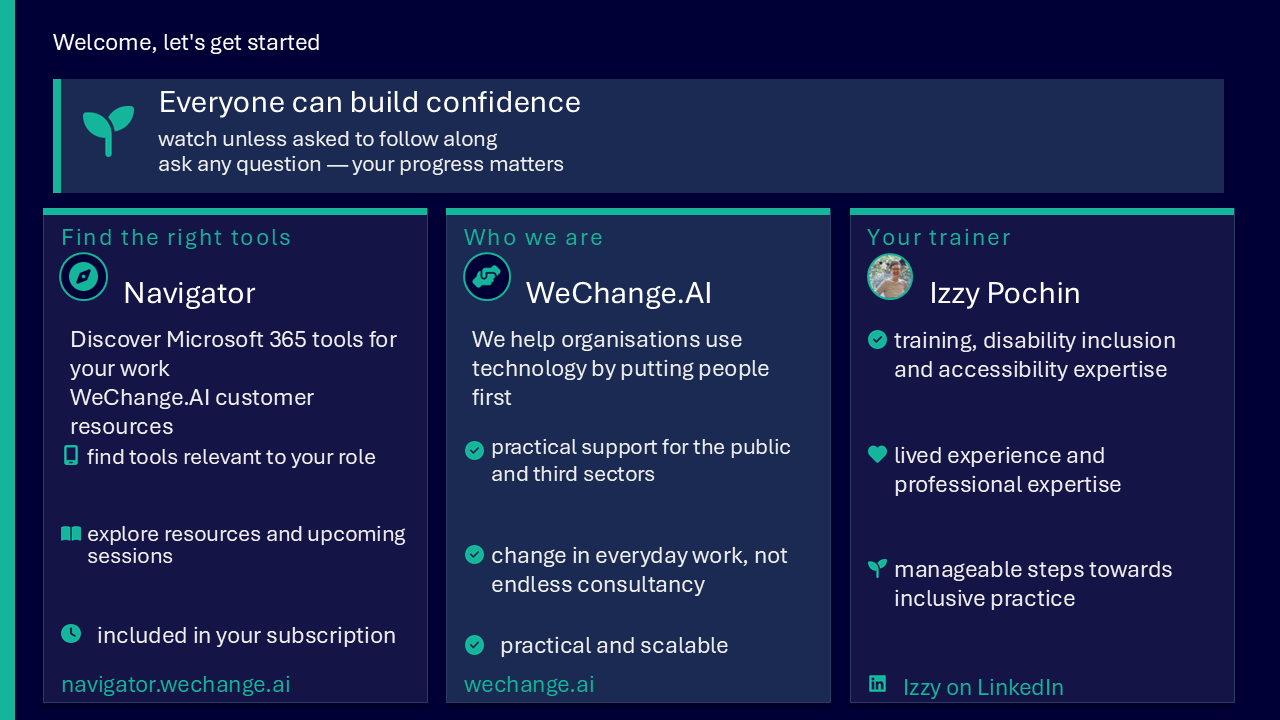
Everyone can build confidence
These sessions are for everyone, whatever your starting point. You do not need to remember every command. The aim is to understand a dependable document journey from defining the purpose to checking the finished result.
Navigator and WeChange.AI
Navigator is a personalised platform for WeChange.AI customers. It helps you find Microsoft 365 tools, resources and upcoming sessions relevant to your role.
WeChange.AI supports public and third sector organisations to use technology with confidence, purpose and impact. The focus is practical, people-centred change in day-to-day work.
Key concepts
The challenge
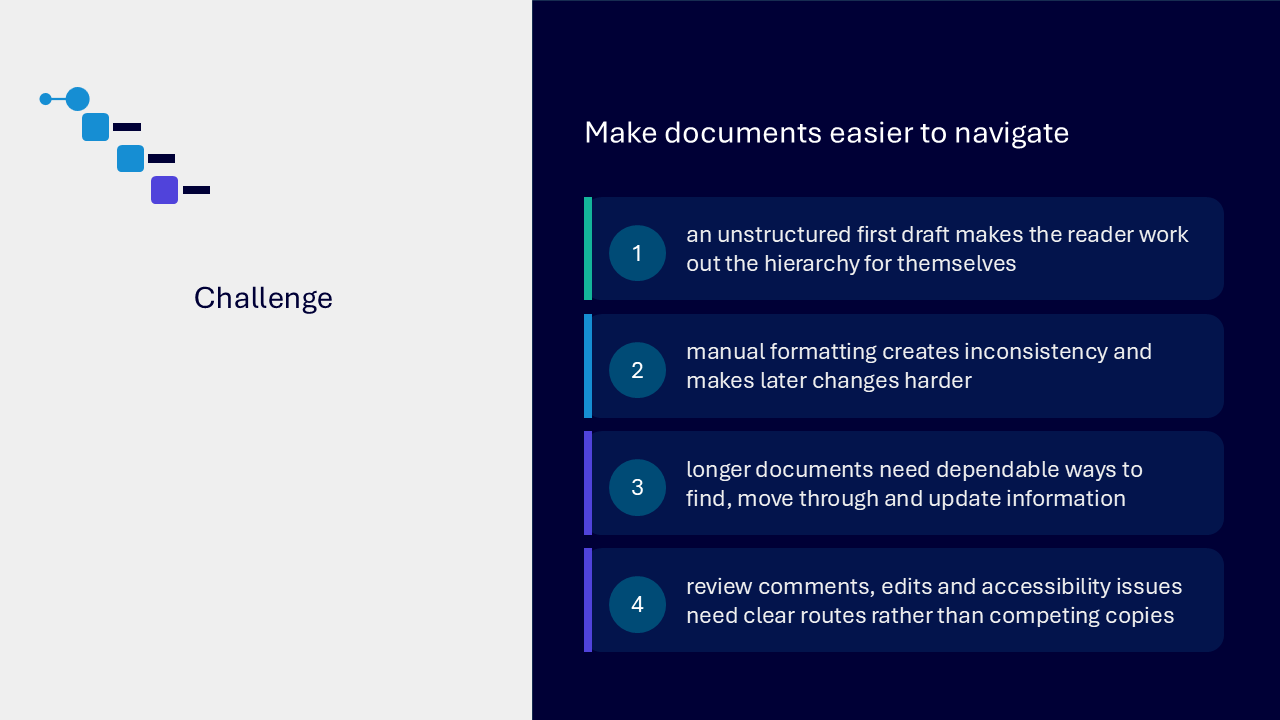
The challenge visual brings together four issues. An unstructured draft makes readers work out the hierarchy for themselves. Manual formatting creates inconsistency. Longer documents need dependable navigation and update routes. Comments, proposed edits and accessibility issues need a controlled review process rather than competing copies.
Your route through the session
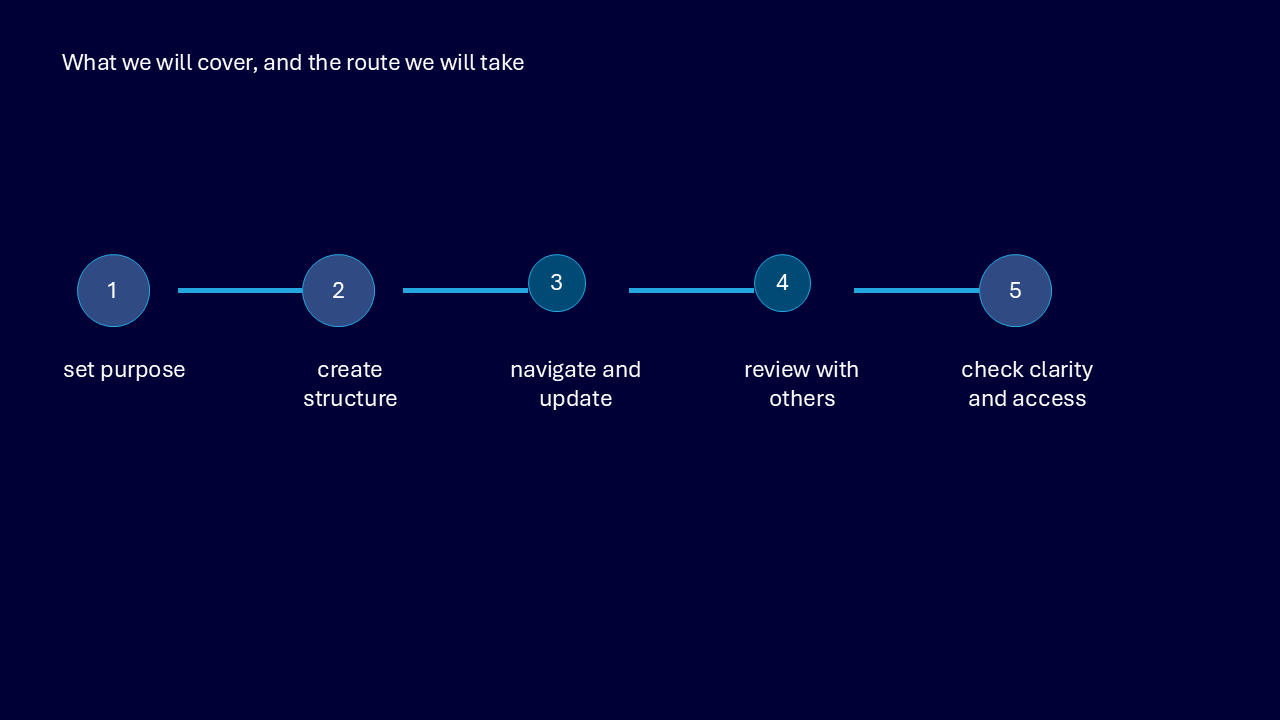
The route graphic presents five connected stages.
- set the purpose
- create the structure
- navigate and update
- review with others
- check clarity and access
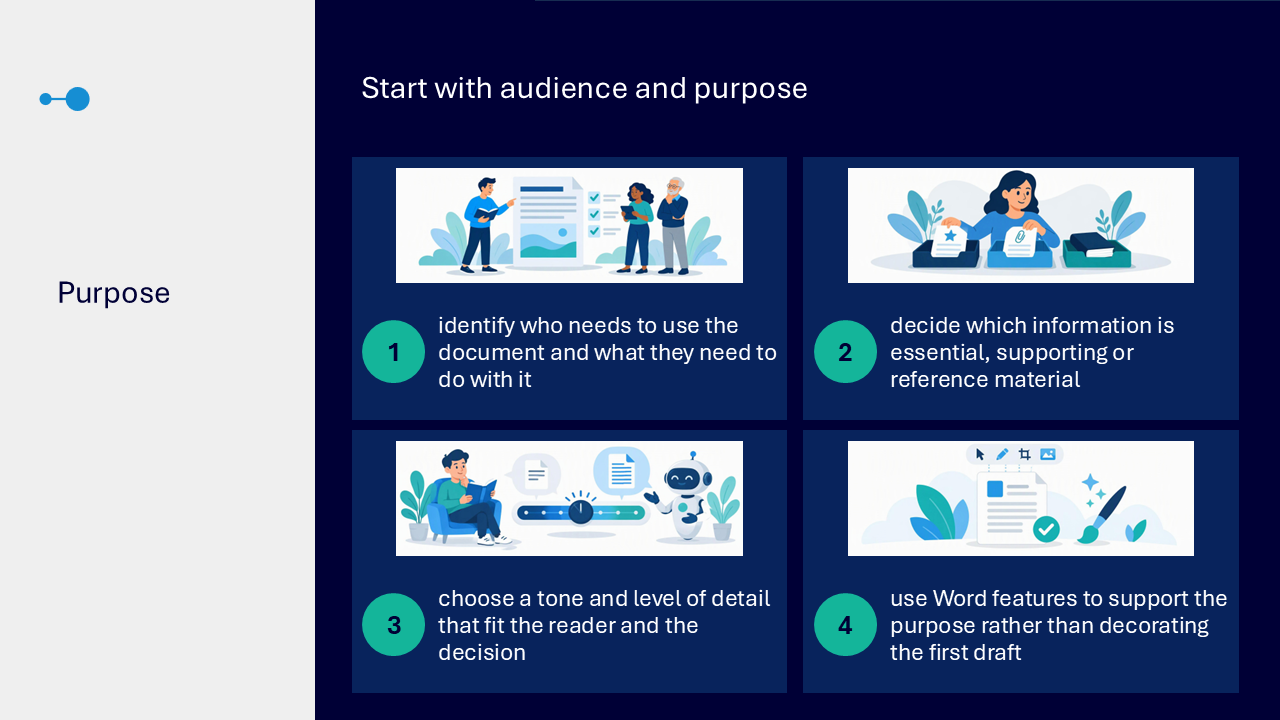
Start with audience and purpose
Decide what the document needs to achieve before formatting the page. Word features should support the reader and the intended action rather than decorate the first draft.
- identify who needs to use the document and what they need to do with it
- decide which information is essential, supporting or reference material
- choose a tone and level of detail that fit the reader and decision
- select features and formatting that support the purpose
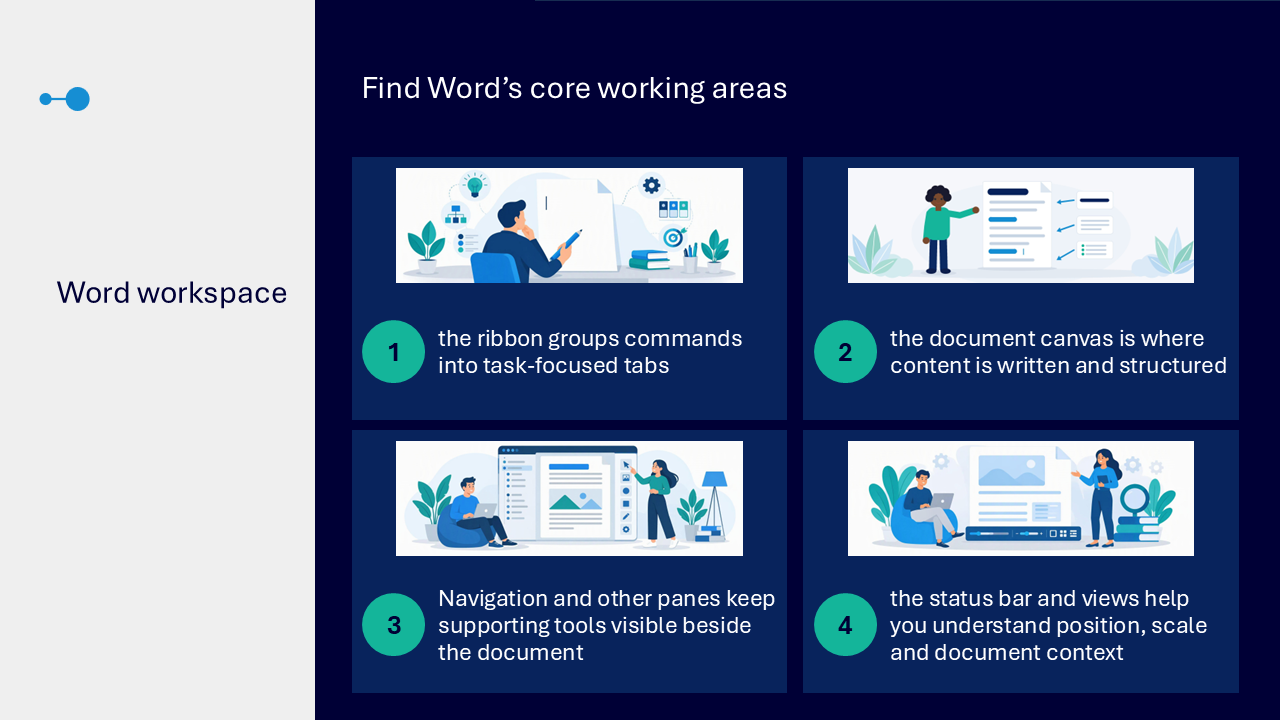
Find Word’s core working areas
The workspace visual identifies the main areas used for writing, navigation and review.
- the ribbon groups commands into task-focused tabs
- the document canvas is where content is written and structured
- the Navigation pane and other panes keep supporting tools visible beside the document
- the status bar and views help you understand position, scale and document context
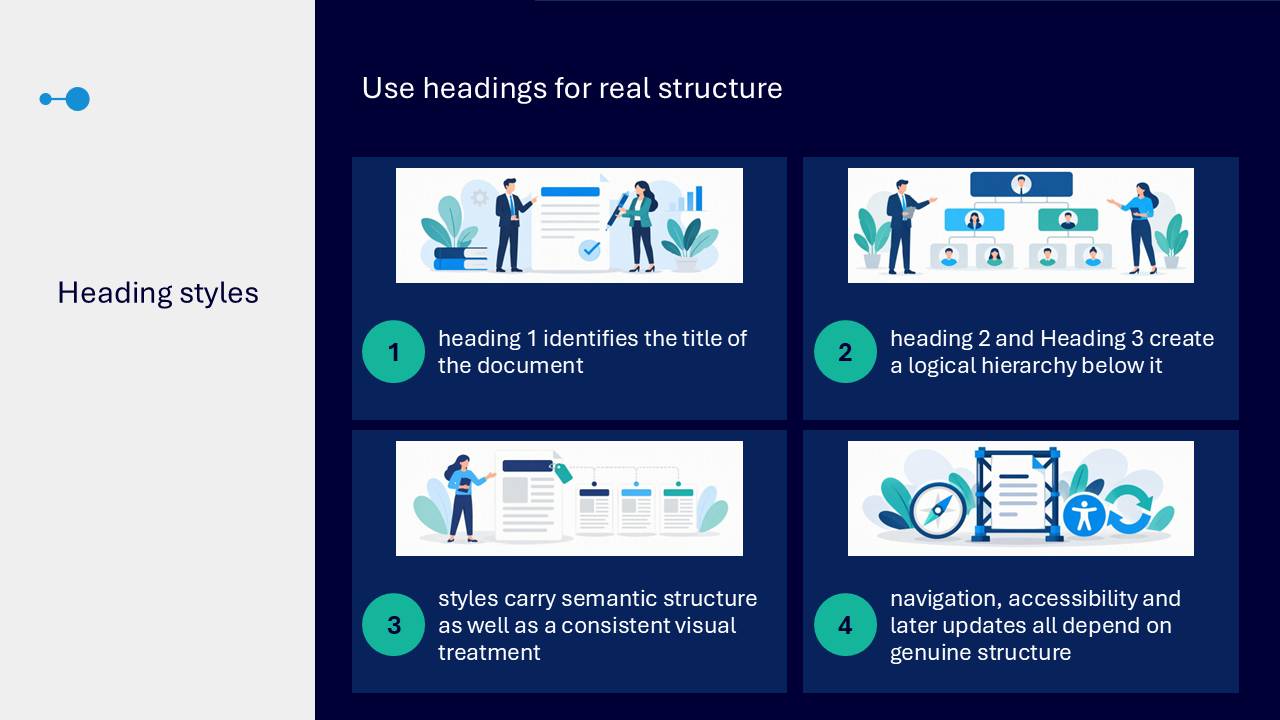
Use headings for real structure
Built-in heading styles create semantic structure as well as a consistent visual treatment. Making text larger or bold changes its appearance but does not create a heading that Word and assistive technology can use.
- use Heading 1 for the document title
- use Heading 2 and Heading 3 to create a logical hierarchy below the title
- keep heading levels meaningful rather than choosing them for their appearance
- use styles so navigation, accessibility and later updates rely on genuine structure
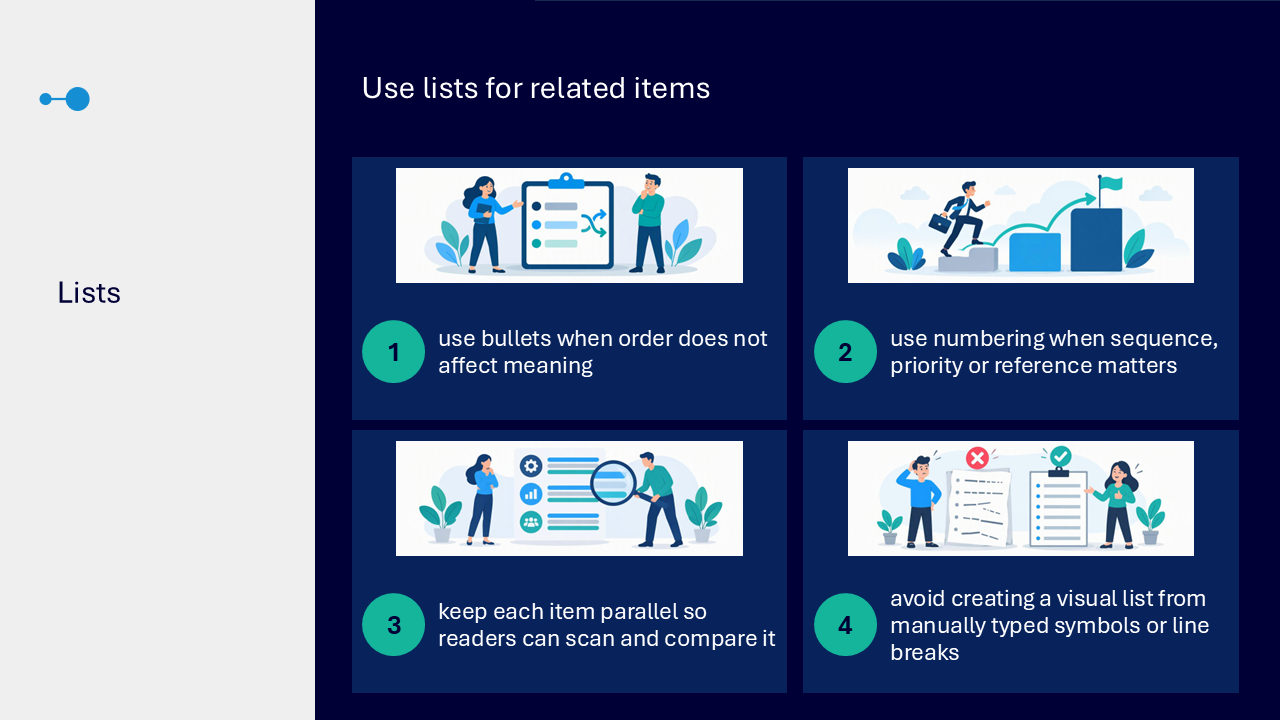
Use lists for related items
Use Word’s list commands so the relationship between items is available as structure, not only as visual symbols or line breaks.
- use bullets when order does not affect meaning
- use numbering when sequence, priority or reference matters
- keep list items parallel so readers can scan and compare them
- avoid manually typing symbols or numbers to imitate a list
Navigate with meaningful headings
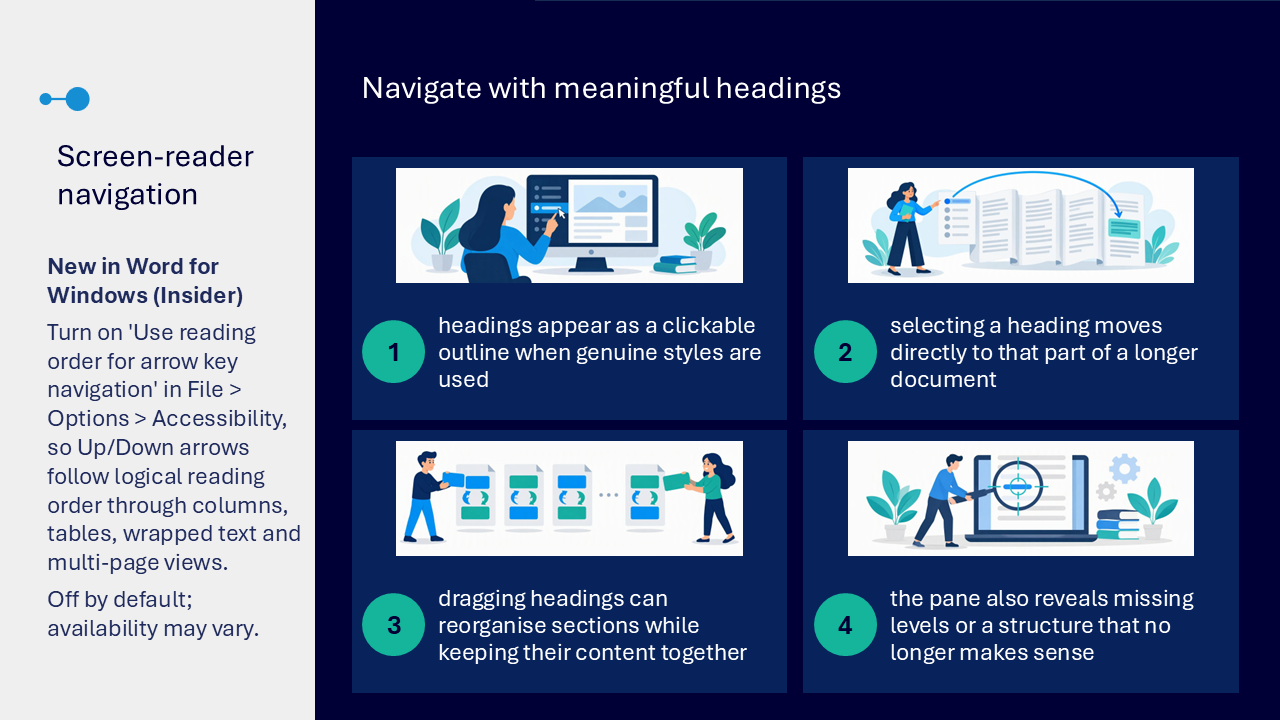
The Navigation pane turns genuine heading structure into a working map. Headings appear as a clickable outline, allowing people to move directly to a section and review whether the hierarchy makes sense.
- open the Navigation pane and select Headings
- select a heading to move to that section
- drag a heading to move the section and its content
- use the outline to notice missing levels or unclear structure
- remember that meaningful headings also support screen-reader navigation
Distinguish structure from appearance
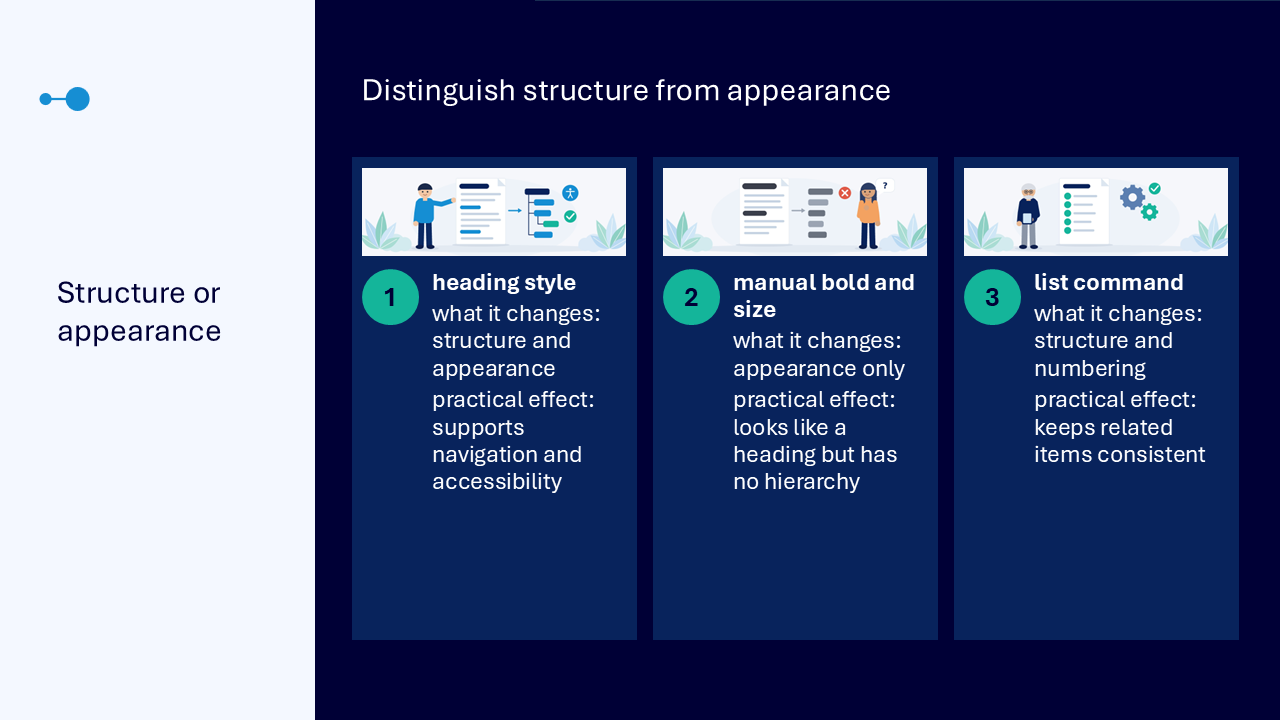
The comparison visual explains what Word can recognise and use.
- heading style changes structure and appearance, supporting navigation and accessibility
- manual bold and size change appearance only, so the text may look like a heading without having a hierarchy
- a list command adds list structure and numbering, helping related items remain consistent
Make controlled text updates
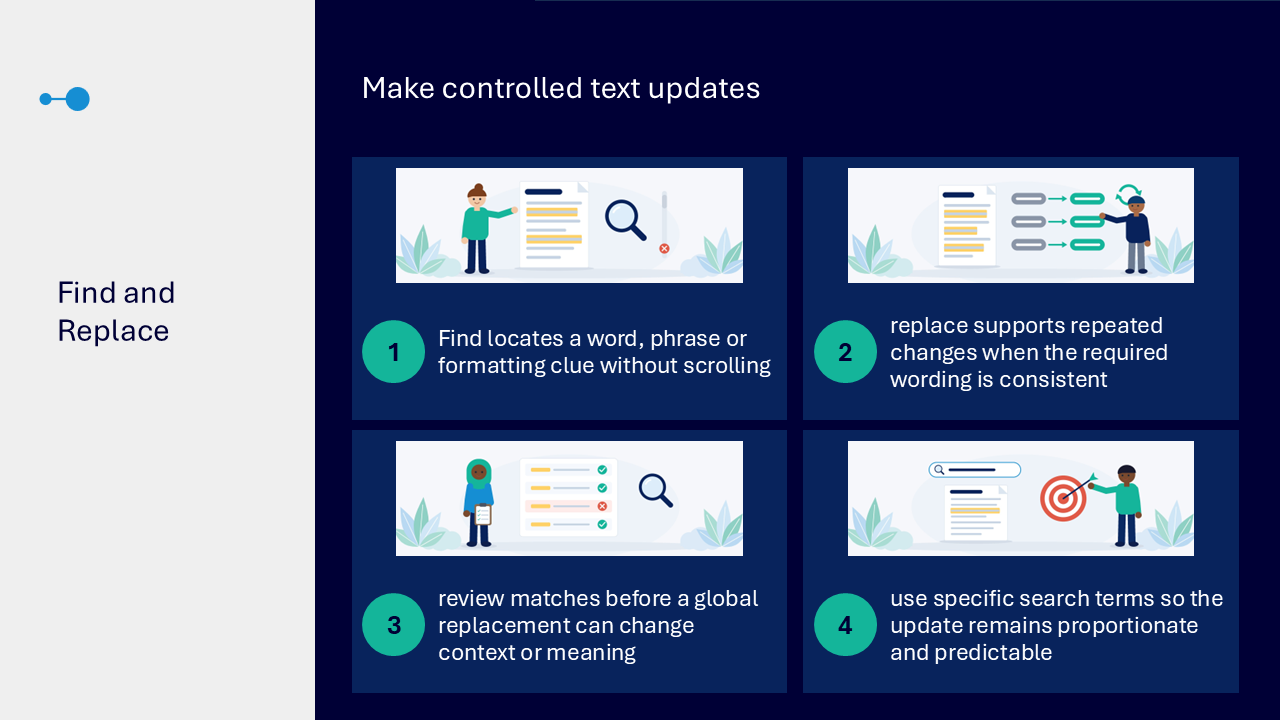
Find and Replace supports repeated changes across longer content, but each change still needs context and judgement.
- use Find to locate a word, phrase or formatting clue without scrolling
- use Replace when the required wording is consistent
- review matches before a global replacement changes meaning or context
- use specific search terms so the update remains proportionate and predictable
Reuse a suitable document structure
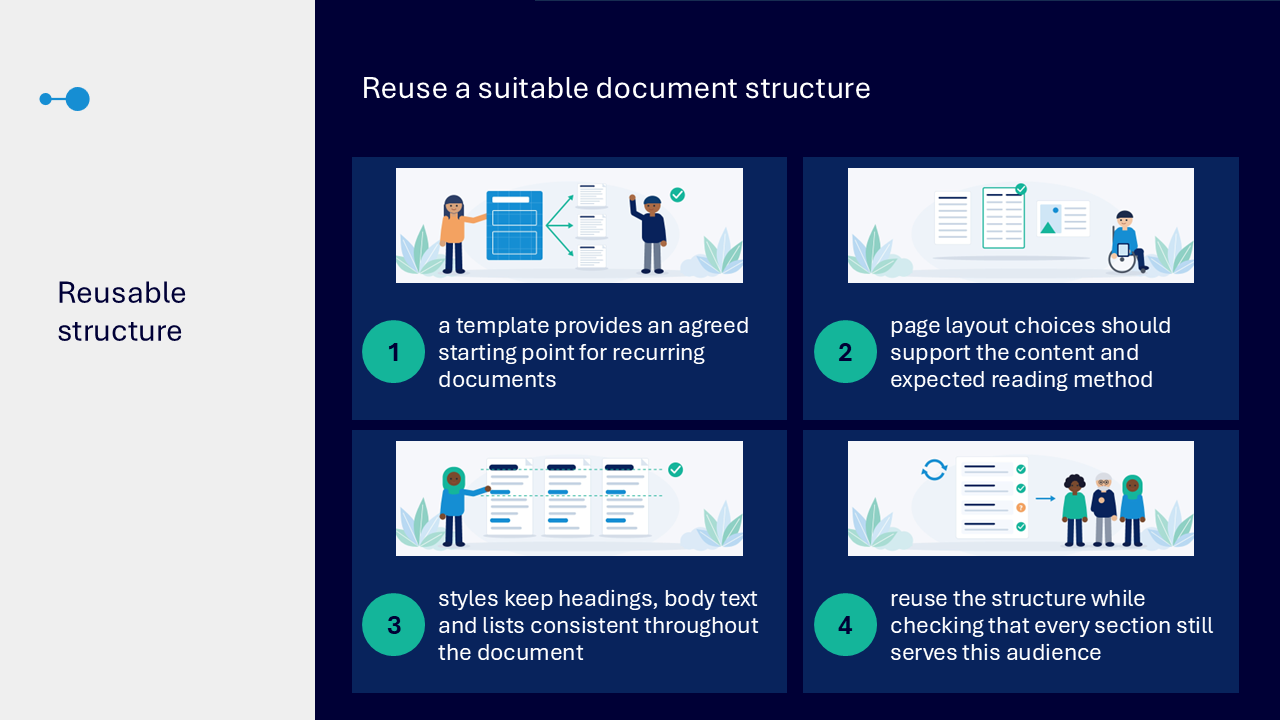
A template can provide an agreed starting point for recurring documents. Reuse the structure while checking that every section remains relevant to the current audience and purpose.
- choose page layout settings that support the content and expected reading method
- use styles to keep headings, body text and lists consistent
- remove or adapt sections that do not serve the current document
- treat the template as a starting structure rather than a substitute for review
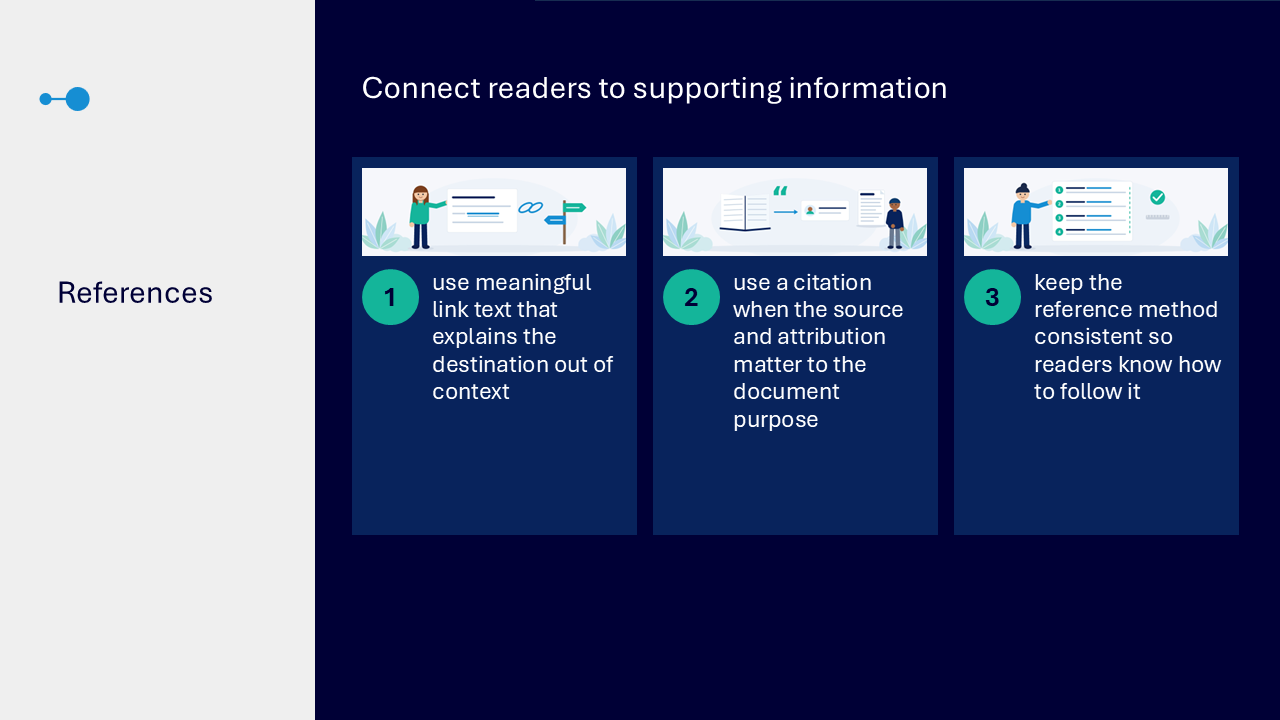
Connect readers to supporting information
References should help readers understand where a link goes and why a source matters.
- use meaningful link text that explains the destination out of context
- use a citation when source and attribution matter to the document purpose
- keep the reference method consistent so readers know how to follow it
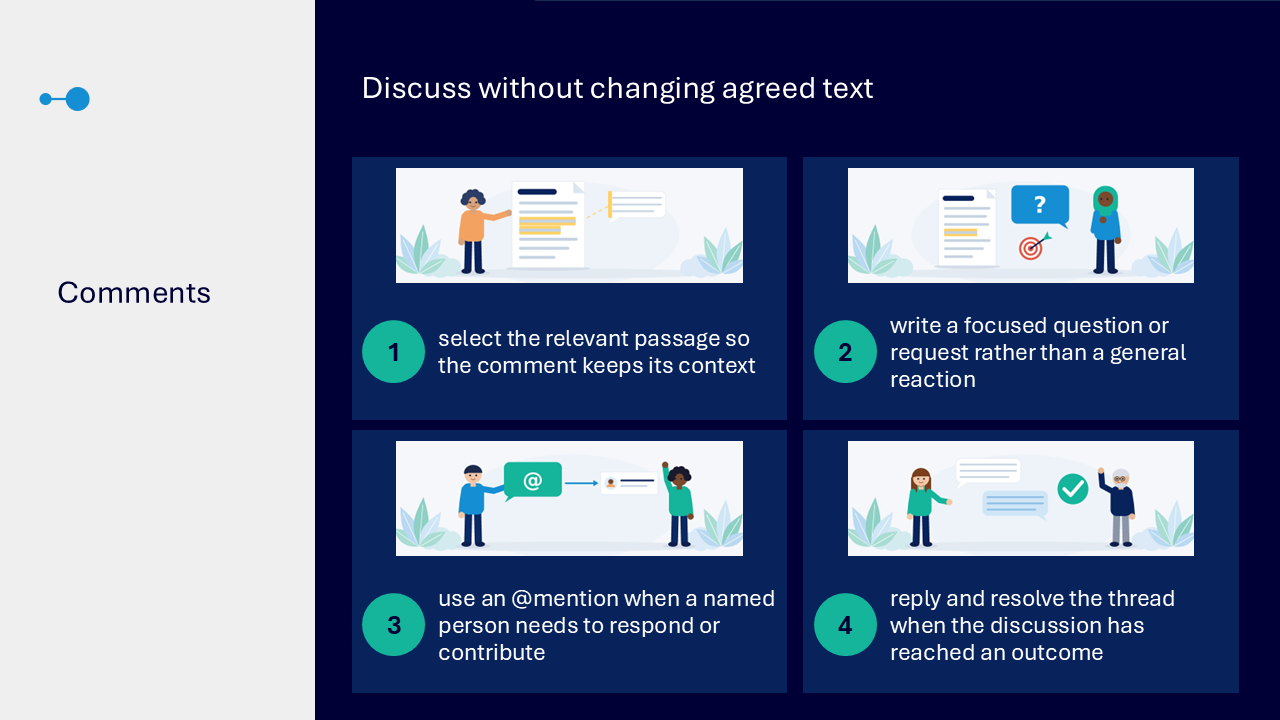
Discuss without changing agreed text
Comments support focused discussion while leaving the current document wording unchanged.
- select the relevant passage so the comment retains its context
- write a focused question or request rather than a general reaction
- use an @mention when a named person needs to respond or contribute
- reply and resolve the thread when the discussion reaches an outcome
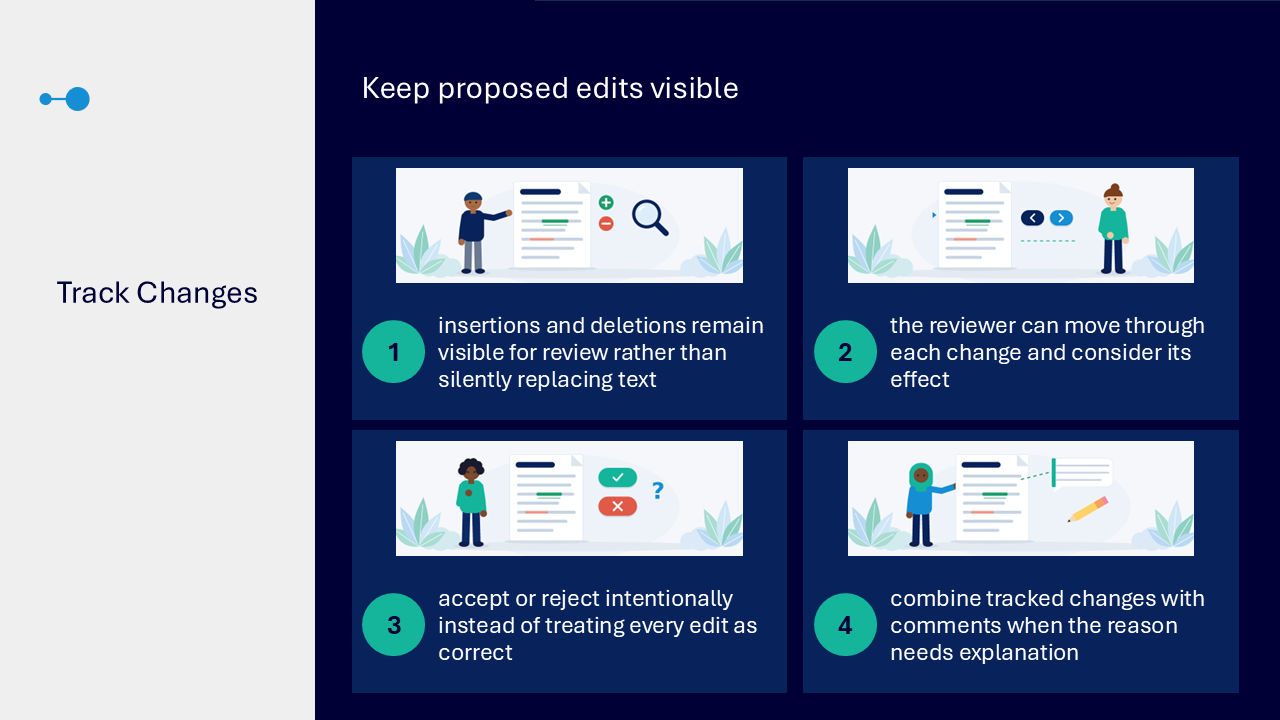
Keep proposed edits visible
Track Changes creates a review trail by keeping proposed insertions and deletions visible instead of silently replacing the text.
- move through each change and consider its effect
- accept or reject each change intentionally
- combine a tracked change with a comment when the reason needs explanation
- finish the review rather than leaving unresolved proposed edits in the shared version
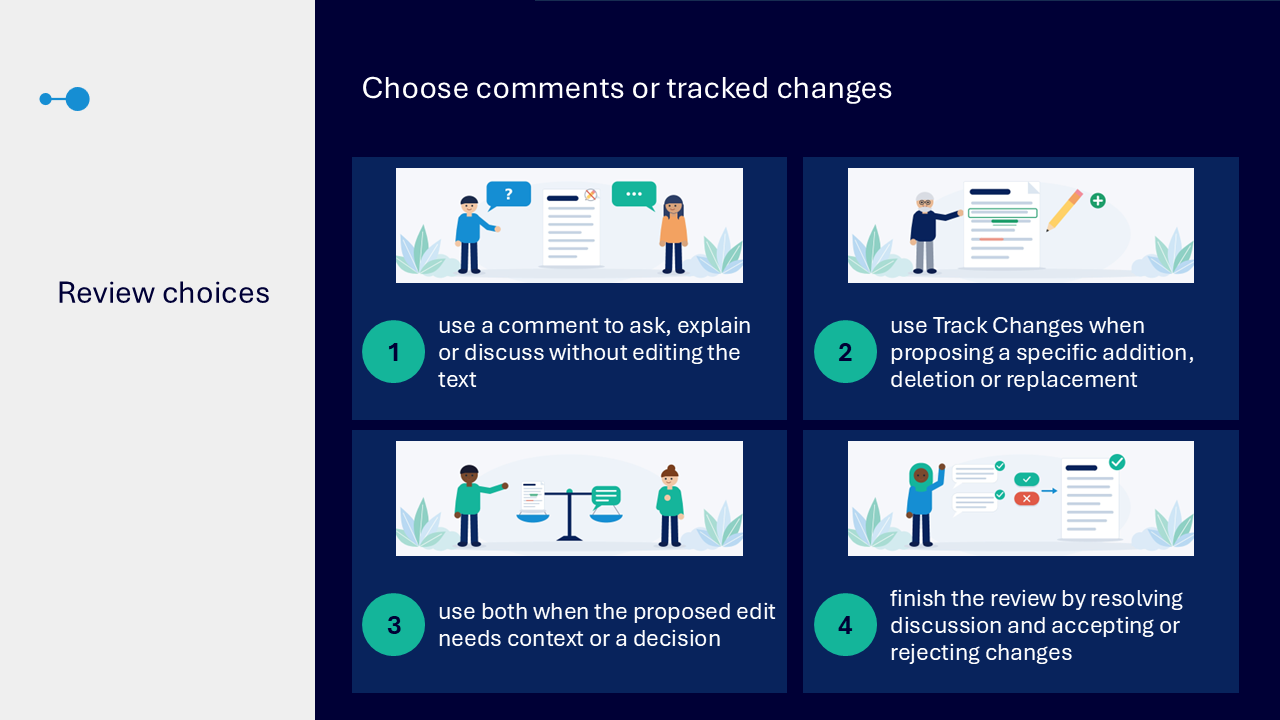
Choose comments or Track Changes
The review-choice visual matches each tool to a different need.
- use a comment to ask, explain or discuss without editing the text
- use Track Changes to propose a specific addition, deletion or replacement
- use both when the proposed edit needs context or a decision
- complete the review by resolving comments and accepting or rejecting changes
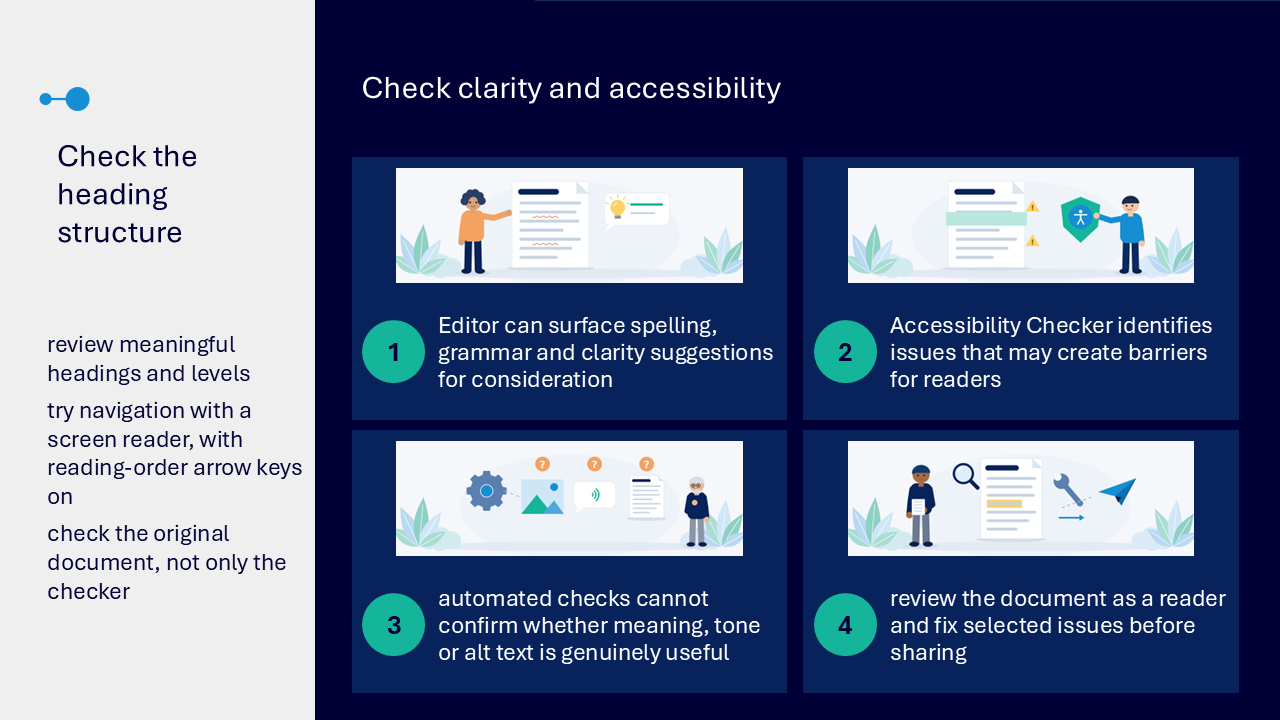
Check clarity and accessibility
Editor and Accessibility Checker can identify possible improvements, but automated checks cannot confirm whether the document’s meaning, tone, heading structure or alternative text is genuinely useful.
- use Editor to consider spelling, grammar and clarity suggestions
- use Accessibility Checker to identify potential barriers
- review meaningful headings and their levels
- try navigating the document using its heading structure
- review the original document as a reader and fix selected issues before sharing
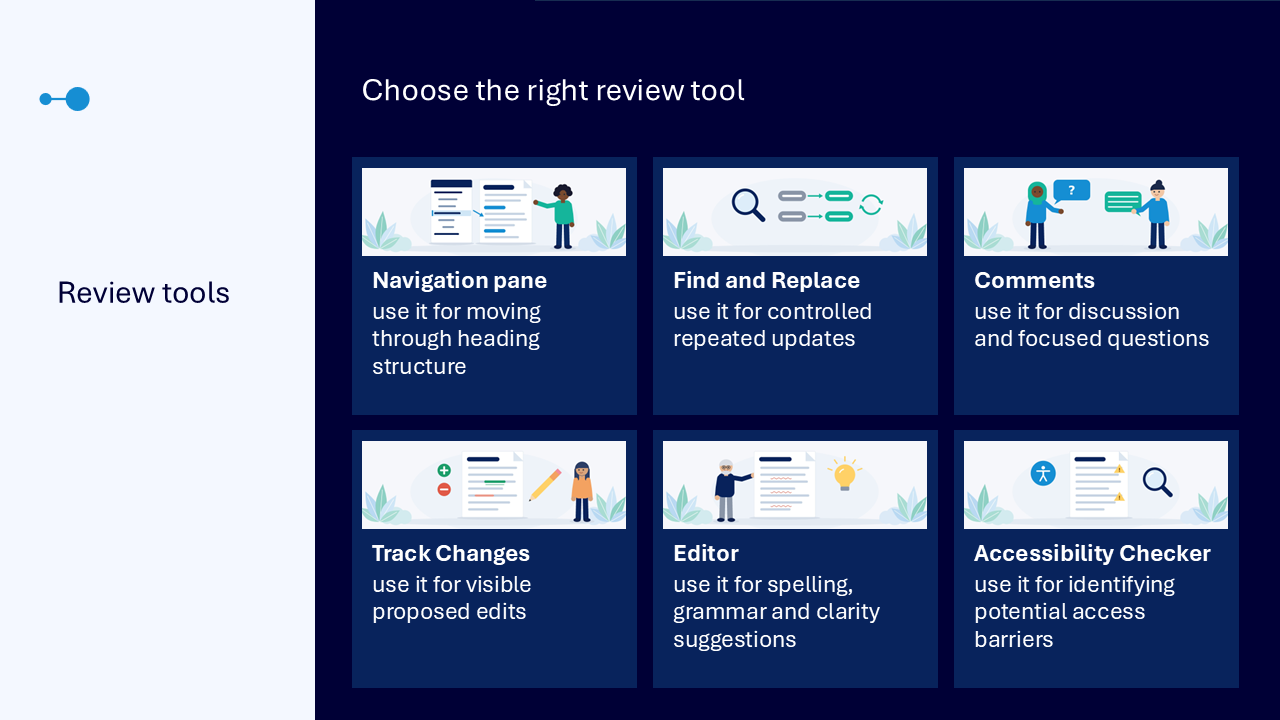
Choose the right review tool
The comparison visual matches Word tools to their main purpose.
- Navigation pane: moving through heading structure
- Find and Replace: controlled repeated updates
- Comments: discussion and focused questions
- Track Changes: visible proposed edits
- Editor: spelling, grammar and clarity suggestions
- Accessibility Checker: identifying potential access barriers
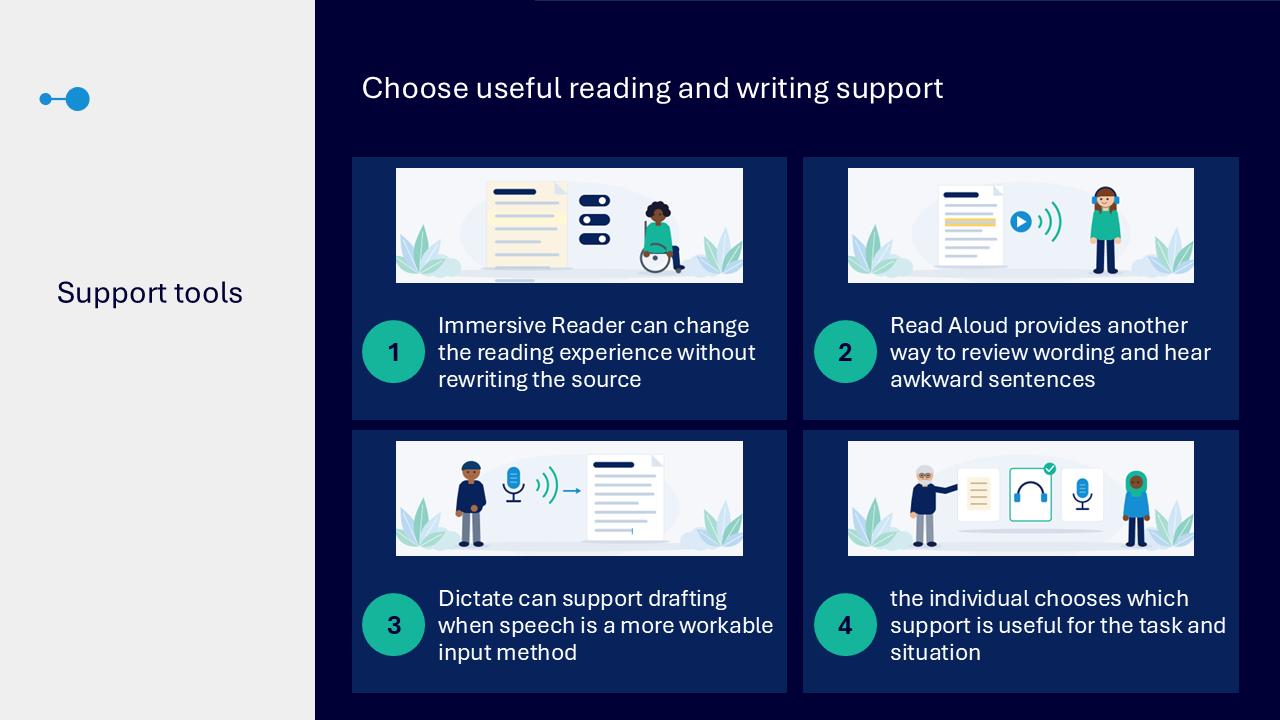
Choose useful reading and writing support
Word provides optional support tools that can help people work with the same document in different ways. The individual chooses which route is useful for the task and situation.
- Immersive Reader changes the reading experience without rewriting the source
- Read Aloud provides a listening route and may help identify awkward wording
- Dictate supports drafting when speech is a more workable input method
What the visuals and demonstrations showed
The visual sequence followed the document from purpose through structure, navigation, collaboration and checking.
- identifying the audience, purpose and required action
- recognising the ribbon, document canvas, panes and status bar
- applying genuine heading styles and watching the Navigation pane update
- using list commands rather than manually typed symbols
- moving through and reorganising sections with the Navigation pane
- comparing semantic structure with appearance-only formatting
- using Find and Replace for controlled updates
- starting from a reusable structure while reviewing relevance
- using meaningful links and consistent references
- choosing comments or Track Changes according to the review need
- running Editor and Accessibility Checker, then applying human judgement
- using Immersive Reader, Read Aloud or Dictate as optional support
Key takeaways
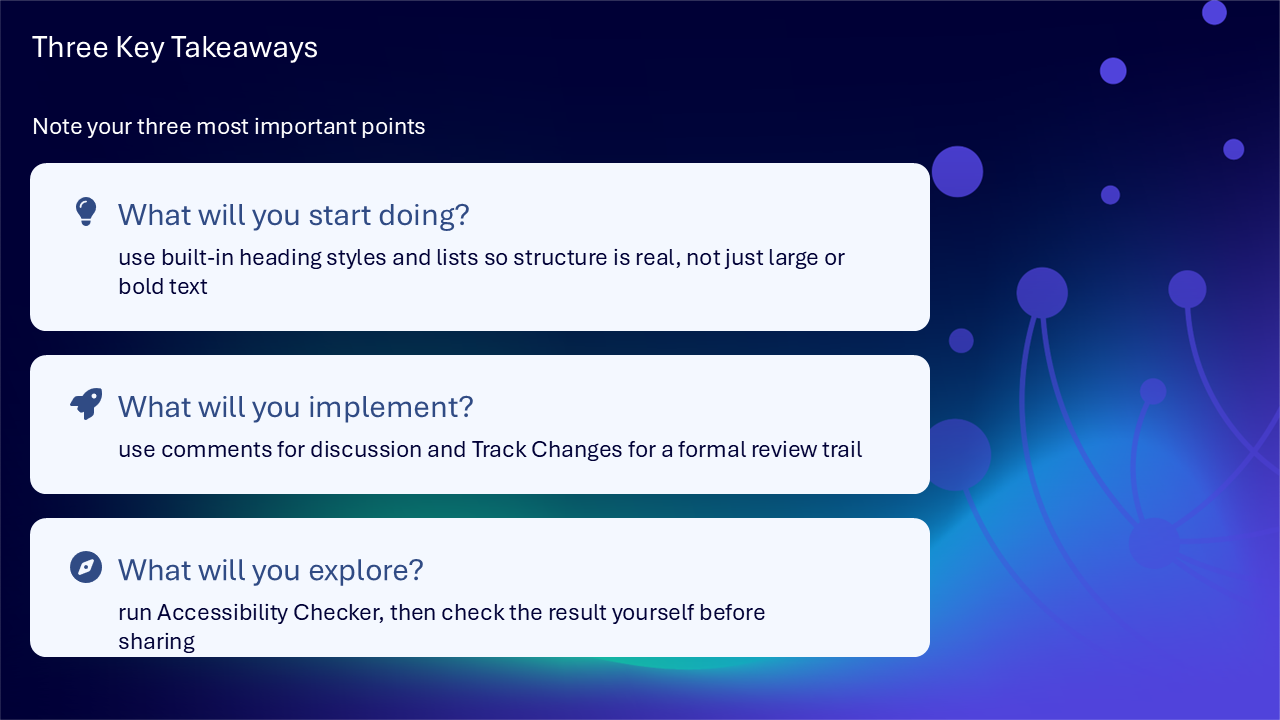
- use built-in heading styles and list commands so structure is real
- use the Navigation pane to review and move through longer documents
- use comments for discussion and Track Changes for a formal edit trail
- run Accessibility Checker and review the result yourself before sharing
- start with the audience and purpose rather than formatting the page first
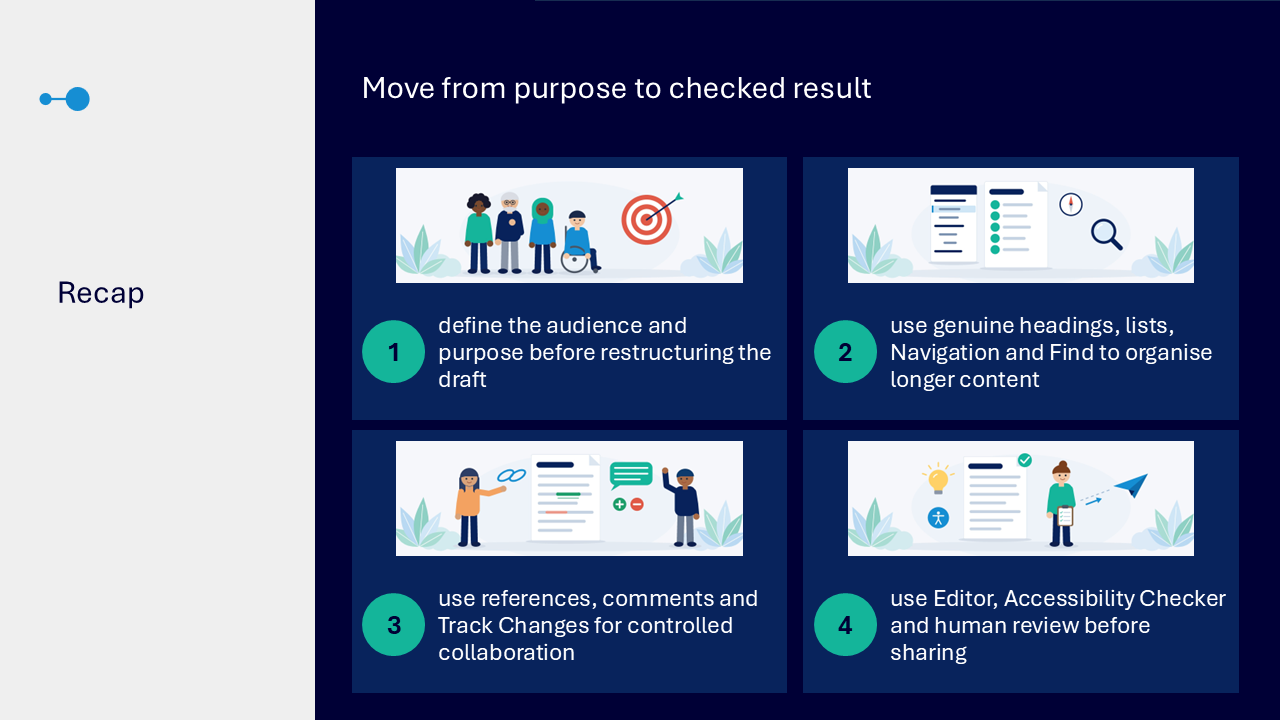
A clear document journey
- define the audience and purpose
- organise content with genuine headings and lists
- use Navigation and Find to move through and update longer content
- use references, comments and Track Changes for controlled collaboration
- use Editor, Accessibility Checker and human review before sharing
Actions you can take
Try the tip of the month
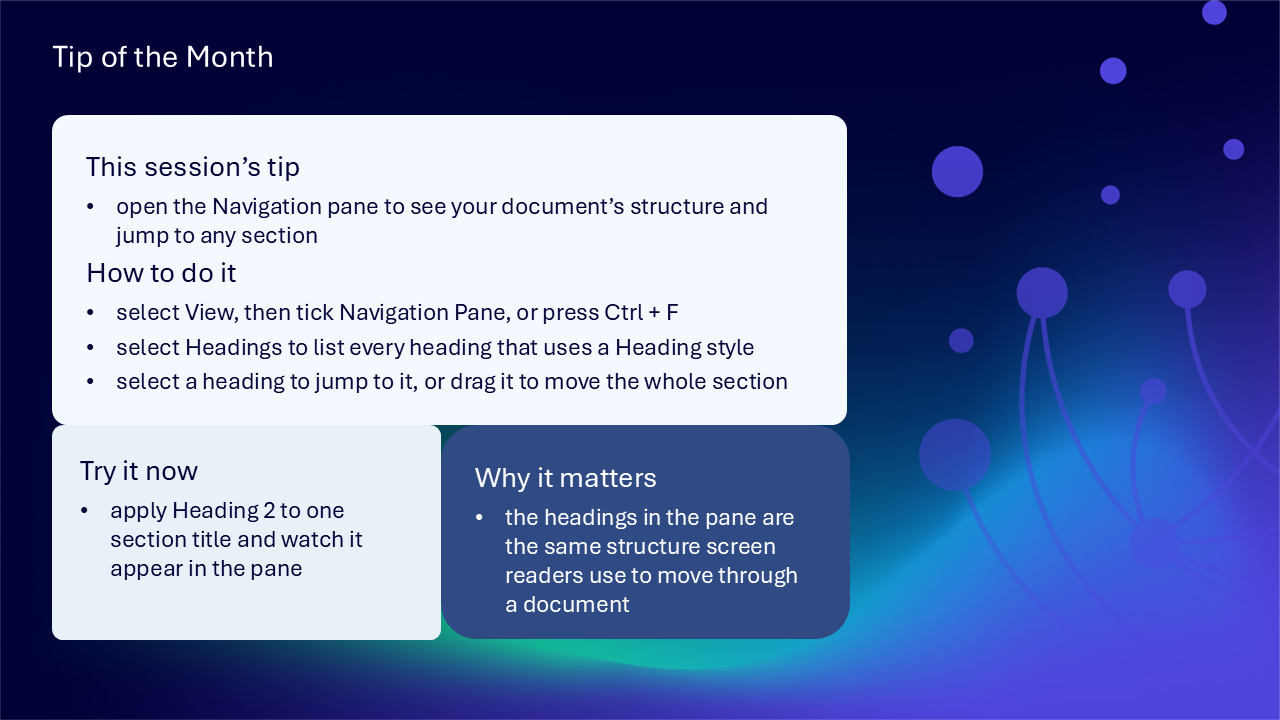
This session’s tip: open the Navigation pane to see your document’s structure and jump to any section
How to do it: select View and then Navigation Pane, or press Ctrl + F. Select Headings to list headings that use built-in styles. Select a heading to jump to it, or drag it to move the section
Why it matters: the headings shown in the pane are the structure assistive technology can use to move through the document
Try it now: apply Heading 2 to one section title and check that it appears in the pane
Build confidence with one practical route
- choose one existing Word document with several sections
- identify its audience, purpose and required action
- apply built-in heading styles in a logical hierarchy
- replace any manually typed visual lists with Word list commands
- open the Navigation pane and check the outline
- use one meaningful hyperlink where supporting information is needed
- choose comments or Track Changes for one review task
- run Accessibility Checker and review each selected issue in context
- read the document once as a user before sharing
Questions and feedback
Questions are welcome. If something is unclear, ask for it to be explained another way or demonstrated again. Feedback helps WeChange.AI understand what matters to you.
Complete the Support and Skilling Week feedback form
Contact WeChange.AI
For skilling queries, email training@wechange.ai.
Andrew Boxall, Managing Director: andrew@wechange.ai
Paul Ford, Industry Director for Education and Philanthropies: paul@wechange.ai
Josh Wilson, Industry Specialist: josh@wechange.ai
Elle Avilla, Customer Success and Delivery Skilling Lead: elle@wechange.ai
Izzy Pochin, Resources and Accessibility Lead: izzy@wechange.ai
Activity sheet
Follow one connected journey from defining the reader and purpose through to creating structure, reviewing changes and checking the document before sharing.
How to use this activity sheet
This sheet supports Session 9: Microsoft Word. Use it after the live session, or follow selected steps while your trainer demonstrates document structure, navigation, controlled review and accessibility checks.
- work at your own pace and pause after each activity
- use a new practice document or non-sensitive example content
- save a separate practice copy before making substantial changes
- your screen may differ between Word on the web and the desktop application
- keyboard shortcuts and support tools are optional alternatives, not requirements
What you will achieve
- identify the audience, purpose and essential information before formatting
- recognise the ribbon, document canvas, panes, status bar and document views
- apply genuine Heading 1, Heading 2 and Heading 3 styles in a logical hierarchy
- use built-in bullets and numbering for related items
- use the Navigation pane and Find and Replace to move through and update longer content
- add meaningful links and consistent references
- choose between comments and Track Changes for review
- use Editor and Accessibility Checker alongside human review
- explore Immersive Reader, Read Aloud and Dictate as optional support tools
Your learning route
| Stage | You will practise |
|---|---|
| 1. Set the purpose | audience, action and essential information |
| 2. Create structure | heading styles and genuine lists |
| 3. Navigate and update | Navigation pane, Find and Replace |
| 4. Connect information | meaningful links and references |
| 5. Review with others | comments and Track Changes |
| 6. Check clarity and access | Editor, Accessibility Checker and human review |
| 7. Use support tools | Immersive Reader, Read Aloud and Dictate |
| 8. Bring it together | move from purpose to a checked result |
Before you start
- open Word and create a blank practice document
- save it with a clear practice filename
- prepare a short unstructured draft with a title, two sections and a list
- avoid using personal, confidential or sensitive information
- allow about 45 to 60 minutes, or complete one activity at a time
Notice: Some features and locations differ between Word on the web and the desktop application. Work with the version provided by your organisation and note any option you cannot see.
Activity 1: Start with audience and purpose
Outcome: Decide what the document must help the reader understand or do before formatting the page.
- Name the intended reader or audience.
- Write the action, decision or understanding the document should support.
- Separate essential information from supporting or reference material.
- Choose a tone and level of detail that suit the reader and purpose.
- Remove one detail that does not help the intended outcome.
| Planning question | Your answer |
|---|---|
| Who needs to use this document? | |
| What should they understand or do? | |
| What information is essential? | |
| What is supporting or reference material? | |
| What tone and detail are appropriate? |
Pause and check
Activity 2: Find Word’s core working areas
Outcome: Recognise the main areas used for writing, navigation and review.
- Find the ribbon and identify tabs such as Home, Insert, Review and View.
- Select the document canvas and type one practice sentence.
- Find the status bar and notice available page, word, view or zoom information.
- Open the View tab and identify the available document views.
- Open and close a supporting pane, such as Navigation, without closing the document.
| Word area | What it supports |
|---|---|
| ribbon | commands grouped into task-focused tabs |
| document canvas | writing and structuring content |
| Navigation and other panes | keeping supporting tools beside the document |
| status bar and views | understanding position, scale and document context |
The area I would use to: ____________________________________________________________________
The route I would repeat: ____________________________________________________________________
Pause and check
Activity 3: Use headings for genuine structure
Outcome: Apply built-in styles so the document has a logical hierarchy that Word and assistive technology can recognise.
- Select the document title and apply Heading 1.
- Select the first main section title and apply Heading 2.
- Select a subsection title and apply Heading 3.
- Check that each heading describes the content that follows.
- Review the order and correct any skipped or illogical level.
| Level | Use it for | Your example |
|---|---|---|
| Heading 1 | the document title | |
| Heading 2 | main sections below the title | |
| Heading 3 | subsections within a Heading 2 section |
Notice: Making text large or bold changes appearance only. A built-in heading style carries structure as well as a consistent visual treatment.
Pause and check
Activity 4: Use genuine lists for related items
Outcome: Create a list that Word and readers can recognise consistently.
- Select three related practice items.
- Use Bullets when the order does not affect the meaning.
- Create a second practice list and use Numbering when sequence, priority or reference matters.
- Keep each list item grammatically parallel.
- Remove any manually typed bullet symbols or numbers that duplicate the list command.
| List type | Use it when | Your example |
|---|---|---|
| bullets | order does not affect meaning | |
| numbering | sequence, priority or reference matters |
Pause and check
Activity 5: Navigate using the document structure
Outcome: Use the Navigation pane as a working map for a longer document.
- Select View, then open the Navigation pane, or use Ctrl + F.
- Select Headings in the pane.
- Check that each genuine heading appears.
- Select a heading to move directly to that section.
- Drag a practice heading to a new position and notice that its section content moves with it.
- Use Undo if you do not want to keep the move.
- Check whether the pane reveals a missing or illogical heading level.
A heading that appeared in the pane: ____________________________________________________________________
A structural issue I noticed: ____________________________________________________________________
Notice: The Navigation pane lists genuine heading styles. Text that only looks like a heading because of manual size or bold formatting will not behave in the same way.
Pause and check
Activity 6: Make controlled text updates
Outcome: Use Find and Replace proportionately and review matches before changing repeated wording.
- Open Find and search for one specific word or phrase.
- Use the results to move through each match.
- Open Replace and enter a safe replacement.
- Use Replace for one match and check the surrounding sentence.
- Review the remaining matches before choosing Replace All.
- Undo the practice replacement if it should not remain.
| Update check | Your note |
|---|---|
| search term | |
| replacement | |
| number or location of relevant matches | |
| context that needs checking | |
| whether Replace All is safe |
Pause and check
Activity 7: Reuse a suitable document structure
Outcome: Use a template and styles as an agreed starting point while checking that every section still serves the reader.
- Open a suitable approved template or review the practice document structure.
- Identify the title, heading, body text and list styles.
- Check that the page layout supports the content and expected reading method.
- Remove or rename a practice section that does not fit the current audience.
- Add a required section using the existing style pattern.
- Review consistency rather than manually formatting each item.
- Always run Accessibility Checker before sharing.
The reusable structure: ____________________________________________________________________
The section I changed and why: ____________________________________________________________________
Pause and check
Activity 8: Connect readers to supporting information
Outcome: Add a meaningful link and use references consistently.
- Select words that describe the destination, such as View the accessibility guidance.
- Insert a safe practice hyperlink.
- Read the link text without the surrounding sentence and check that the destination is still clear.
- Avoid using a full web address or vague wording such as click here as the visible link text.
- If attribution matters, add a practice citation or reference using the method required by your organisation.
- Use the same reference pattern throughout the document.
| Reference check | Your example |
|---|---|
| meaningful link text | |
| destination | |
| why the source matters | |
| reference method used |
Pause and check
Activity 9: Choose comments or Track Changes
Outcome: Match the review tool to discussion or a specific proposed edit.
| Tool | Use it for | Practice action |
|---|---|---|
| comment | a question, explanation or discussion without editing the text | select a passage and add a focused question |
| Track Changes | a visible addition, deletion or replacement | turn tracking on and make one small edit |
| both | a proposed edit that also needs context or a decision | add a comment beside the tracked change |
- Select a relevant practice passage and add a focused comment.
- Use an @mention only if a named person genuinely needs to respond and your organisation permits it.
- Turn on Track Changes.
- Make one small insertion and one deletion.
- Move through the visible changes.
- Accept or reject each practice change intentionally.
- Reply to or resolve the comment when the discussion has reached an outcome.
- Turn off Track Changes when the planned review is complete.
The comment or question: ____________________________________________________________________
The proposed edit: ____________________________________________________________________
The final decision: ____________________________________________________________________
Pause and check
Activity 10: Check clarity and accessibility
Outcome: Use built-in checks as prompts, then apply human judgement before sharing.
- Open Editor and review a spelling, grammar or clarity suggestion.
- Decide whether the suggestion improves the meaning and tone before applying it.
- Open Accessibility Checker.
- Review each identified issue and the explanation provided.
- Check the heading levels in the Navigation pane.
- Review meaningful link text, list structure and any alternative text.
- Read the document as the intended reader, or use an available assistive route.
- Fix selected issues and run the checks again.
| Review area | Your finding | Action taken |
|---|---|---|
| Editor suggestion | ||
| heading structure | ||
| lists | ||
| links or references | ||
| images and alternative text, if present | ||
| Accessibility Checker issue | ||
| human review of meaning and tone |
Notice: Automated checks can identify potential issues, but they cannot confirm that meaning, tone, structure or alternative text is genuinely useful for the intended reader.
Pause and check
Activity 11: Explore reading and writing support
Outcome: Try an optional support tool and decide whether it helps with the current task.
| Support tool | Use it for |
|---|---|
| Immersive Reader | changing the reading experience without rewriting the source |
| Read Aloud | hearing wording and noticing awkward sentences |
| Dictate | drafting when speech is a more workable input method |
- Open one available support tool.
- Use a short section of safe practice text.
- Notice what changes in the reading or writing experience.
- Decide whether the tool supports this task and situation.
- Close the tool and check that the document content remains as intended.
The tool I tried: ____________________________________________________________________
What helped or did not help: ____________________________________________________________________
Pause and check
Put it into practice: move from purpose to a checked result
Scenario: A service team has drafted a two-page guidance document. It contains large bold section titles, manually typed bullets, inconsistent terminology and comments from two reviewers. It needs to be clear, accessible and ready to share.
- confirm the audience, purpose and action the guidance must support
- apply genuine Heading 1, Heading 2 and Heading 3 styles
- replace manually typed symbols with genuine lists
- use the Navigation pane to review the hierarchy
- use Find and Replace for a controlled terminology update
- turn vague web addresses into meaningful link text
- resolve comments and accept or reject tracked changes intentionally
- run Editor and Accessibility Checker
- complete a final human review before sharing
The intended reader and purpose: ____________________________________________________________________
The structural changes: ____________________________________________________________________
The review decisions: ____________________________________________________________________
The remaining accessibility check: ____________________________________________________________________
The final sharing route: ____________________________________________________________________
Quick reference: choose the Word tool
| If you need to… | Try… |
|---|---|
| create real document hierarchy | built-in Heading styles |
| show related unordered items | Bullets |
| show sequence or priority | Numbering |
| move through long content | Navigation pane |
| locate or update repeated wording | Find or Find and Replace |
| connect readers to a destination | meaningful hyperlink text |
| ask or explain without editing | Comments |
| propose a visible edit | Track Changes |
| review spelling, grammar and clarity suggestions | Editor |
| identify potential access barriers | Accessibility Checker |
| change the reading experience | Immersive Reader |
| hear the wording | Read Aloud |
| draft using speech | Dictate |
Your three takeaways
What I will start doing: ____________________________________________________________________
What I will implement: ____________________________________________________________________
What I will explore further: ____________________________________________________________________
If you need help
- describe whether you were using Word on the web or the desktop application
- name the tab, pane or review tool you were using
- note the exact wording of any message or checker result
- keep a separate copy of important work before practising substantial changes
- ask your local support route about templates, permissions or unavailable features
- avoid sharing screenshots containing personal, confidential or sensitive information
Confidence grows through a repeatable document journey: define the purpose, create genuine structure, review changes deliberately and check the result as a reader before sharing.
Reflective journal
Why we ask you to reflect
Continuing Professional Development (CPD) is formative and it is about what it achieves for you and your organisation.
Instead of formally assessing your learning, we ask you to write a reflective note. This should reflect on how the learning was relevant and how it will impact your working practices.
Taking time to reflect on your learning makes it more likely you will embed it in your future practice.
What to cover and when
What your reflection should cover
- how the learning was relevant to you
- how the learning will impact your practice
When to complete it
Reflect as soon as possible following the skilling session. This keeps your note contemporaneous (written close to the time) and meaningful. Fill it in on your device, so the boxes expand as you type.
| Topic | What to know |
|---|---|
| Timing | Complete the note as soon as possible after the training event. |
| Purpose | To embed the learning within your subsequent practice. |
| Focus | How the learning was relevant and how it will impact your practice. |
Your reflective note
Complete each row below. Write in your own words. Your notes are private to you unless you choose to share them.
| Prompt | Your response |
|---|---|
| Skilling session title | |
| Date of the skilling session | |
| Date you completed this note | |
| How was the learning relevant to you and your work? | |
| How will the learning impact your practice? |
Recommended resources
These curated resources accompany the WeChange.AI skilling offer of Continuing Professional Development (CPD) accredited, and non-accredited, sessions. Use them before a session to build familiarity, or afterwards to revisit and apply the learning in day-to-day work.
Alongside these resources, Navigator helps WeChange.AI customers find personalised recommendations and available learning on Microsoft 365 tools, accessibility and AI relevant to their role. Returning to Navigator after a session can help you connect new knowledge with practical workplace needs, choose a useful next step and keep learning visible as confidence grows.
The Word support hub, with guidance across everyday tasks. A useful bookmark for looking up a feature after the session.
Explains how to select text and apply a heading style from the Styles gallery. Heading styles also make it easier to build a table of contents and reorganise your document.
Shows how to adjust the built-in styles or save your own so formatting is applied the same way throughout. It helps documents look consistent and saves time reformatting.
Explains how headings power the Navigation pane. It helps you move around and update long documents quickly.
Describes saving a document as a template, including storing it in SharePoint for sharing. It helps colleagues start from the same layout instead of copying old files.
Explains how to turn Track Changes on, choose how markup is displayed, and review changes. It includes options to track only your own changes or everyone’s.
Shows how Editor helps you improve clarity and correctness as you write. A helpful second pair of eyes before a document is shared.
Explains how to find and correct accessibility issues in Word and other Microsoft 365 apps. A final check that helps more people read and use your document.