Microsoft Teams
What Is Microsoft Teams?
Microsoft Teams is a digital tool that lets you join video calls, send messages, share documents and work with other people online. You can use it for meetings, classes, or just to stay in touch. You don’t need to speak or turn on your camera unless you want to.
Joining a Meeting
Step 1: Open Microsoft Teams
Click the Start button.
Type the word Teams into the search box.
Click the app called Microsoft Teams when it appears.
If you don’t have the app, you can still join using a web browser.
To do this, open your web browser, go to teams.microsoft.com.
Step 2: Use the Meeting Link
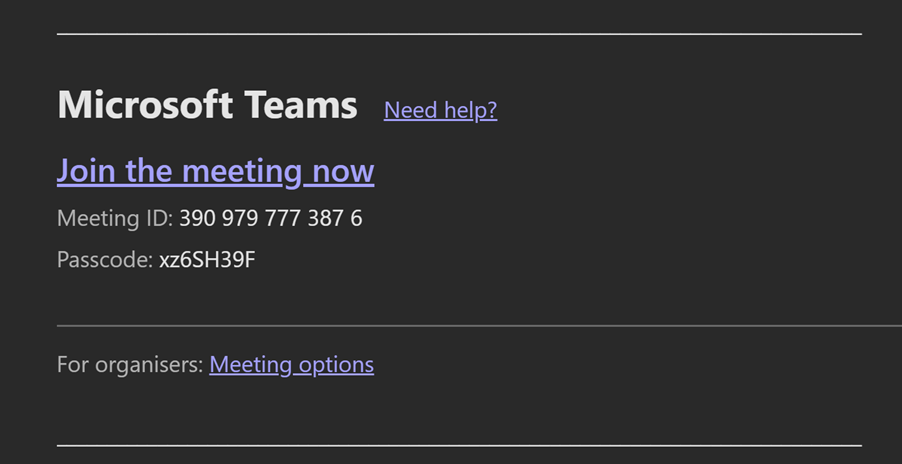
Someone will send you a link to join the meeting. This might be in an email, a calendar invite, or a message.
Click the link to ‘Join the meeting now’ once.
Step 3: Choose How to Join
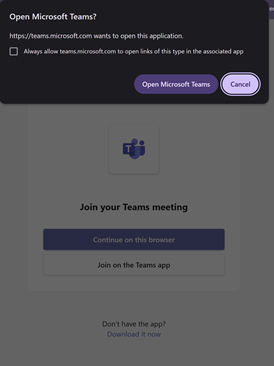
If you have the desktop app, it may open automatically, or you may be asked how you want to join the meeting in your web browser.
If you have the Teams desktop app, click the option that says Open Microsoft Teams.
If you don’t have the app, click the option that says Continue on this browser. Sometimes you have to cycle between pressing Open Microsoft Teams and cancel before the option to join on the web browser appears.
Step 4: Enter Your Name and Join the Lobby
If you are not signed in, you may be asked to type your name.
Click the box that says Enter name, type your name, then click the button that says Join Now.
You may be placed in a lobby. This means you’re waiting for the meeting organiser to let you in. Just wait – you’ll be admitted soon.
Step 5: Check Microphone and Camera Settings
Before you join, you’ll see a screen that shows your microphone and camera settings.
You can choose to turn your microphone or camera off or on by toggling the switches next to them.
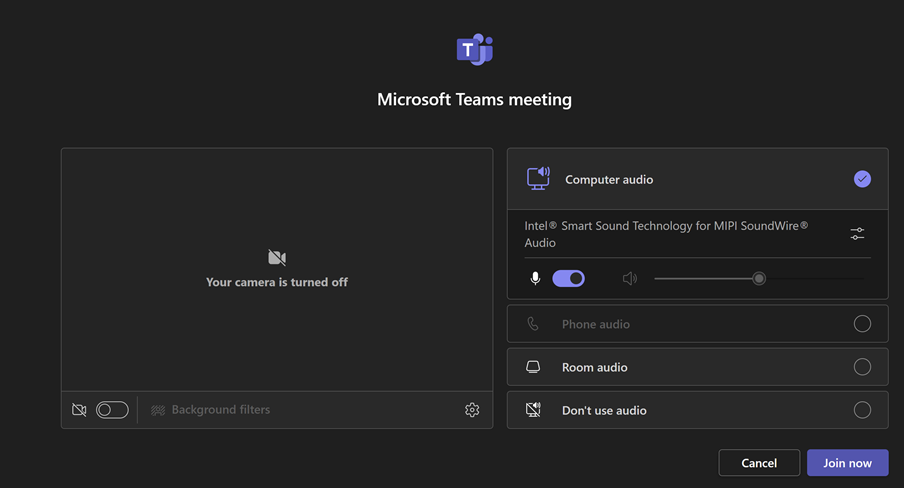
You can also choose a virtual background to look more professional by clicking the backgrounds option under your camera preview.
When you’re ready, click Join Now.
Top 5 Things to Know in Teams
- You don’t have to speak or be on camera – you can just listen or use the chat.
- You can leave at any time by clicking the Leave button.
- You can ask questions using the Raise Hand, Chat or Q&A features.
- You can turn on captions to read what people are saying.
- You can change how the meeting looks using View options.
Meeting Features
Raise Hand
Click the button labelled Raise Hand to let others know you want to speak.
Click it again to lower your hand once you’ve spoken.
Chat
Click the button labelled Chat to open the message box.
Click inside the box, type your message, then press Enter to send it.
Q&A (if available)
Some meetings have a Q&A feature.
Click the button labelled Q&A to ask a question.
You can type your question and submit it.
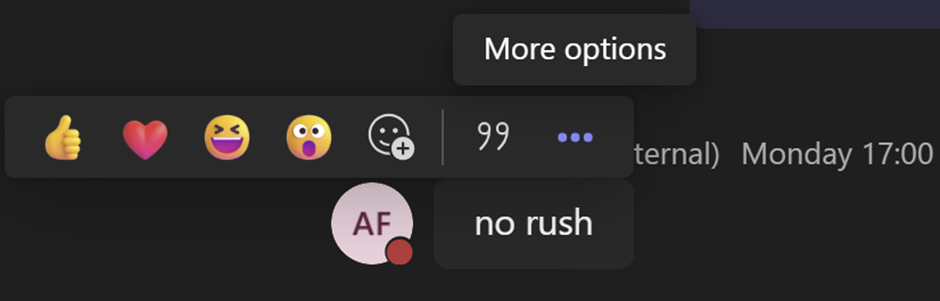
Reactions
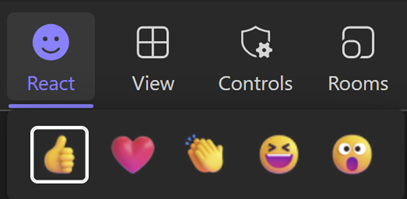
Click the Reactions button to show how you feel to something someone has said. Keep reactions professional, most people will only use thumbs up, heart or clapping hands. These are positive feedbacks.
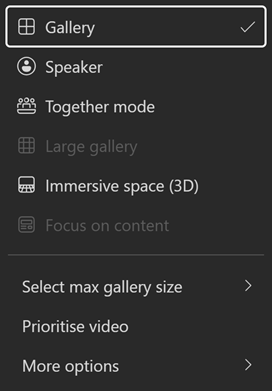
View Options
Click the button labelled View to change how the meeting looks.
You can choose to see just the speaker, a grid of people, or focus on shared content.
Share Content
If you’re asked to share your screen or you are the meeting organiser, click the button labelled Share.
Choose what you want to share – like your whole screen or just one window – then click Share again.
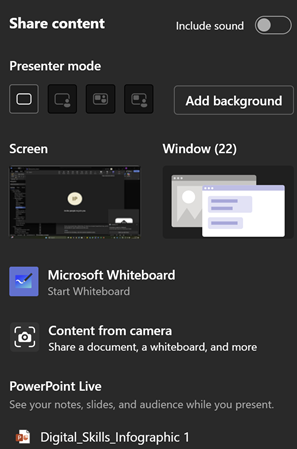
If you are presenting a slideshow, it’s best to choose PowerPoint Live, as this is most accessible for your audience and for you.
Leave
To leave the meeting, click the button labelled Leave.
Captions and Transcript
To turn on captions:
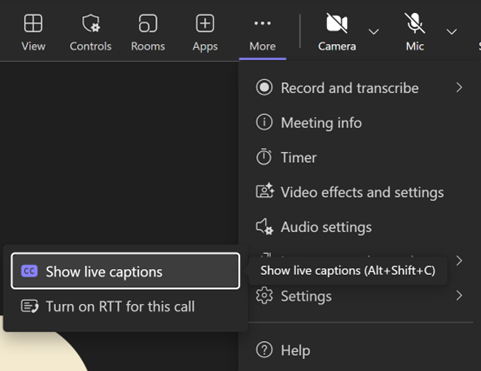
Click the button labelled More (…).
Click Language and speech and Show live captions.
Captions will appear as people speak.
To view the transcript:
Click More, then choose Recording and transcription or View transcript if available.
You’ll see a written record of what was said.
Professional Background
If you have not already done so when you joined the meeting, you can blur your background or choose a picture:
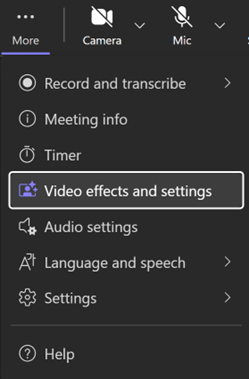
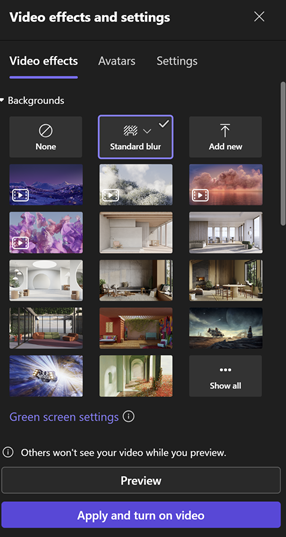
Click More, then choose Video effects.
Pick a background or blur option, then click Apply.
People Pane
Click the button labelled People to see who is in the meeting.
You can also see who has their hand raised. If you are the organiser, it is important to follow the number that tells you the order people put their hands up in.
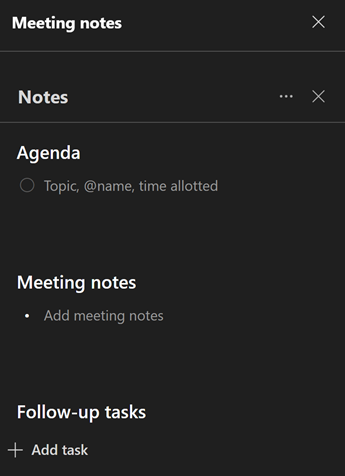
Notes
Click More, then choose Meeting Notes.
You can read notes others have written or add your own.
Recap via Chat Icon
After the meeting ends:
Open Microsoft Teams.
Click the button labelled Chat.
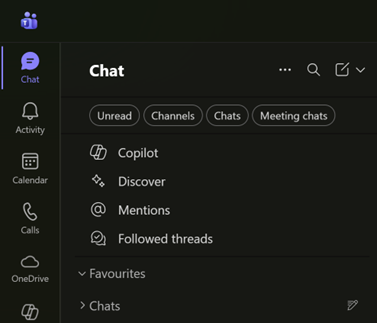
Find the name of the meeting in the list.

Click it once.
You’ll see a recap – this may include the chat messages, transcript, notes, and any shared files.
Accessibility in Teams
Use Keyboard Shortcuts
To see a list of shortcuts:
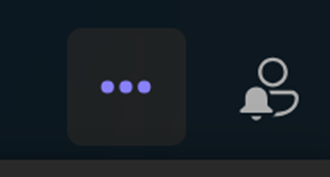
Click the 3 dots (…) next to your profile picture or initials.
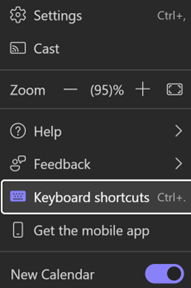
Choose Keyboard shortcuts.
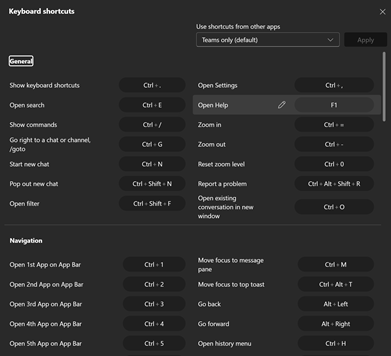
You’ll see a list of keys you can press to do things quickly.
Use Immersive Reader
Immersive Reader is a tool in Microsoft Teams that helps you read messages more easily. It can read text aloud, change text size, and show words one at a time. This is useful if you find reading difficult or want to focus better.
Click on the Chat or Teams tab. Scroll to the message you want to use Immersive Reader on.
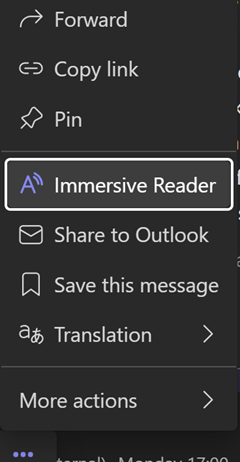
Move your mouse over the message. Click the (…) More button.
Click Immersive Reader from the list.
The message will open in a new view.
At the top, you will see buttons for different tools:
Click ‘play/pause’ to control the playback of the message
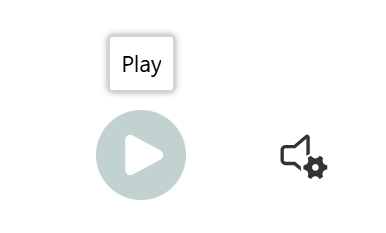
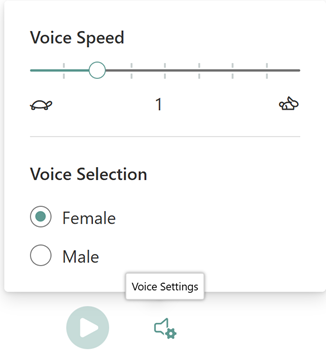
Other icons allow you to change the speed or voice
You can also choose to:
- highlight the parts of words
- different types of words
- have the text in different sizes, colours or spacing
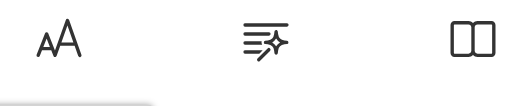
Lastly, you can add ‘Line focus’ to highlight just the line you are reading
Click the Back arrow at the top left to return to Teams.
Use a Screen Reader
Teams works with screen readers like Narrator or JAWS.
Make sure your screen reader is turned on before opening Teams.
Teams will read out labels, buttons, and messages.
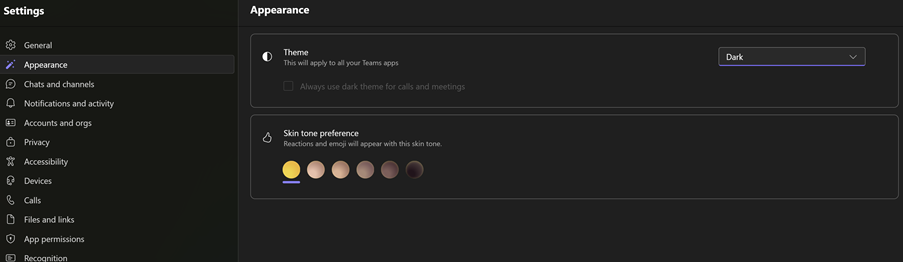
Change Contrast
Click the 3 dots (…) next to your profile picture or initials, then choose Settings.
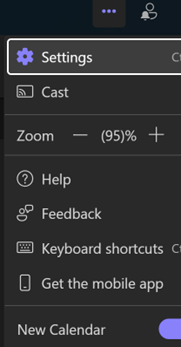
Click Appearance.
Here you can set the contrast to follow your system mode, or change it to Light, Dark, Classic or High Contrast modes.