
Accessible summary
A plain-language summary of the WeChange.AI skilling session. Use this alongside the session recording.
What this session covers
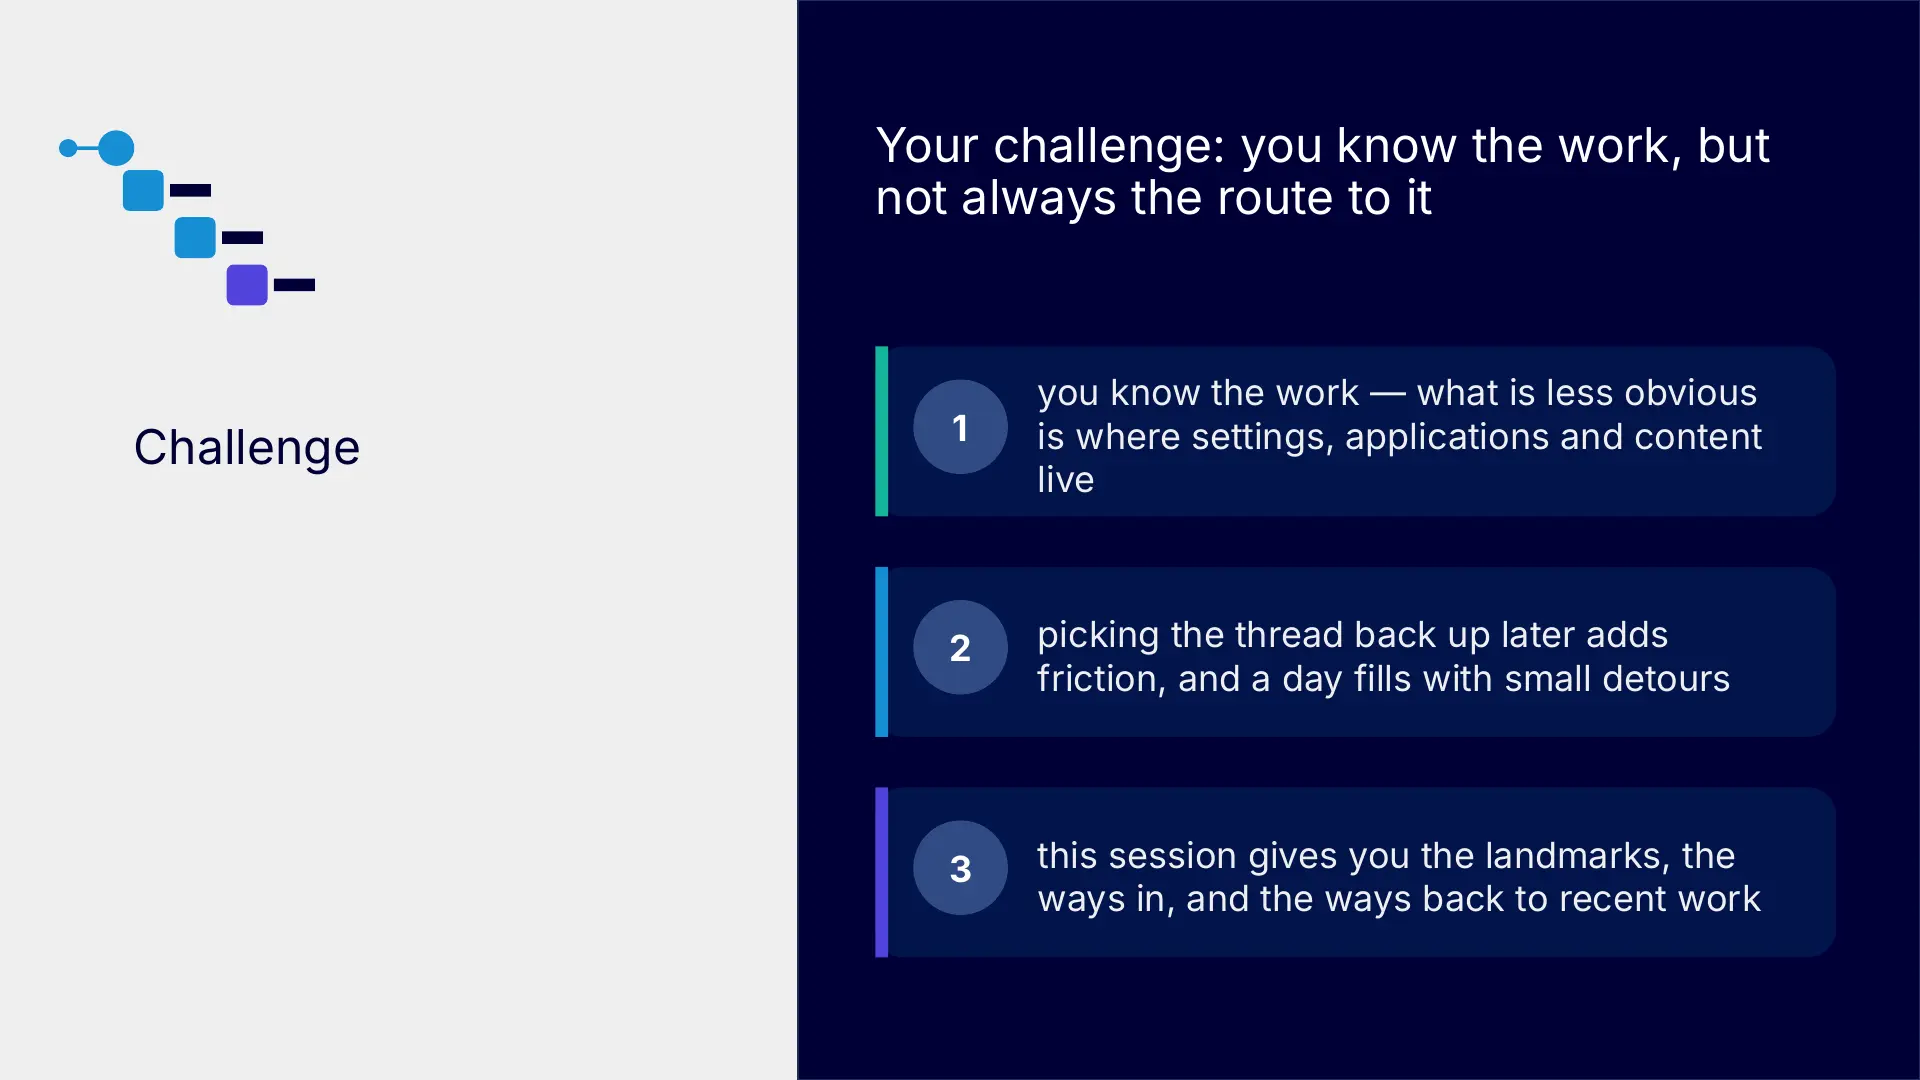
This foundational session builds a clear route through the everyday Windows and Microsoft 365 experience. It is designed for public and third sector end users who know the work they need to do but may not yet know where applications, settings and recent files live, or which window to use for a task.
- the desktop, Start menu and taskbar, and the areas most applications share
- ways to open applications, search for information and return to recent work
- the Microsoft 365 app launcher and the applications your organisation provides
- how to recognise browser and desktop applications
- how to arrange, switch between and manage open windows without losing your place
Making the session work for you
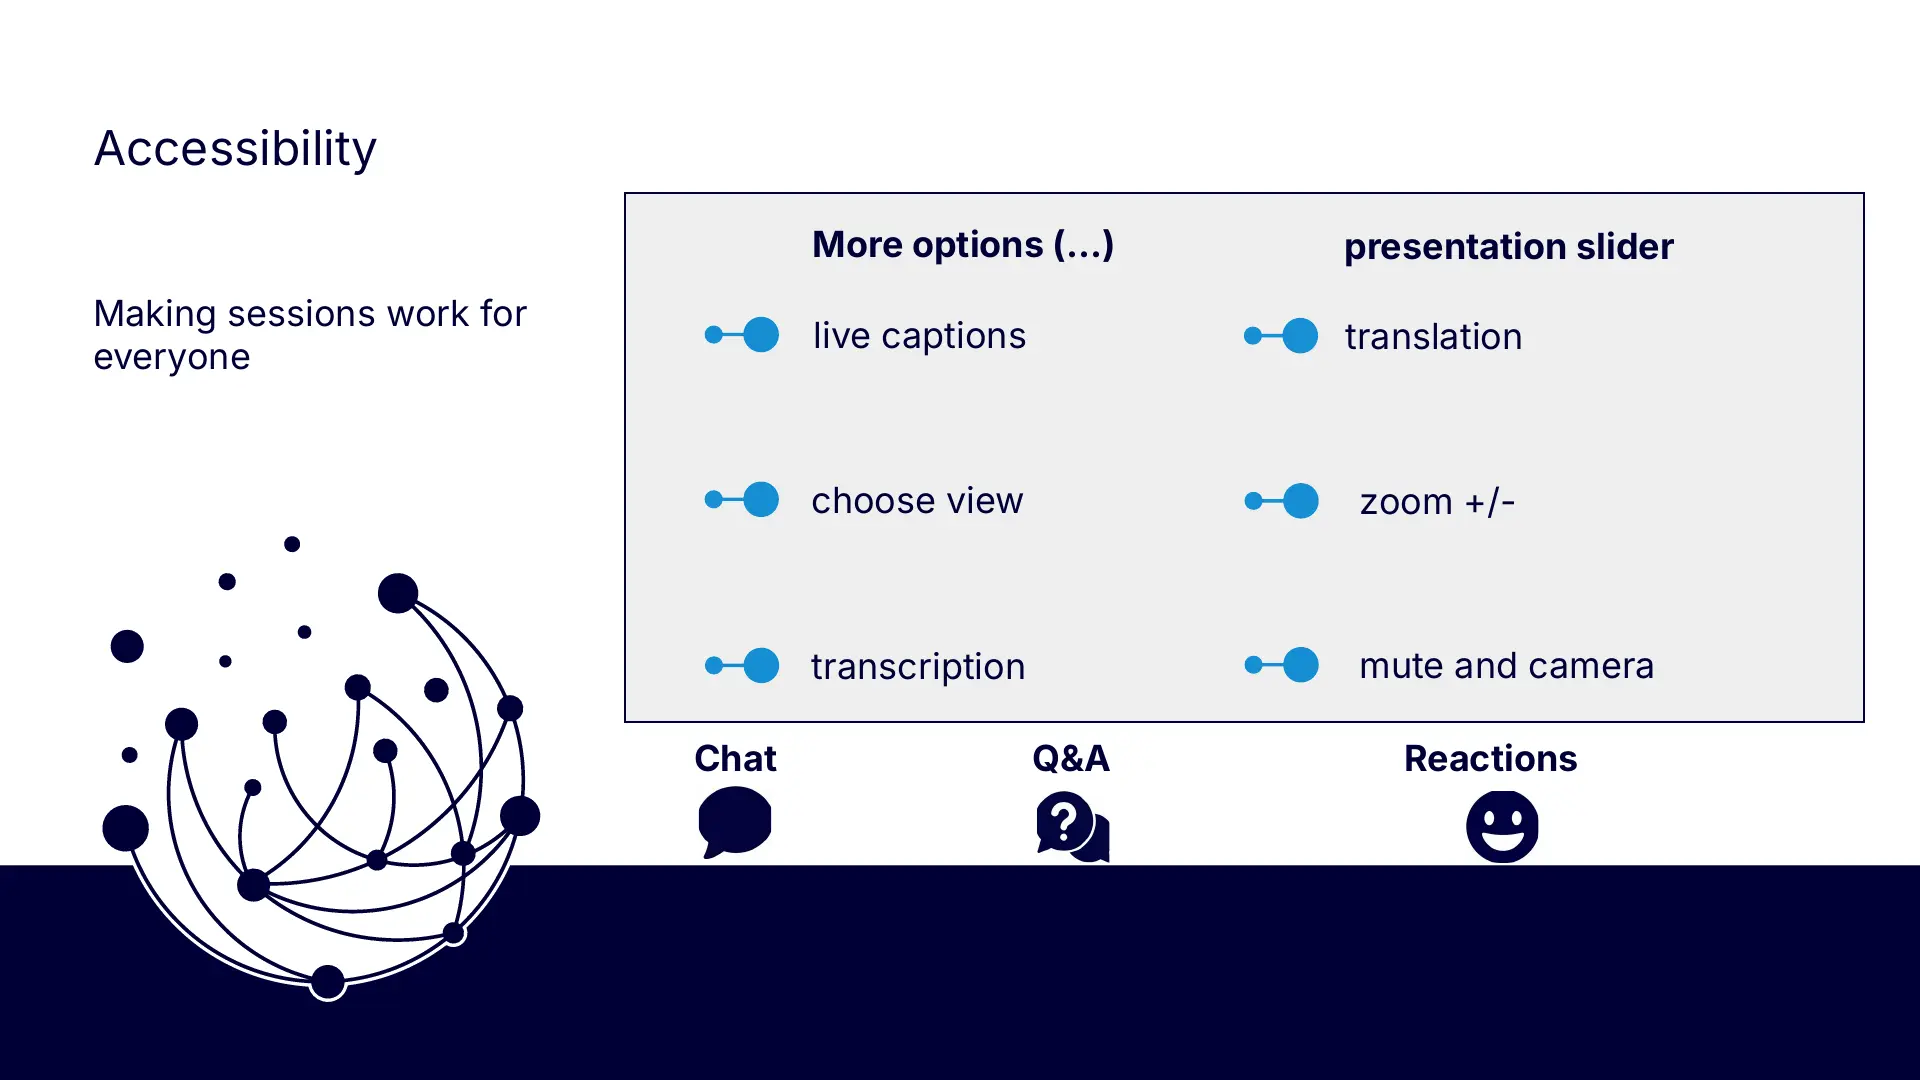
The session is delivered through a Microsoft Teams webinar using PowerPoint Live. You can personalise how you follow and take part. The session is recorded, and you can watch rather than follow along unless the trainer asks you to try something.
- use live captions or translation from the three-dots menu
- choose a view that gives you the clearest layout
- use the slider below the presentation to zoom in or out
- keep your camera and microphone off unless you are invited to use them
- use Q&A for questions and keep chat closed when you are not typing
- use reactions or other participation options if they work better for you
- share respectful feedback and use the key links provided in chat
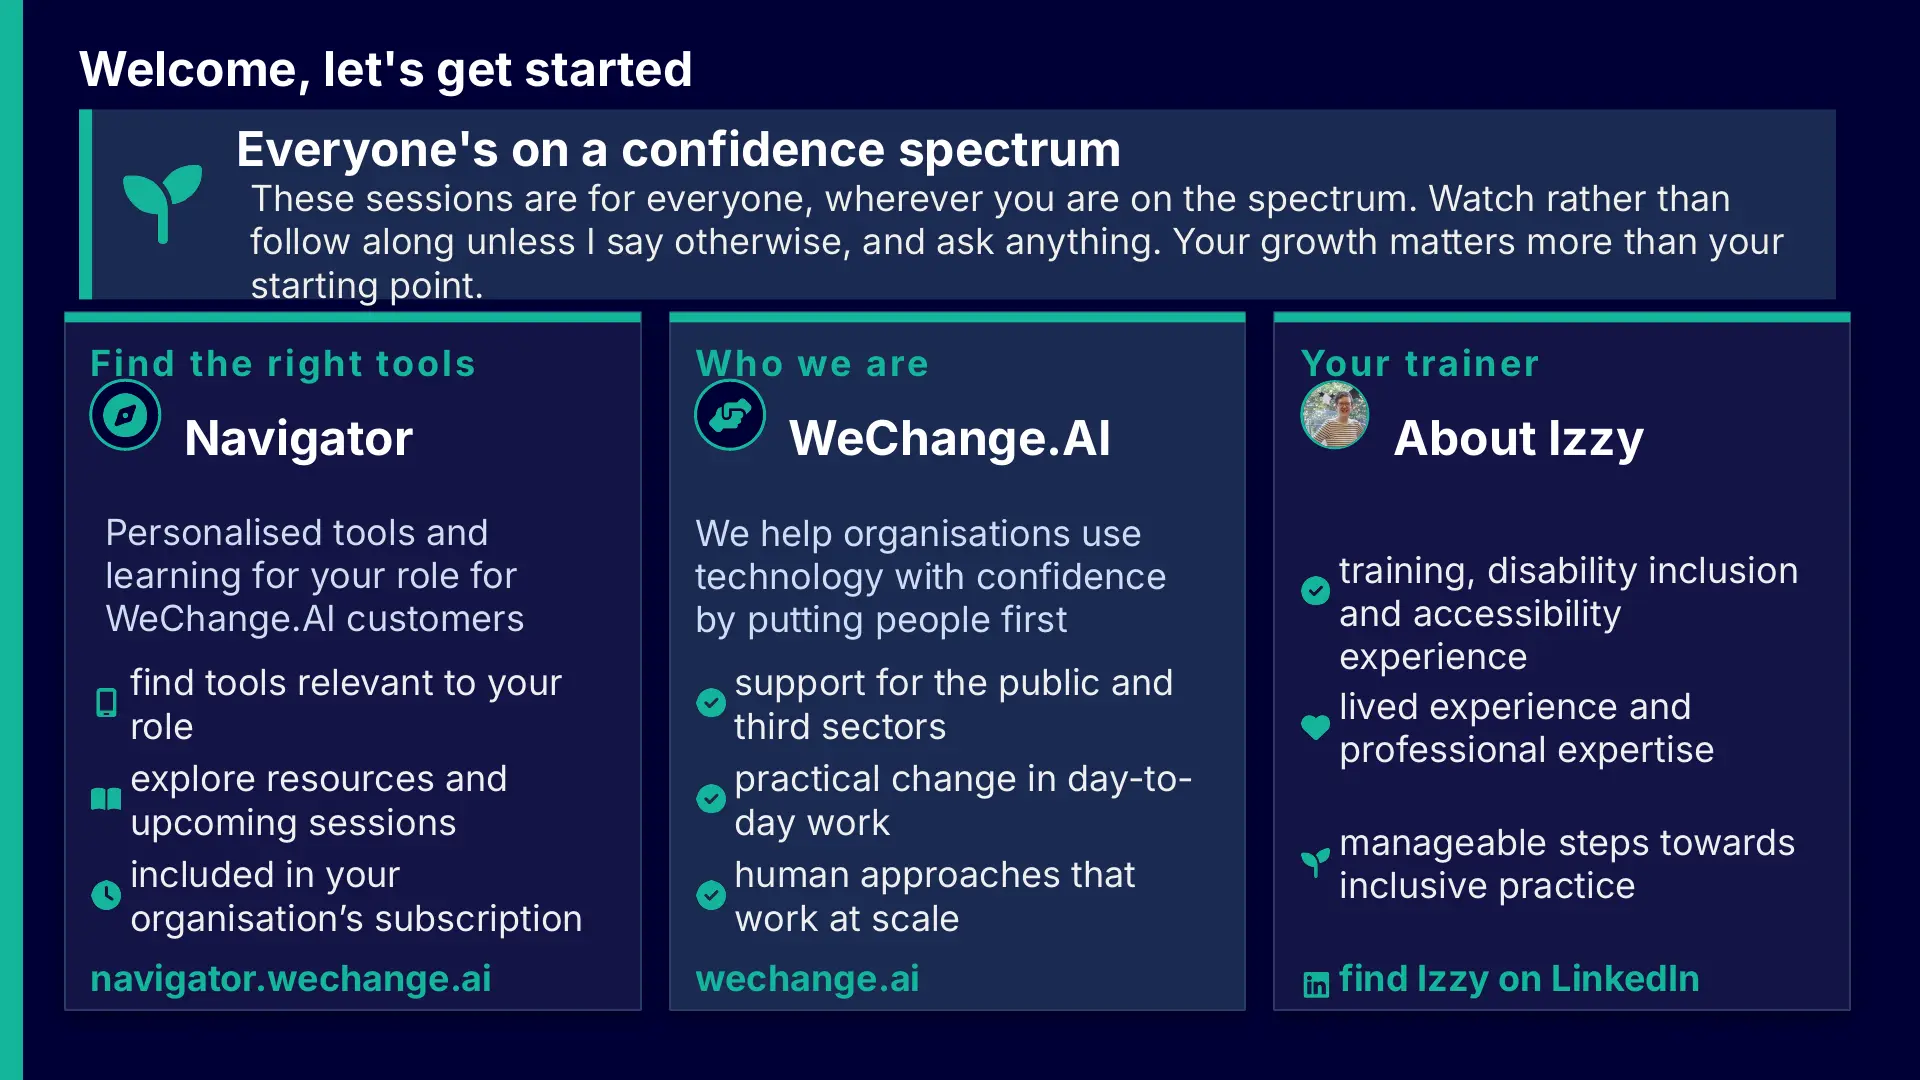
Everyone is on a confidence spectrum
These sessions are for everyone, whatever your starting point. Your growth matters more than how confident you feel today. You do not need to remember every route or shortcut. The aim is to identify one or two reliable ways to find and return to your work.
Navigator and WeChange.AI
Navigator is a personalised platform for WeChange.AI customers. It helps you discover Microsoft 365 applications, features, resources and upcoming sessions that are relevant to how you work.
WeChange.AI supports public and third sector organisations to use the technology they already have with confidence, purpose and impact. The focus is practical, people-centred change in day-to-day work.
Key concepts
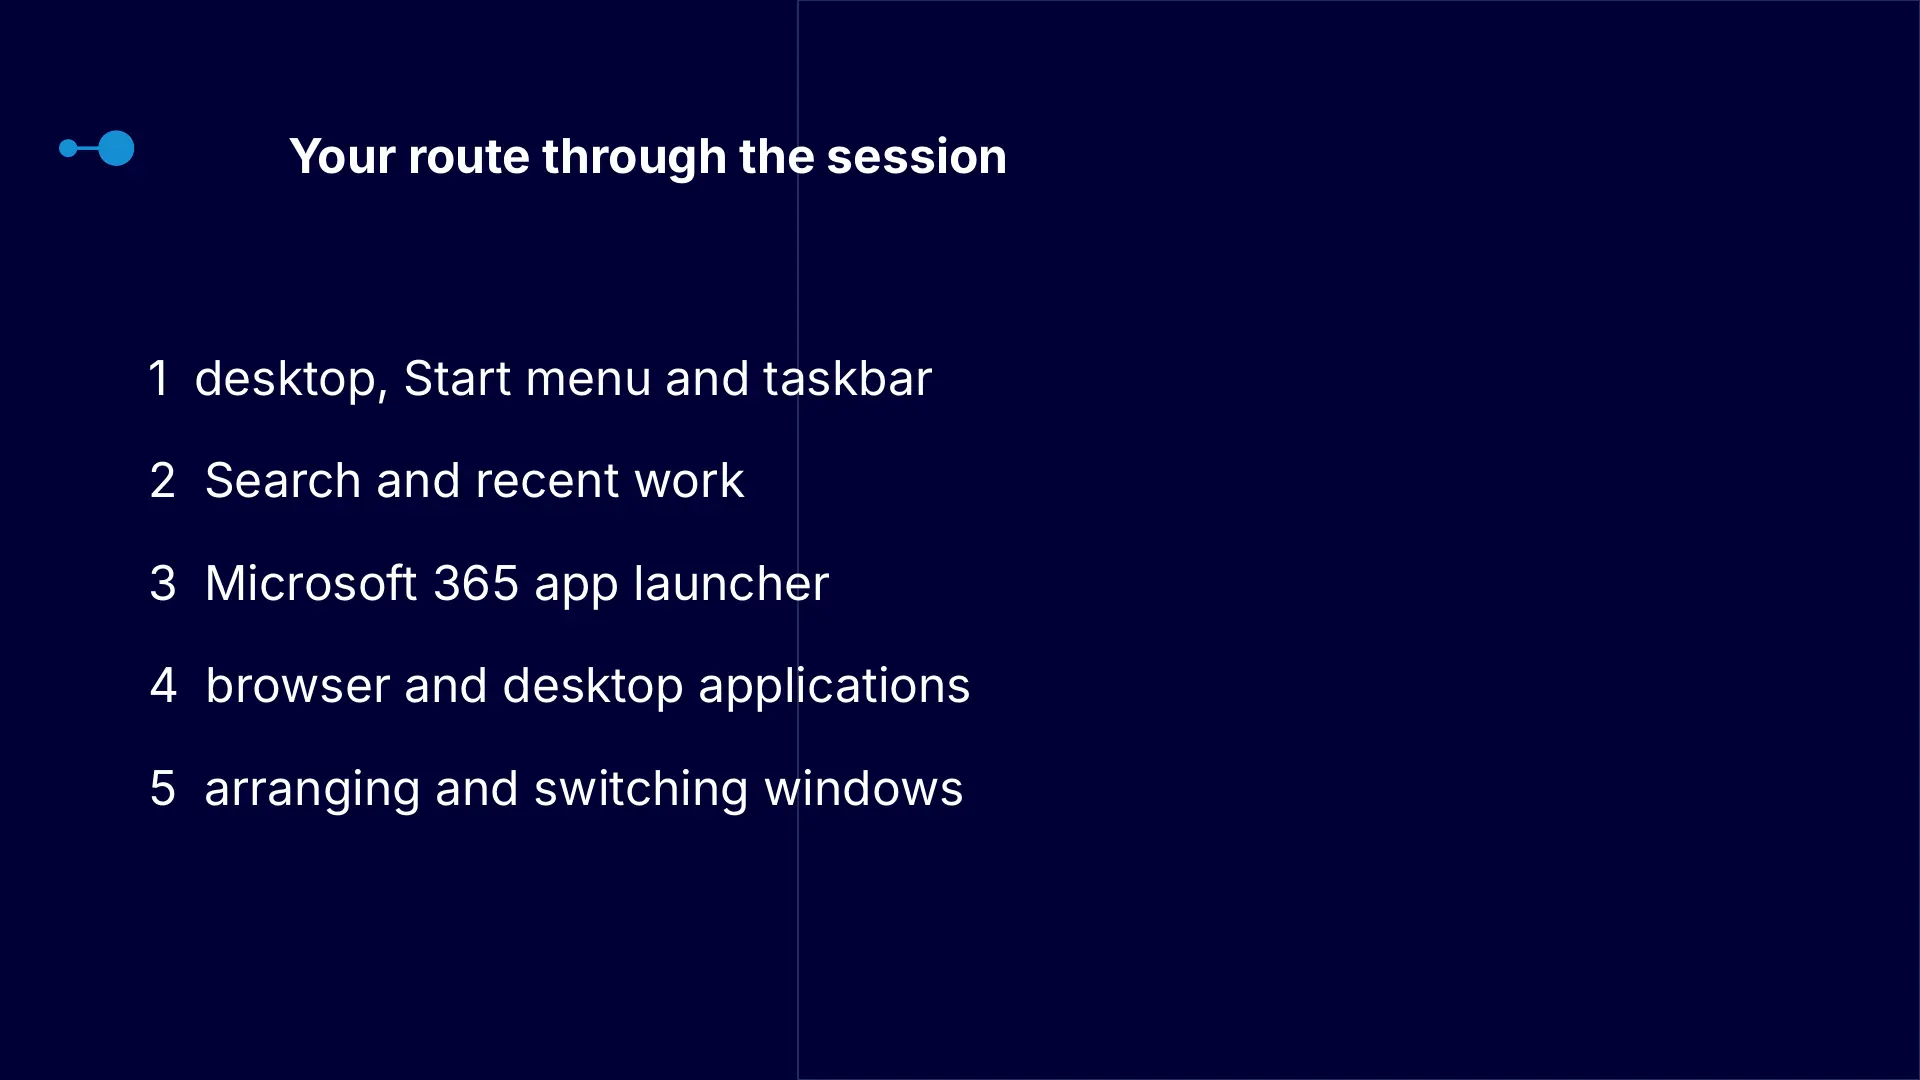
Your route through the session
The route graphic presents five connected stages. It begins with the fixed landmarks in Windows, moves through ways to find work and applications, and ends with arranging and switching windows.
- desktop, Start menu and taskbar
- Search and recent work
- Microsoft 365 app launcher
- browser and desktop applications
- arranging and switching windows
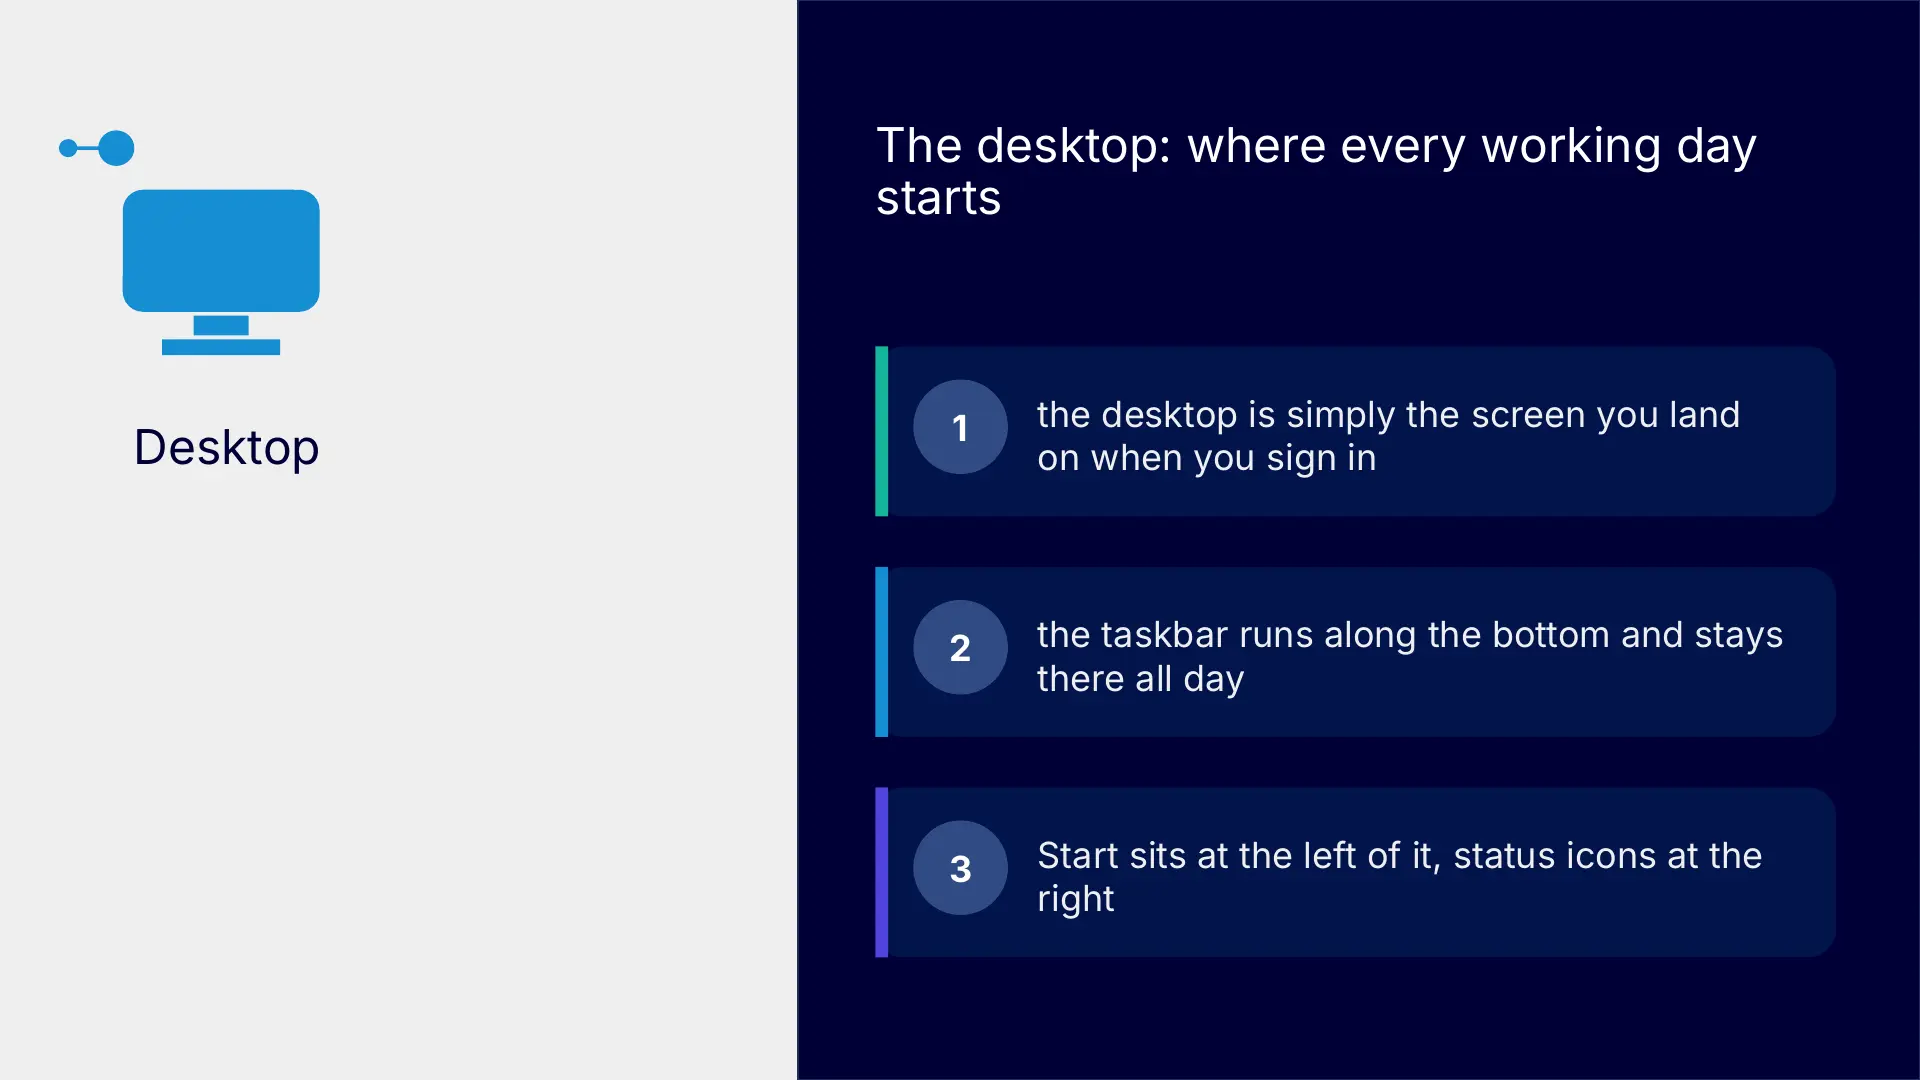
The desktop: where your working day starts
The desktop is the background area you see when you sign in to Windows. It can contain shortcuts to applications and files. The taskbar normally runs along the bottom of the screen and remains available while you work.
- the Start button opens the Start menu and search
- application icons on the taskbar show the tools that are pinned or open
- the notification area shows information such as network, sound, time and updates
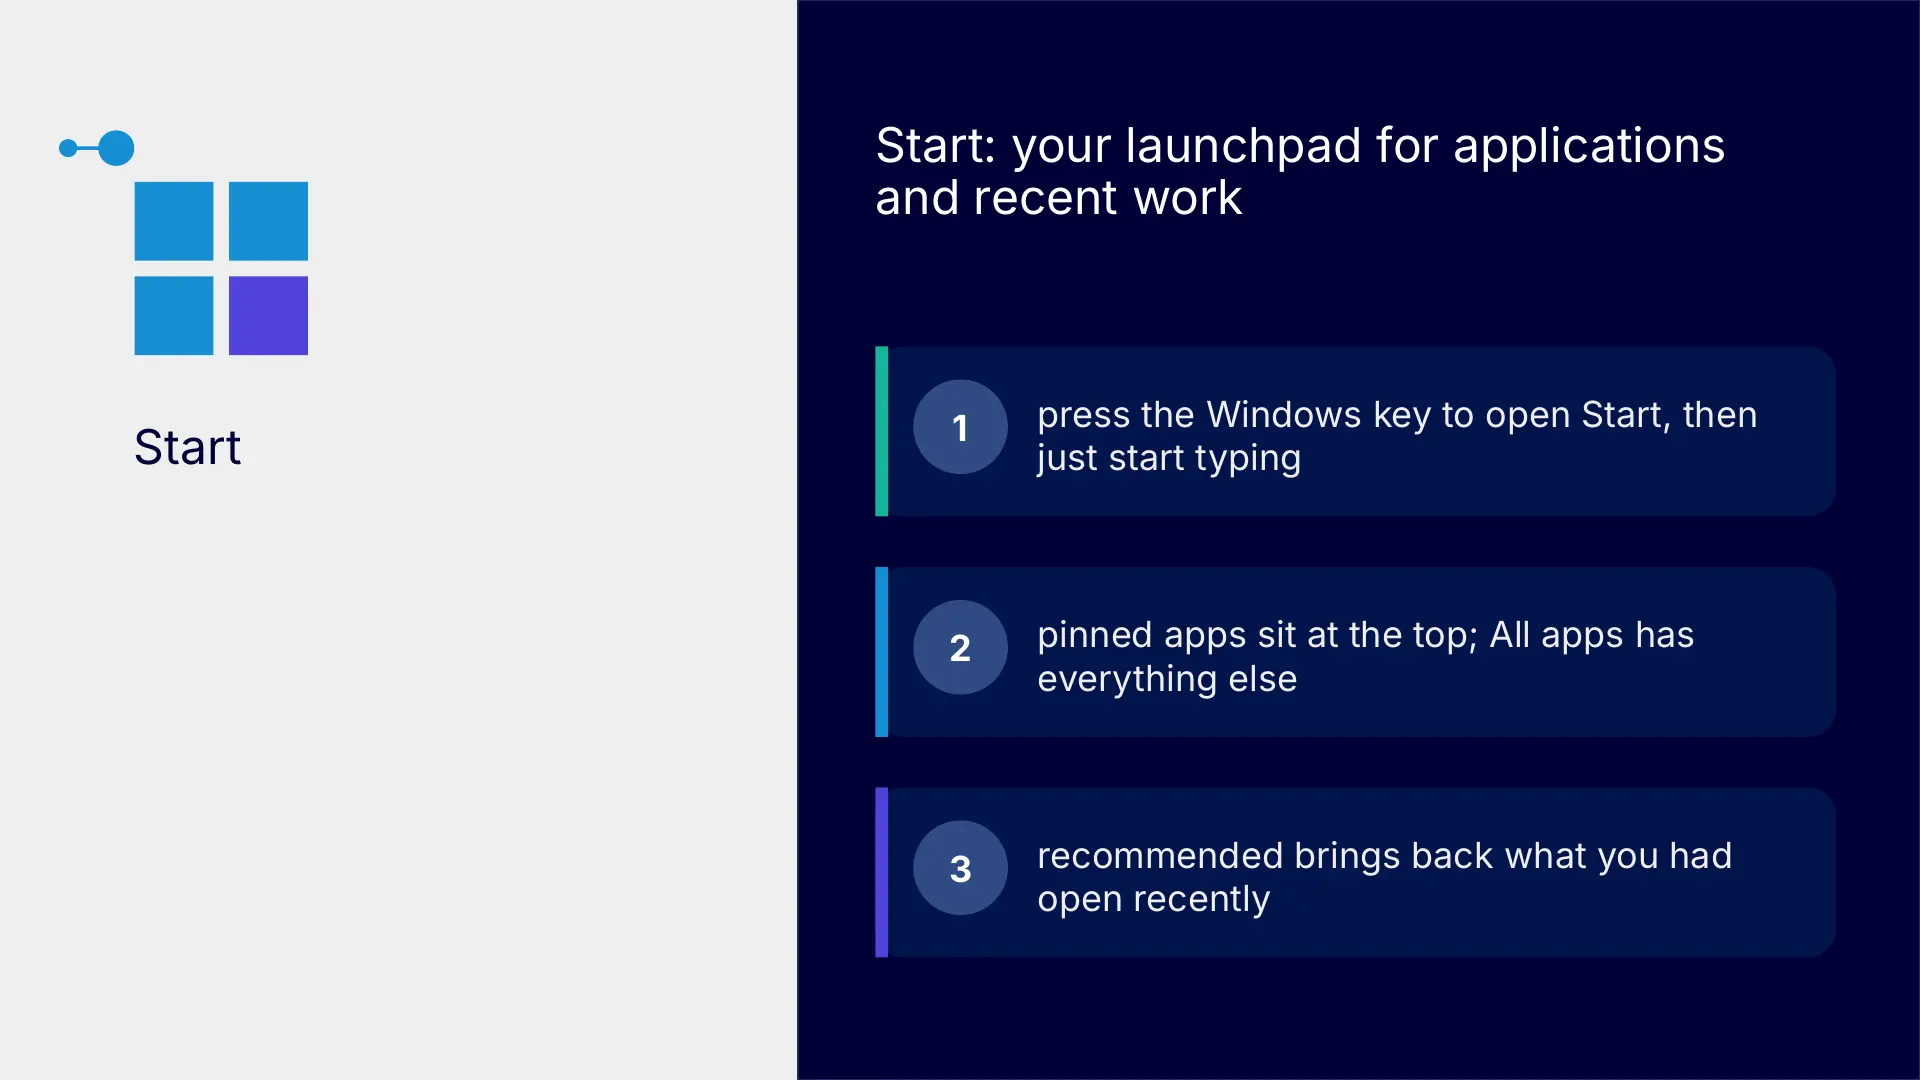
Start: your launchpad for applications and recent work
Select the Start button or press the Windows key to open the Start menu. Pinned applications appear near the top, All apps shows the full alphabetical list, and Recommended helps you return to recently used work.
- start typing as soon as the menu opens to search instead of scrolling
- pin applications you use every day so they remain in a predictable place
- use Recommended as one route back to files or applications you opened recently
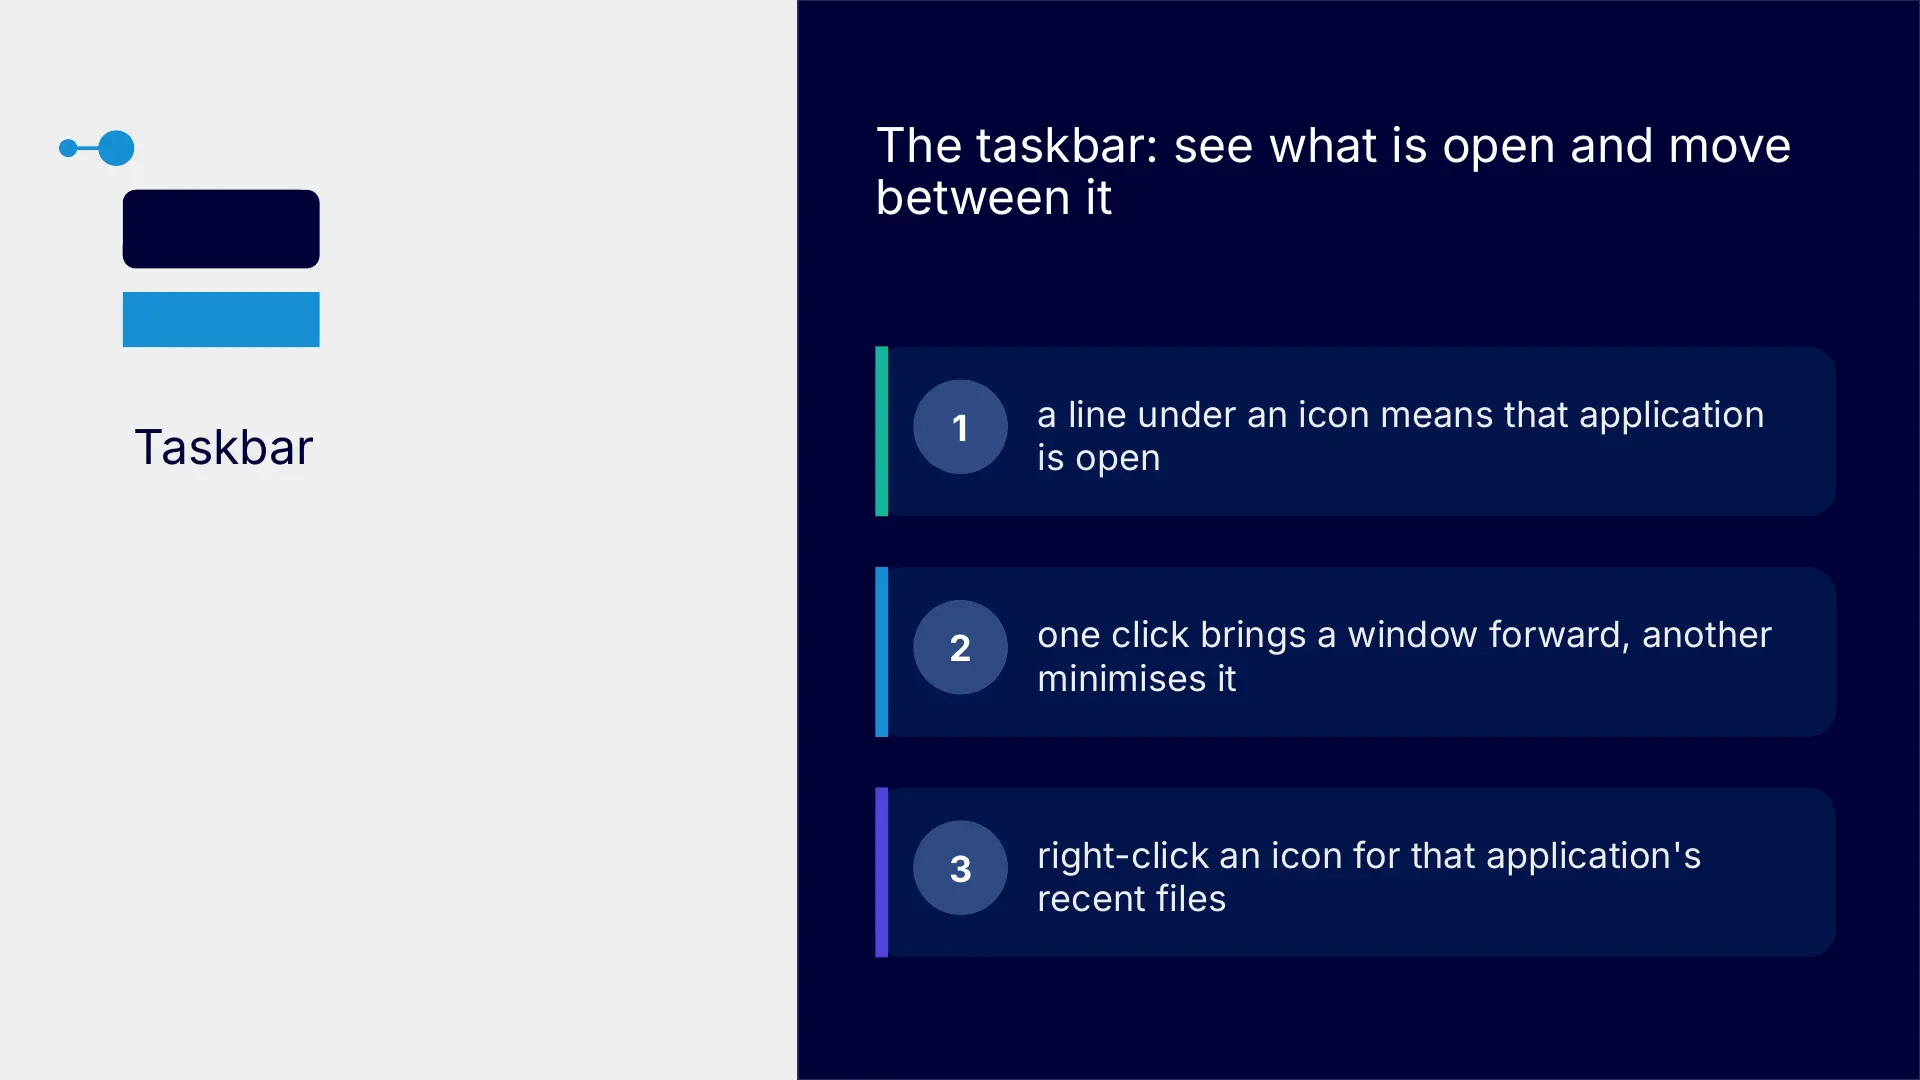
The taskbar: see what is open and move between it
Pinned icons give one-click access to applications you use often. An open application normally has a line or highlight beneath its icon. Selecting an icon brings that application to the front, and selecting it again may minimise it.
- hover over an icon to preview its open windows
- right-click an icon to see recent files and pinning options
- switching to another window does not close your work
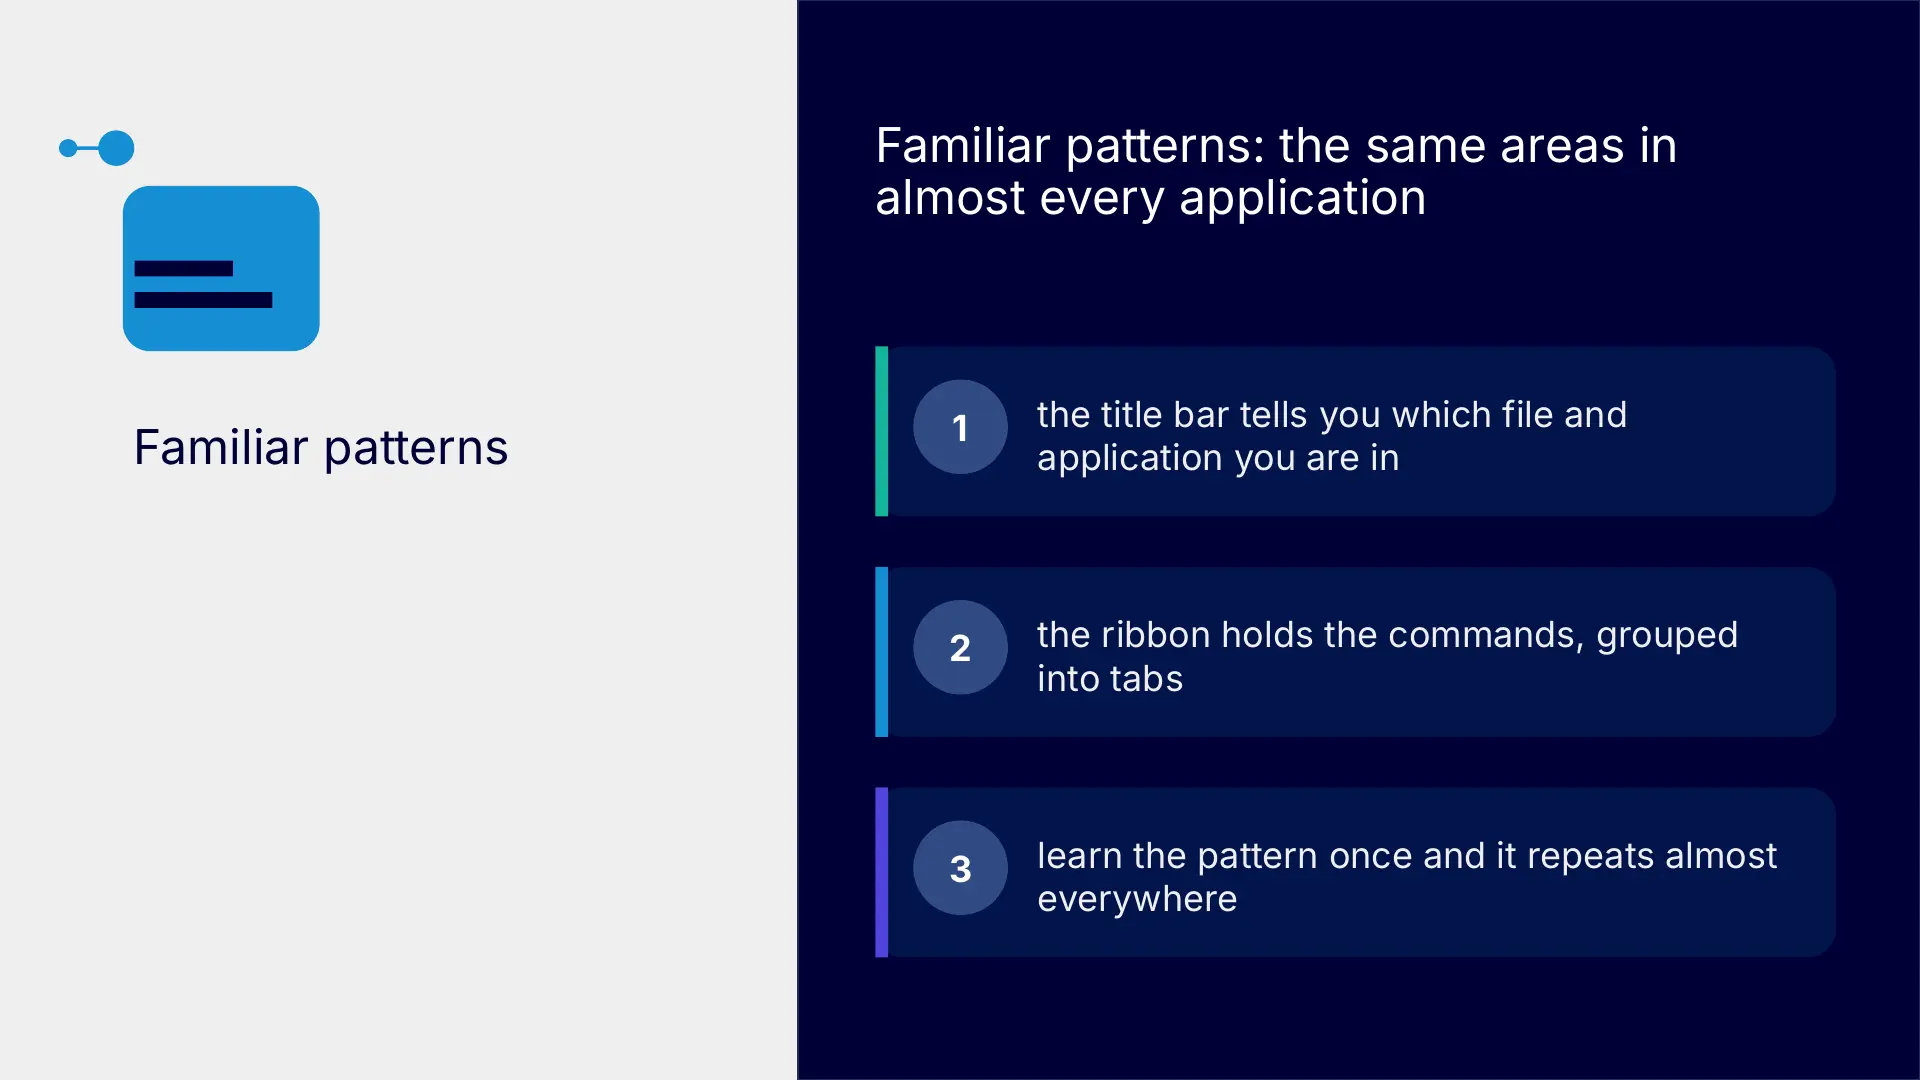
Familiar patterns across applications
Many applications use the same areas. Recognising the pattern in one application makes it easier to understand another.
- the title bar identifies the file and application
- the ribbon groups commands into labelled tabs
- contextual tools appear when you select an item that needs them
- a navigation or side pane helps you move through content
- the status bar can show information such as page, word count, zoom and view options
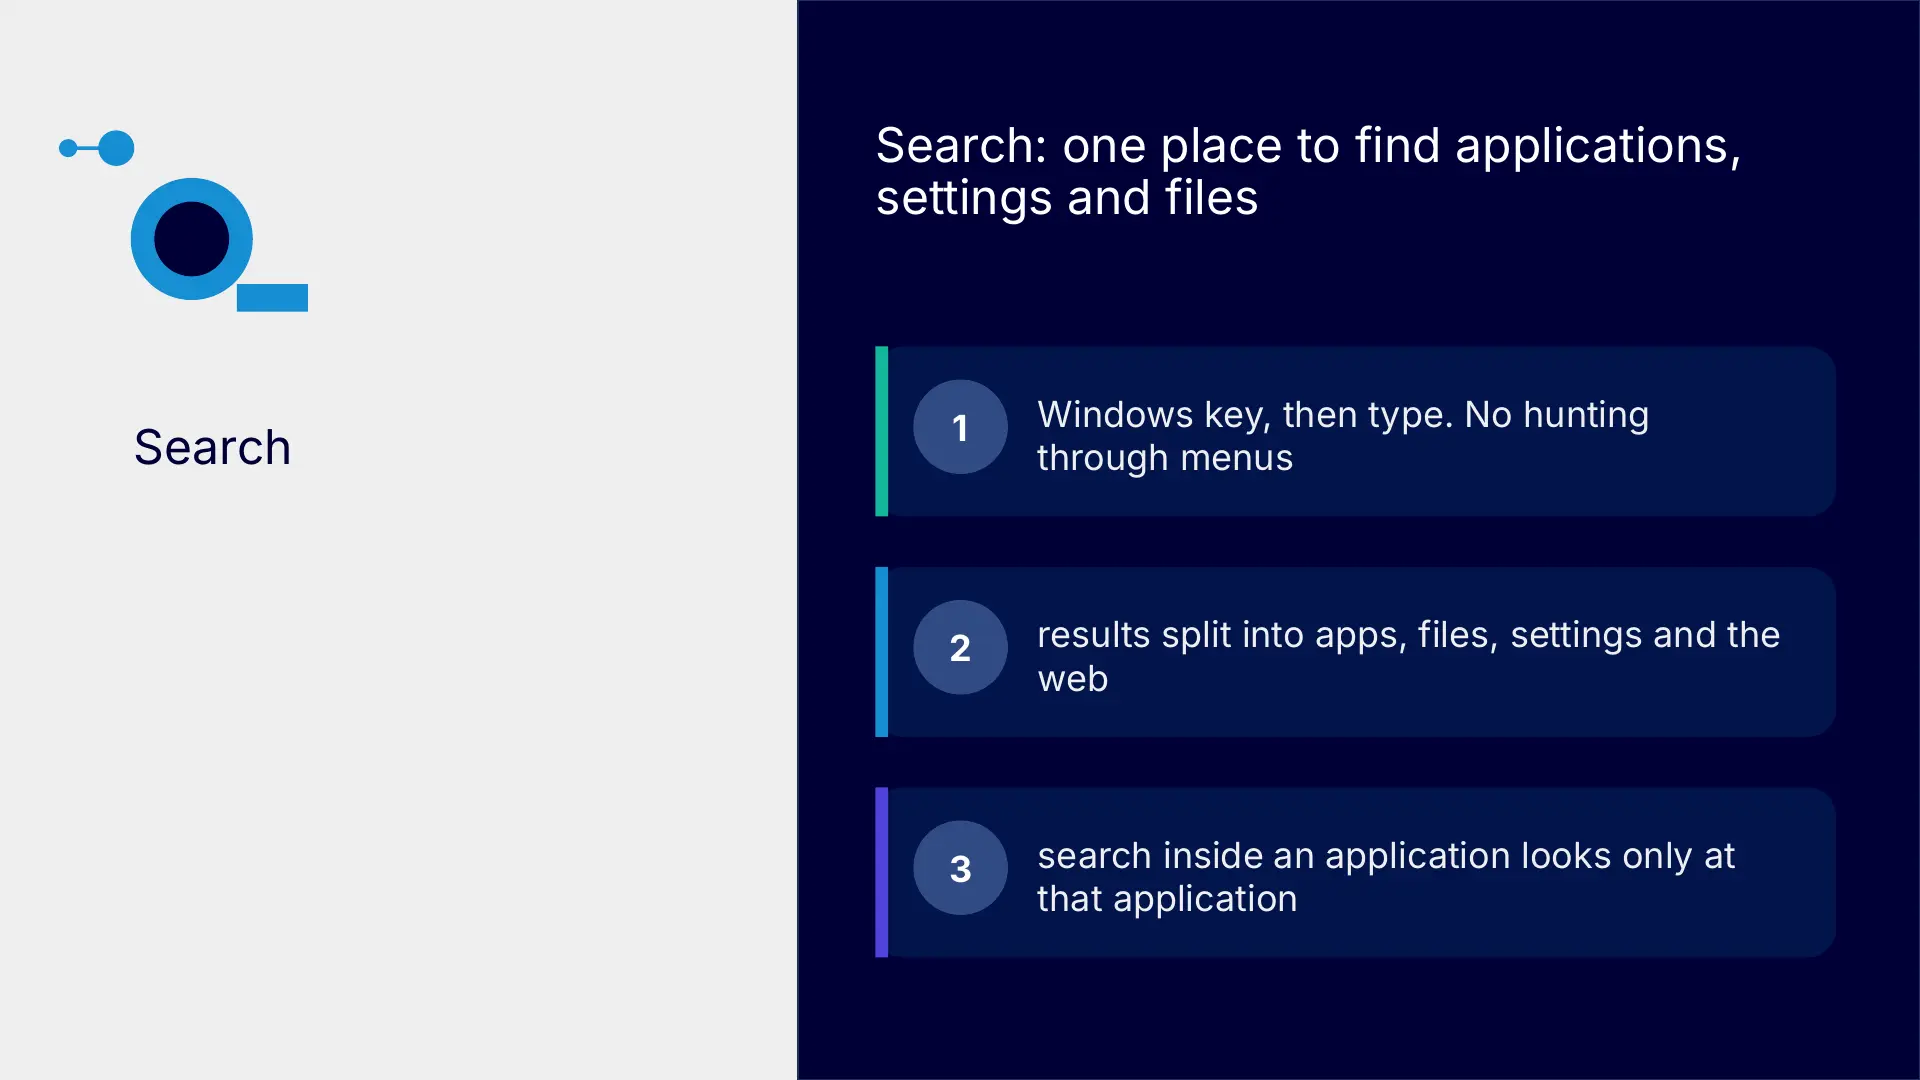
Search: find applications, settings and files
Press the Windows key and begin typing to search your device and, depending on your organisation’s settings, the web. Results may be grouped into applications, documents, settings and folders. Search inside an application is narrower and searches that application’s content.
- use Windows Search when you know the name of an application, setting or file
- use OneNote search for a page, a notebook or all notebooks
- use filters in Teams and Outlook to narrow results by people, messages or files
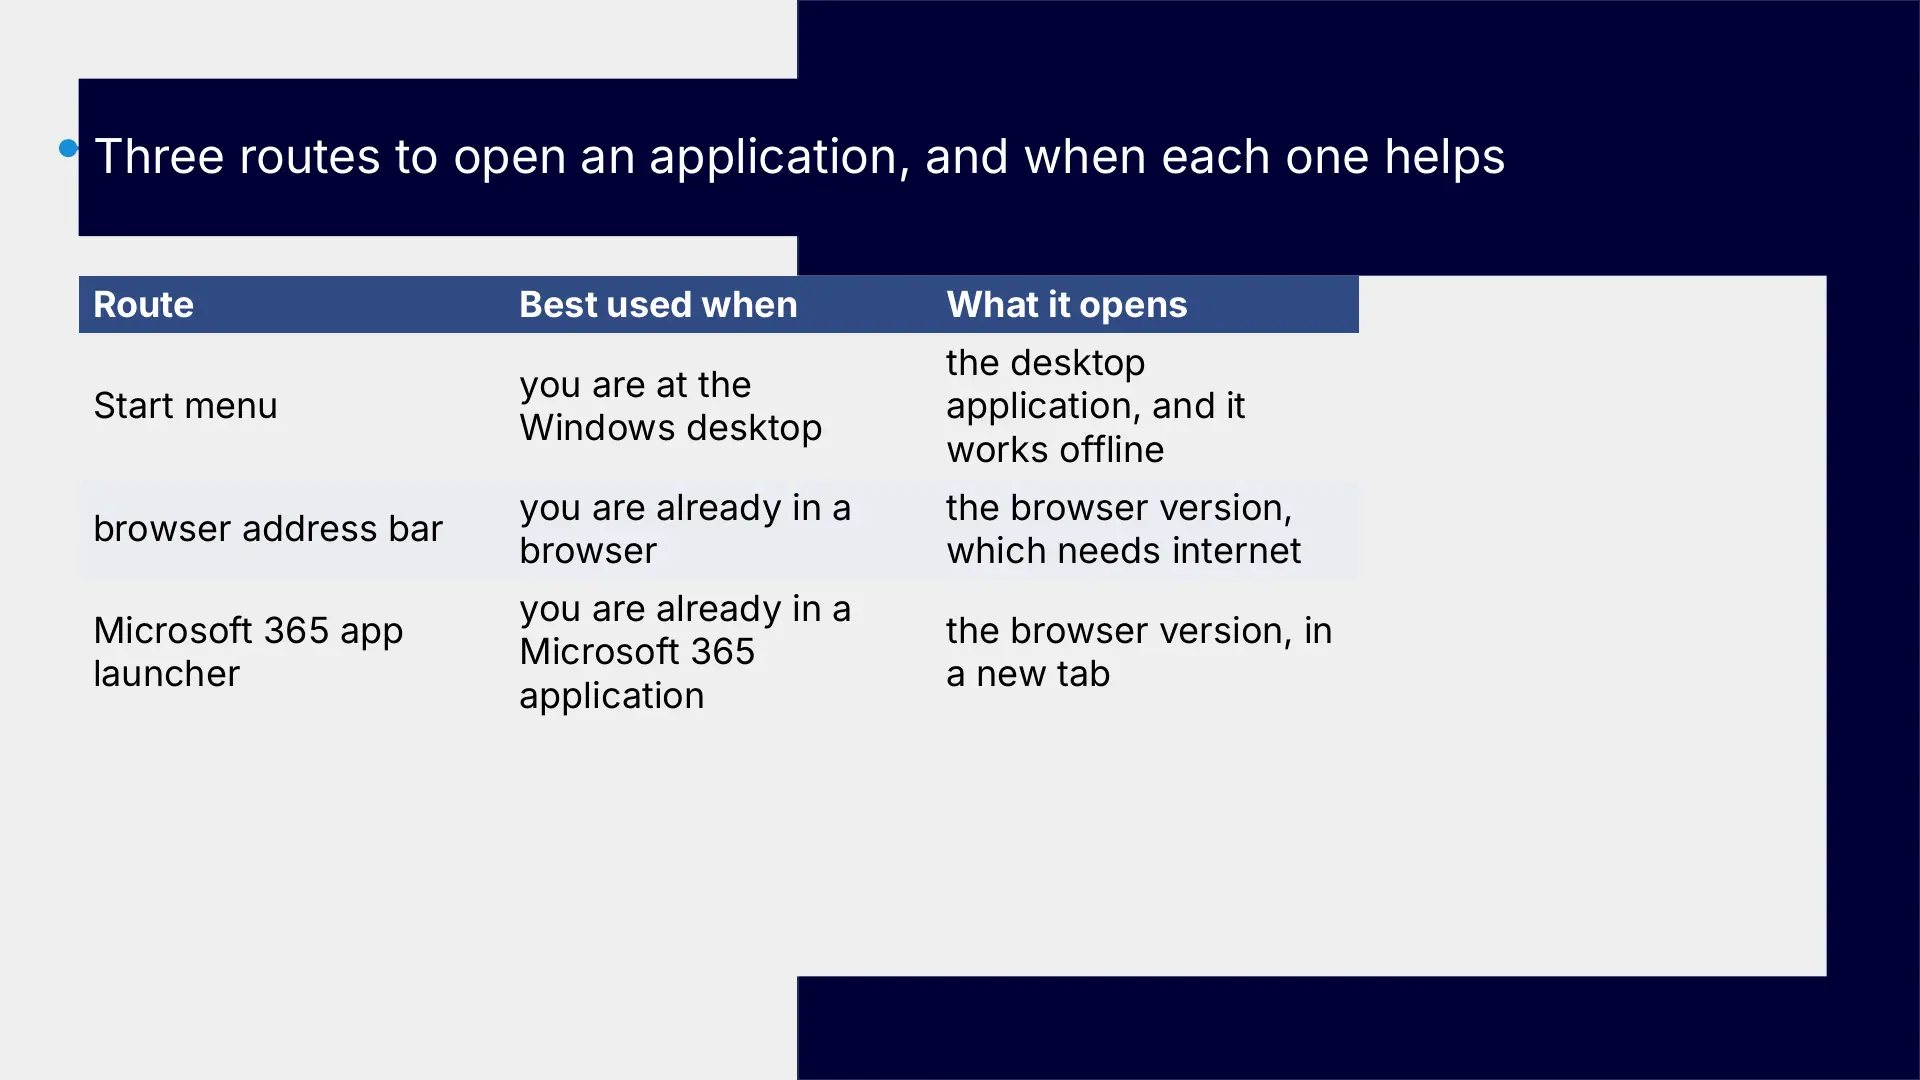
Three routes to open an application
| Route | Best used when | What it opens |
|---|---|---|
| Start menu | when you are at the Windows desktop | usually opens the installed desktop application |
| browser address bar | when you are already in a browser | opens the browser version and normally needs an internet connection |
| Microsoft 365 app launcher | when you are already in a Microsoft 365 browser application | opens the browser version in a new tab |
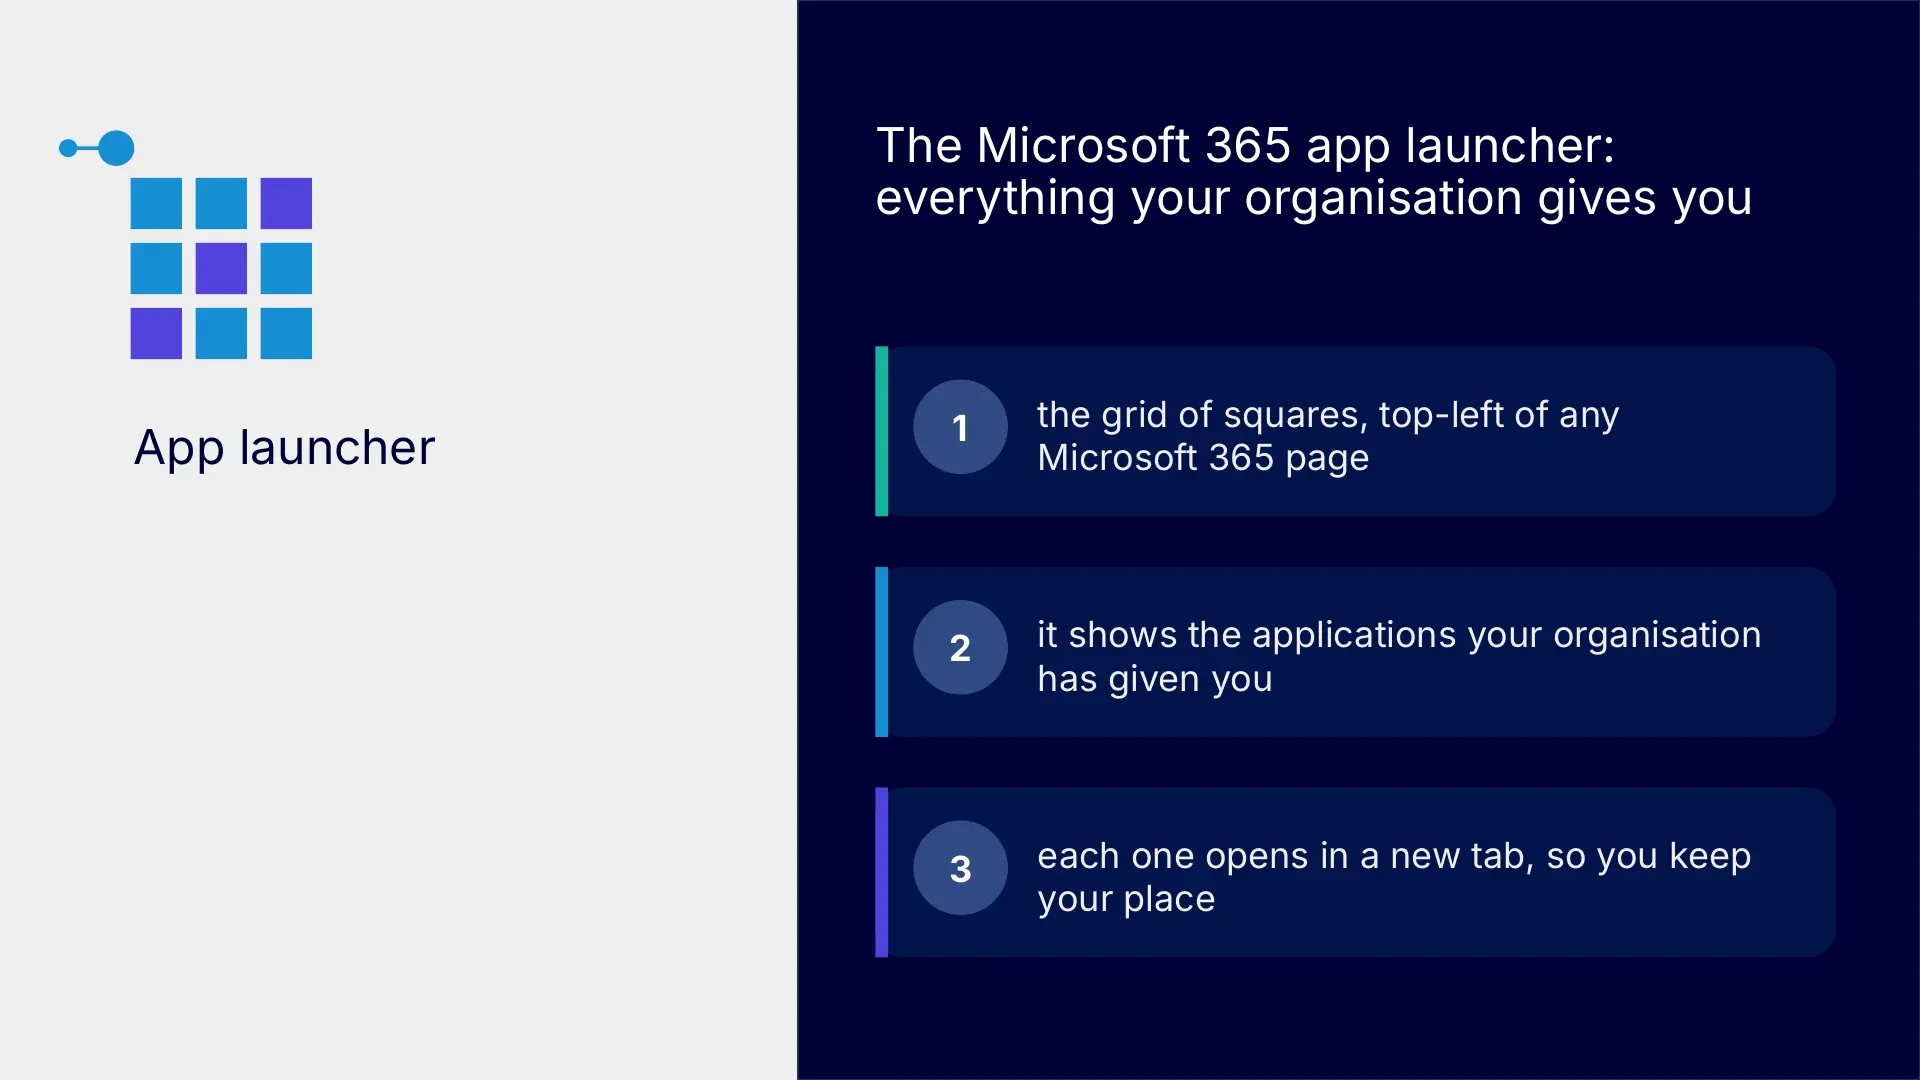
The Microsoft 365 app launcher
The app launcher is the grid of squares in the top-left corner of many Microsoft 365 browser pages. It lists the applications your organisation has made available. Applications open in a new tab, so the page you were using remains open.
- pin applications you use most so they are easier to reach
- select All apps to see the full list rather than only recent or pinned applications
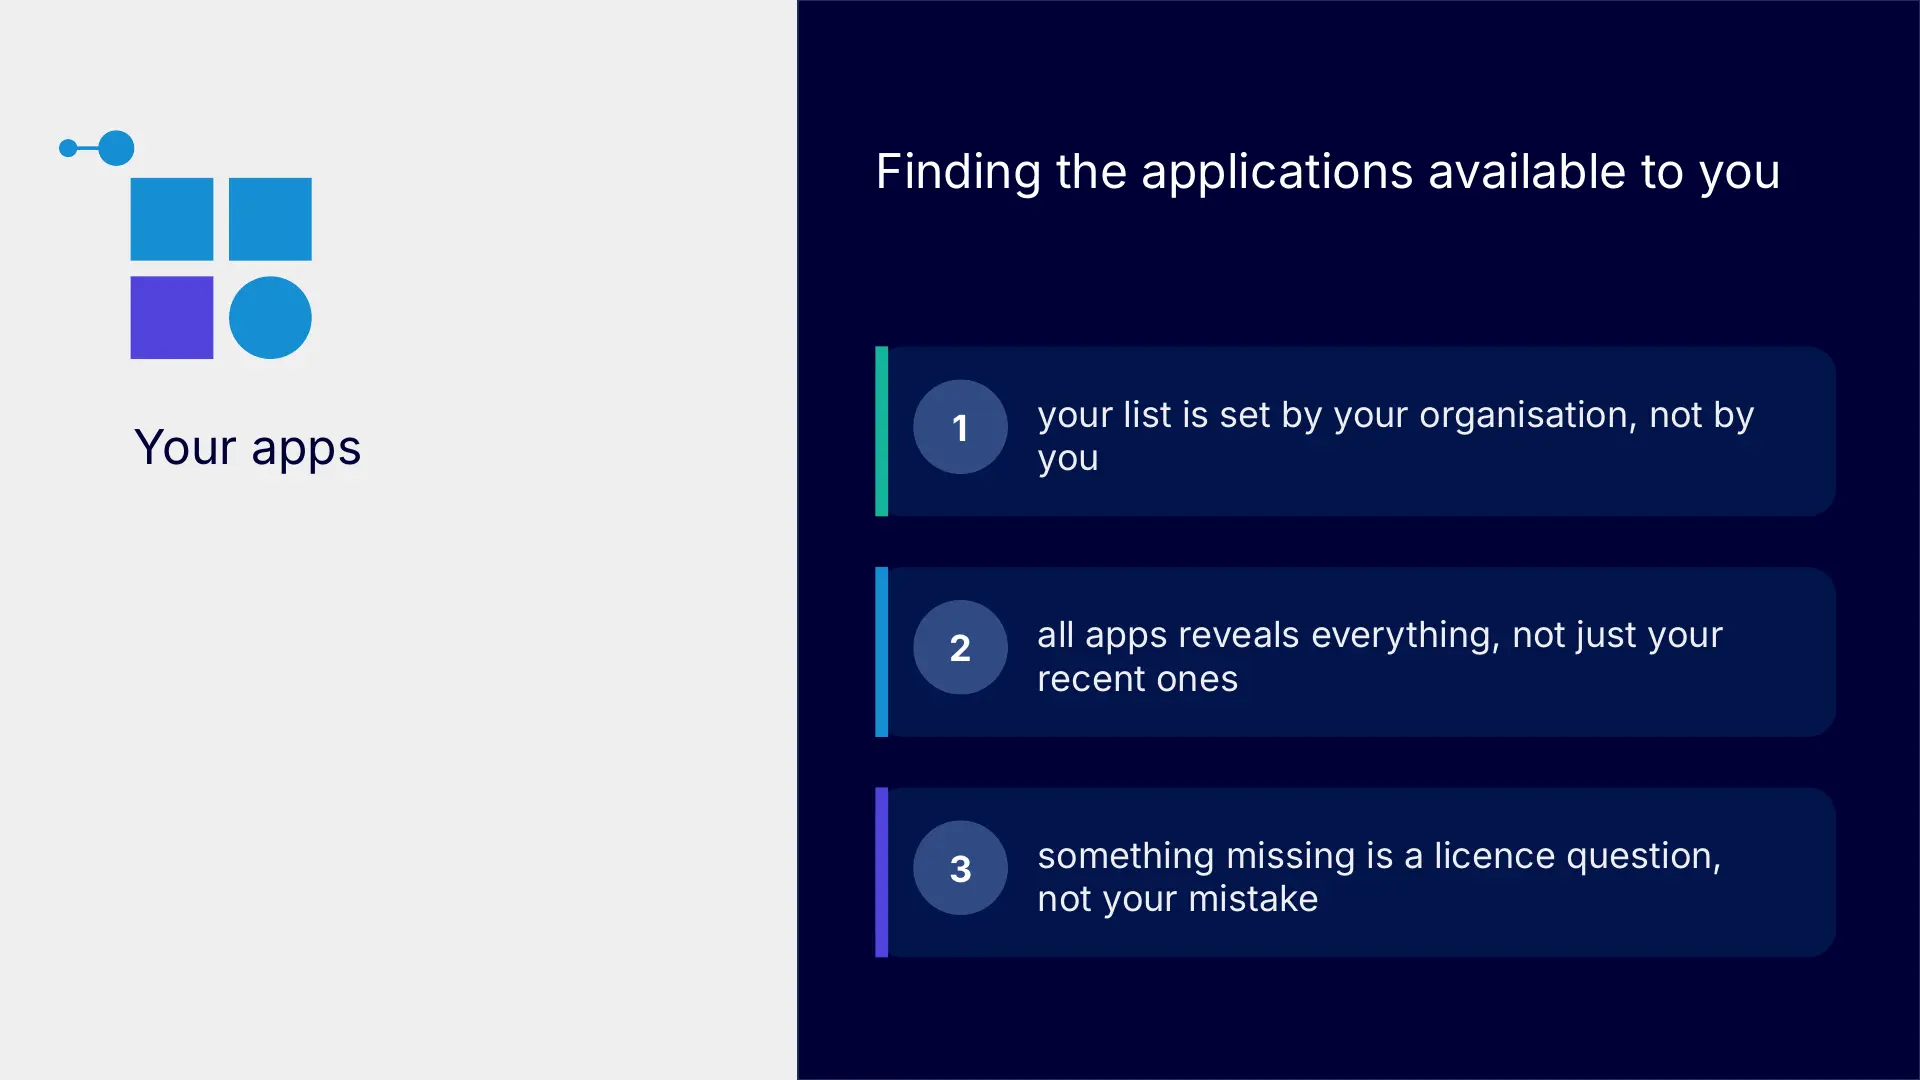
- expect your list to differ from a colleague’s because organisations assign different licences and applications
Common applications include Word, Excel, PowerPoint, Outlook, OneDrive, OneNote and Teams. Depending on your organisation, you may also see Forms, Lists, Loop, Planner, To Do, Whiteboard, SharePoint and Copilot. If an expected application is missing, ask your organisation to check your licence or access.
Browser and desktop applications
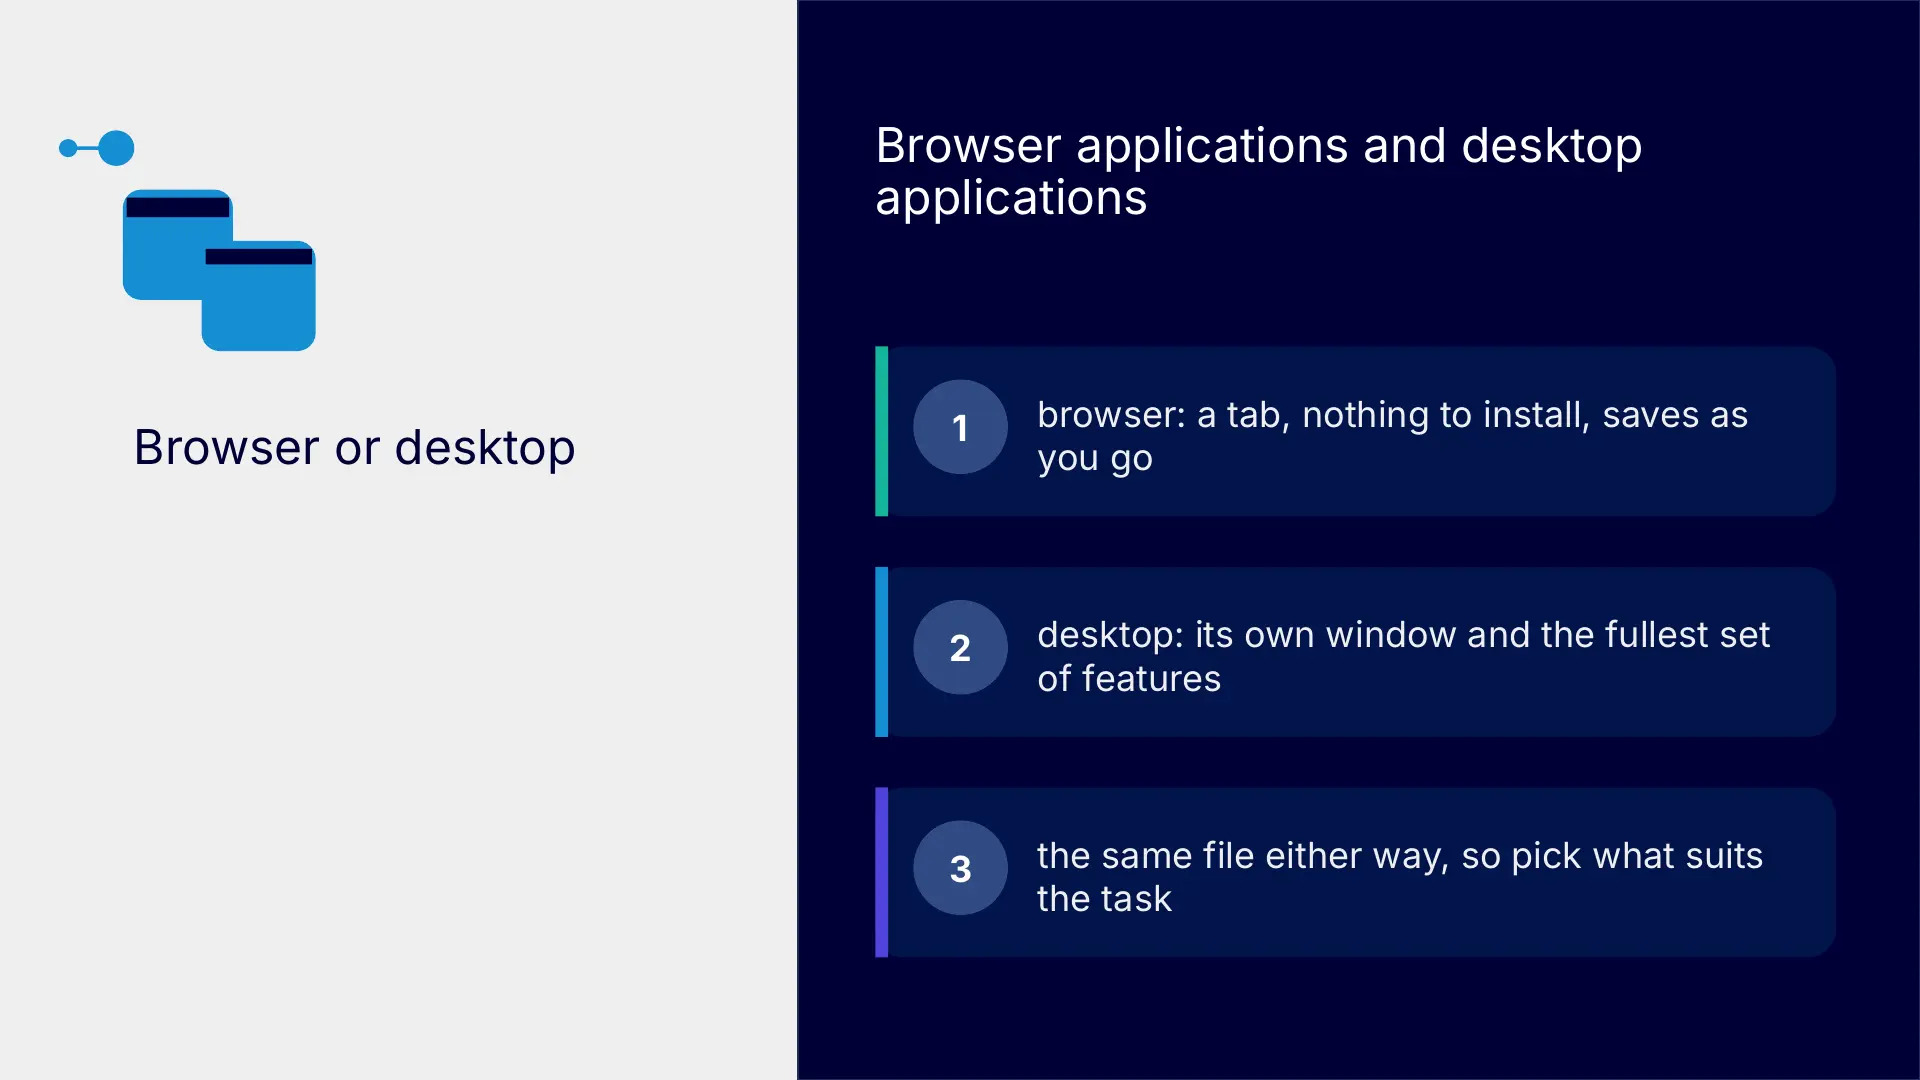
Many Microsoft 365 applications are available in both a browser and an installed desktop application. Neither route is automatically better. Choose the experience that suits the task and the features you need.
- browser applications open in a tab and do not need local installation
- desktop applications open in their own window and usually provide the fullest feature set
- the same cloud file can be opened in either experience and changes save to the same file
- browser applications suit quick edits and sharing
- desktop applications suit longer or more complex work
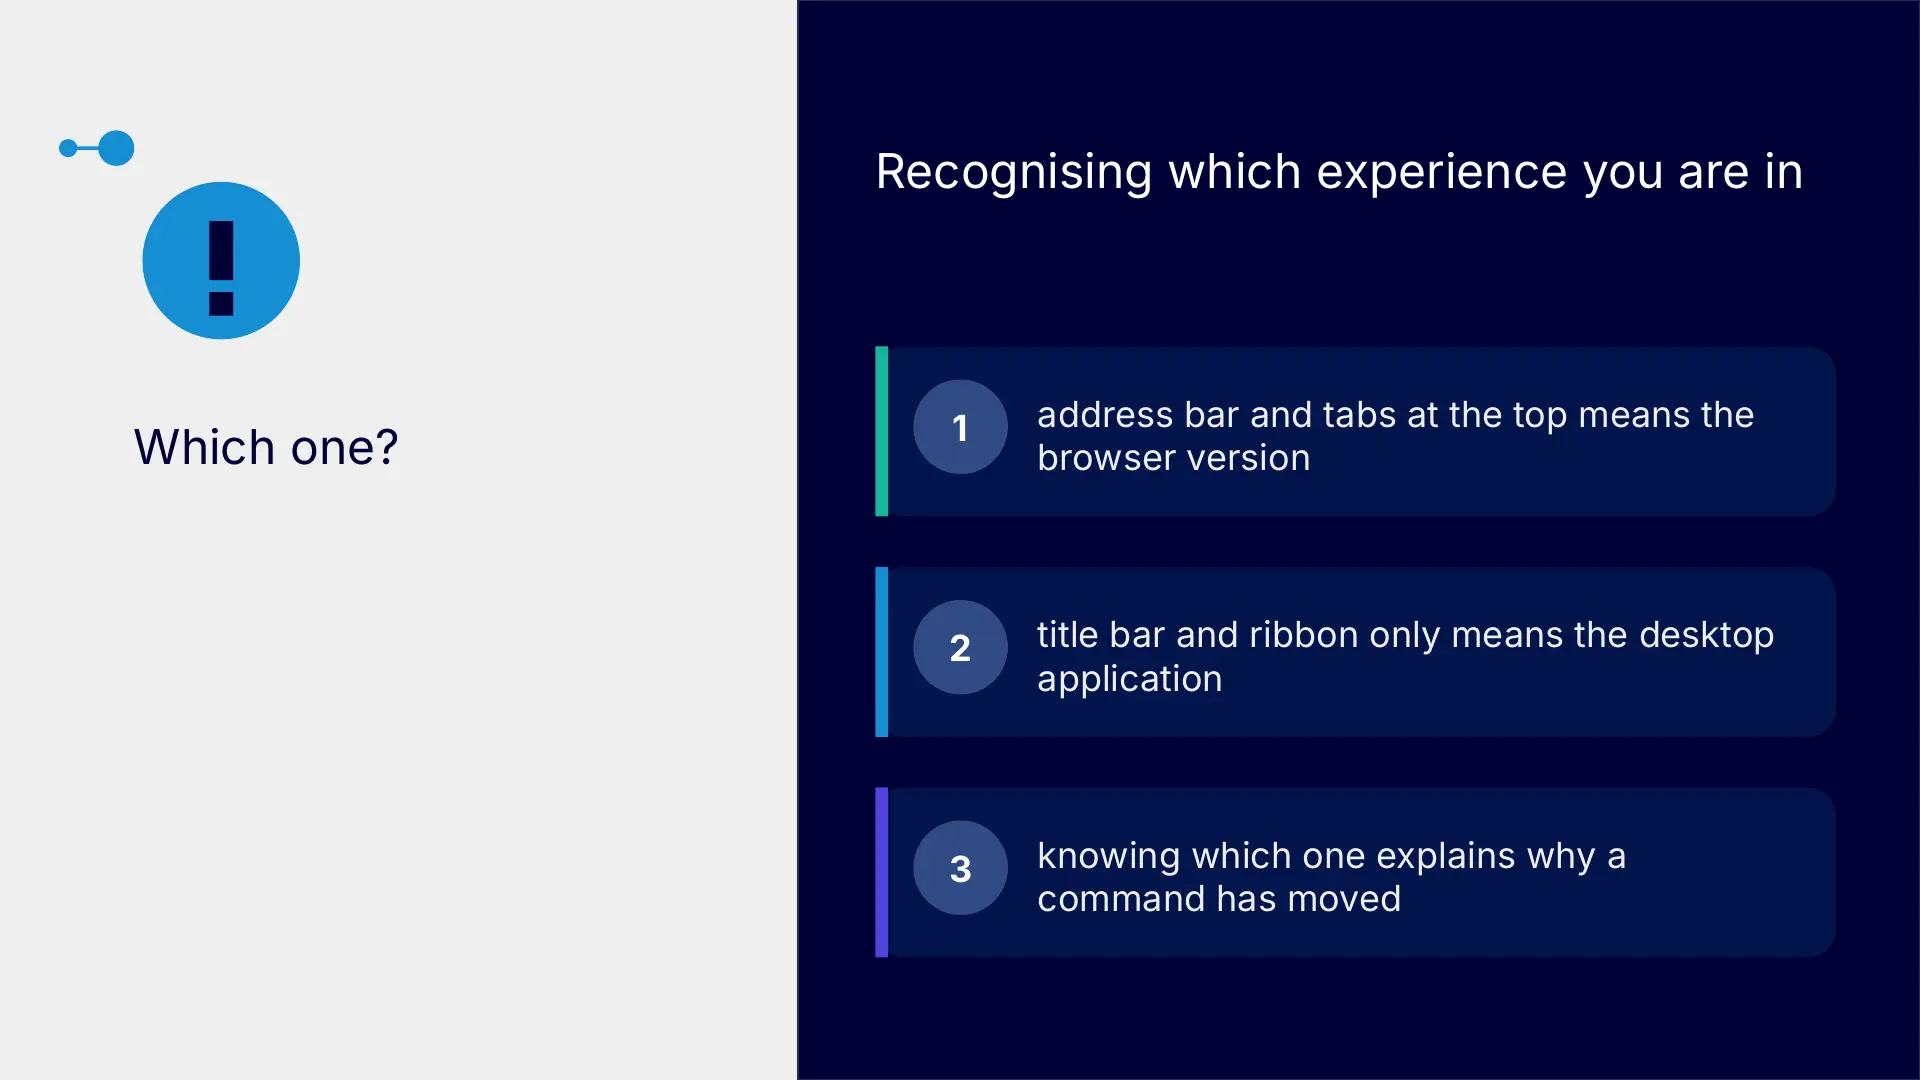
Recognising which experience you are in
- an address bar and browser tabs at the top usually mean you are using the browser version
- a title bar and application ribbon without a browser address bar usually mean you are using the desktop application
- browser versions often save automatically as you work
- desktop applications may show the file name and save location in the title bar
- checking the experience helps explain why a command may appear in a different place
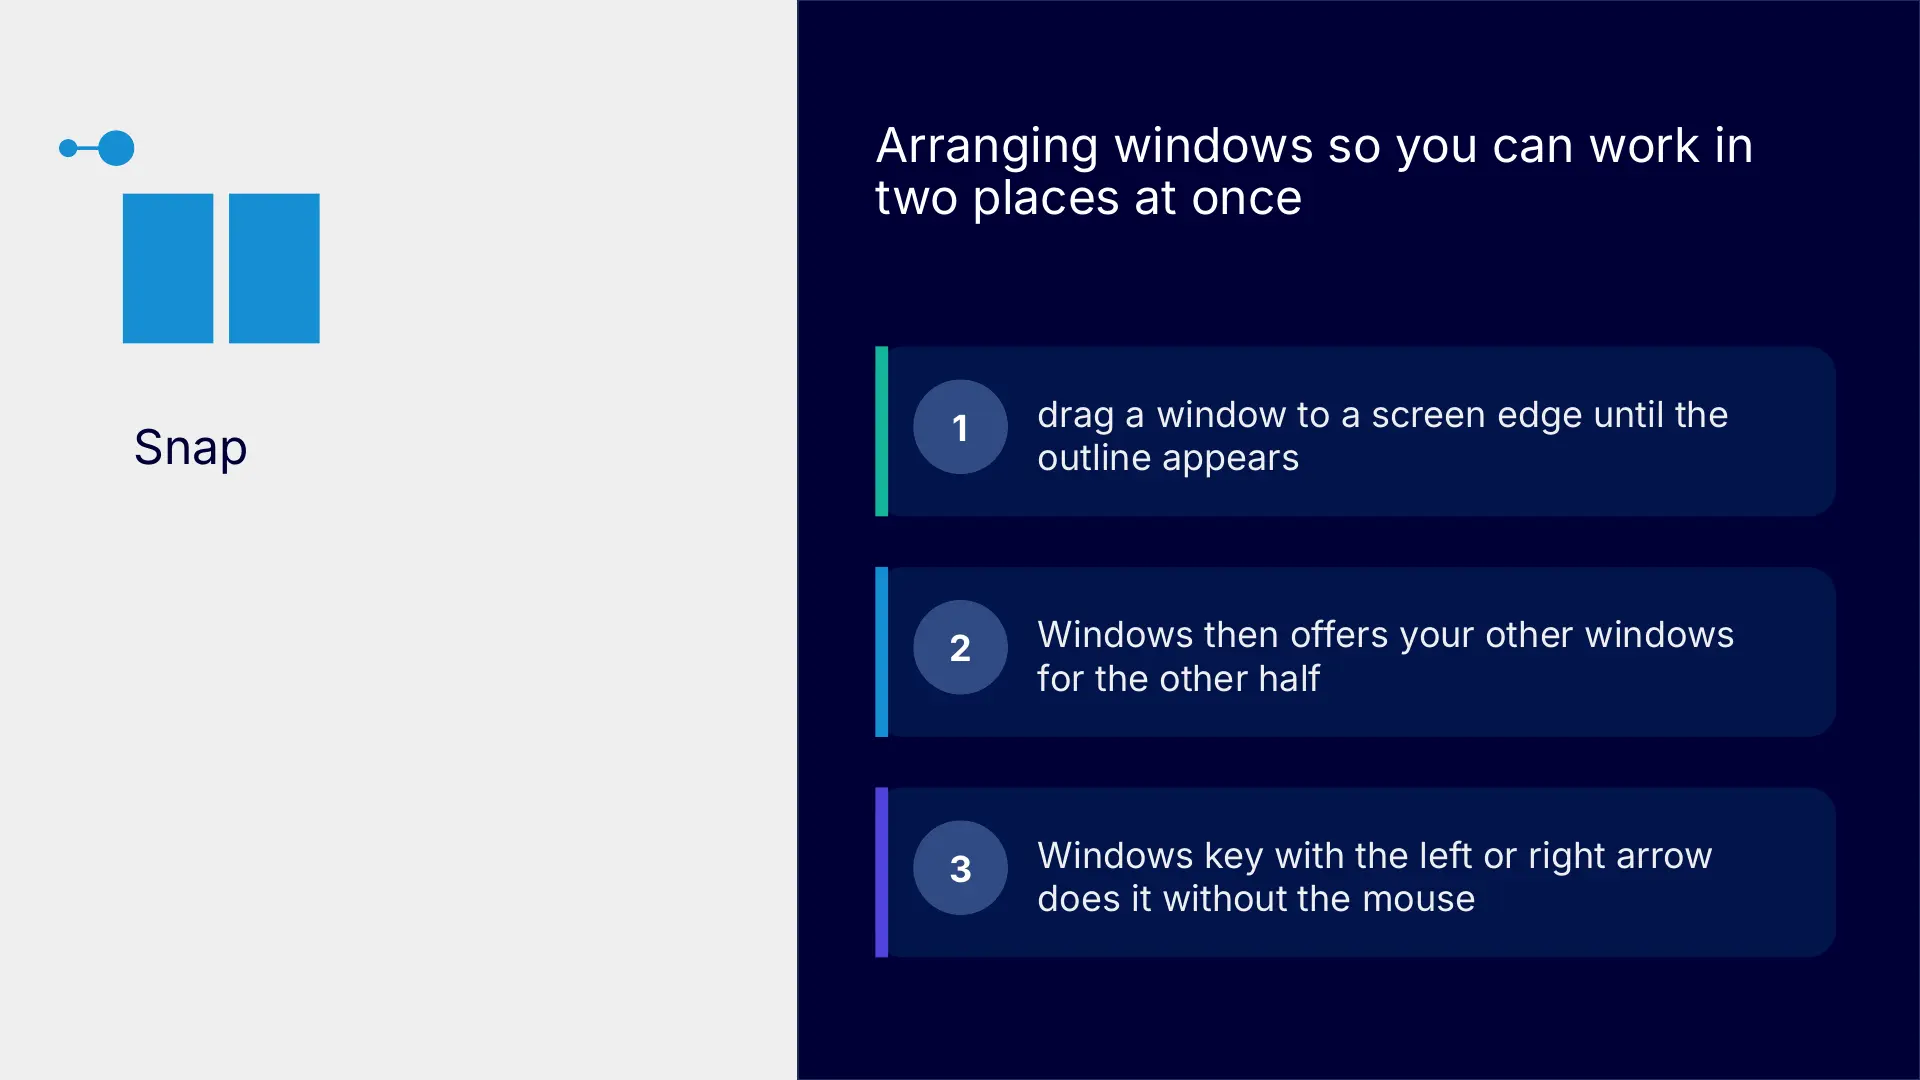
Arranging windows side by side
Windows can place two applications next to each other so you can read information in one place while working in another. This reduces repeated switching when you are comparing or copying information.
- drag a window to the left or right edge until an outline appears, then release it
- choose another open window to fill the other side
- drag the divider between the windows to change how much space each one uses
- hover over the maximise button to choose a ready-made snap layout
- press the Windows key with the left or right arrow to snap without a mouse
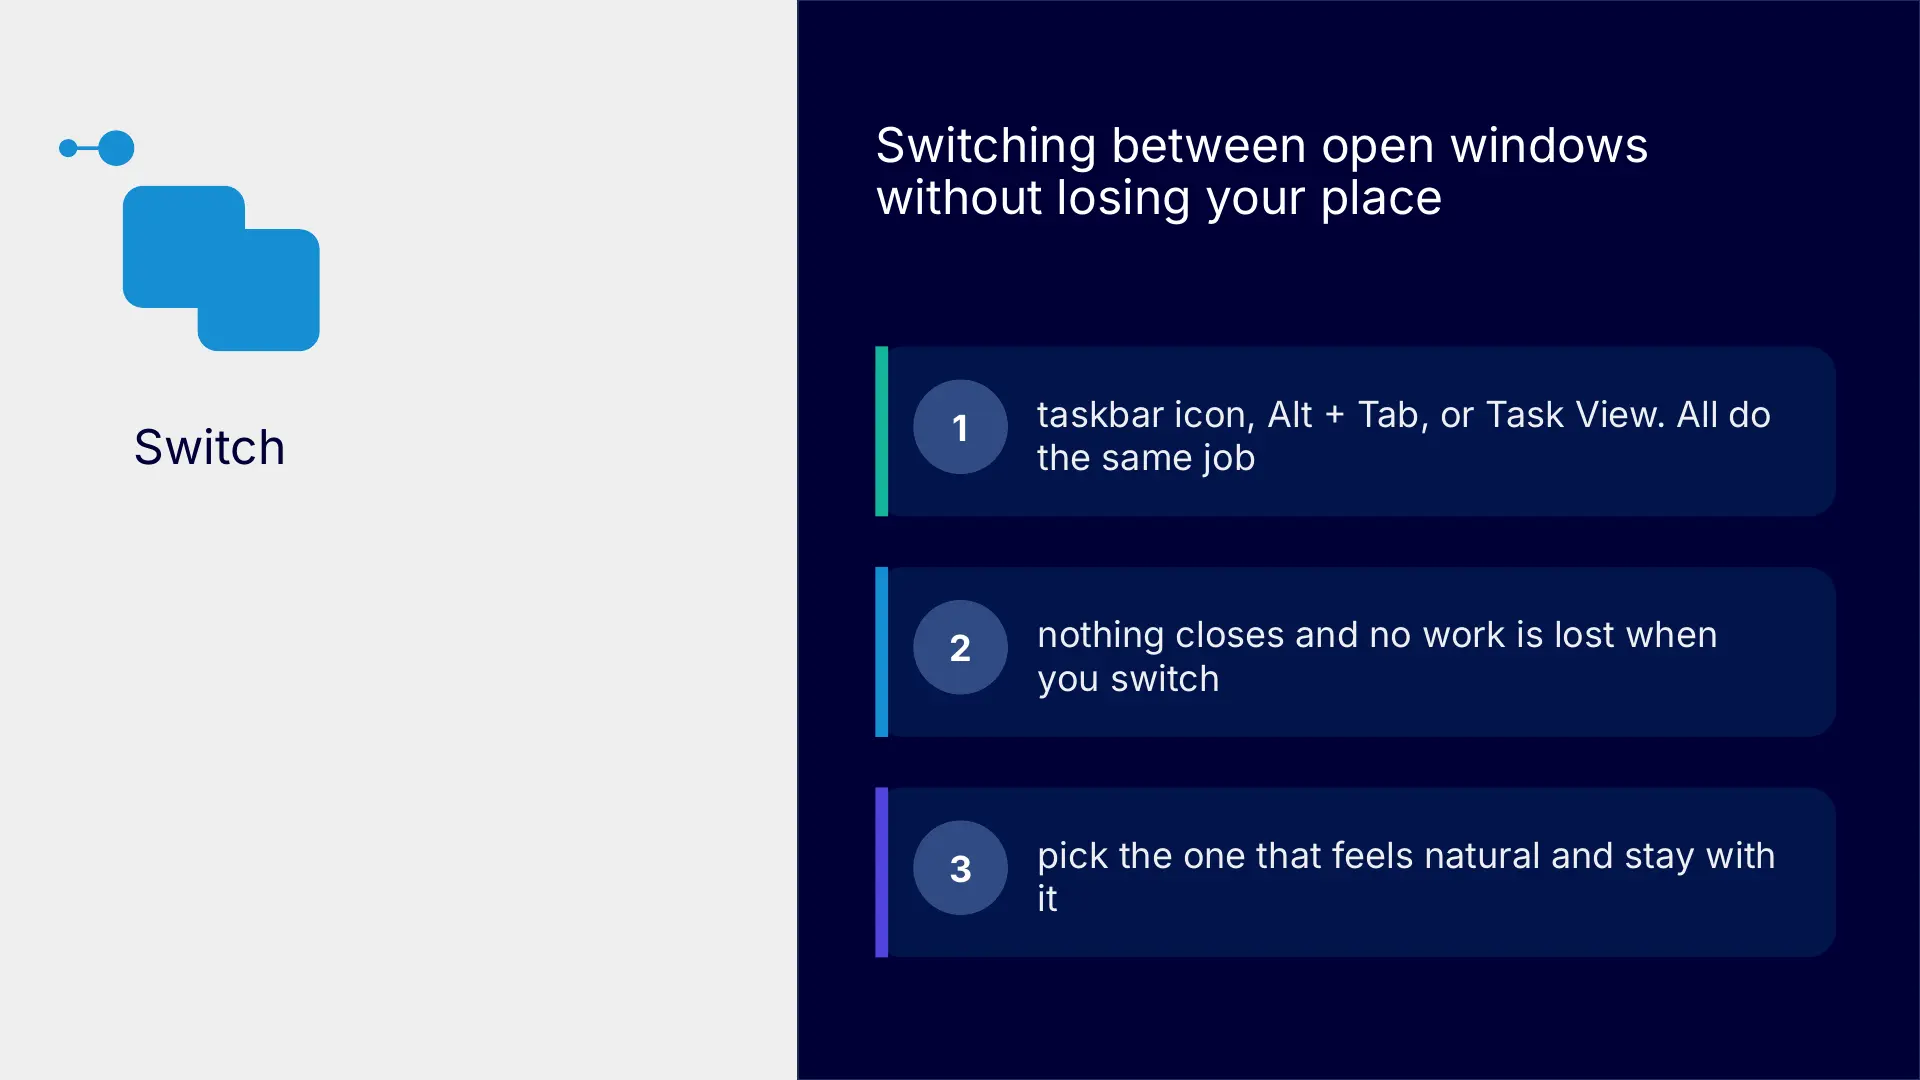
Switching between open windows
- select an application icon on the taskbar to bring its window to the front
- hold Alt and press Tab to move through open windows
- select Task View to see previews of all open windows
- use virtual desktops in Task View if you want to separate different pieces of work
- remember that switching does not close a window or remove your work
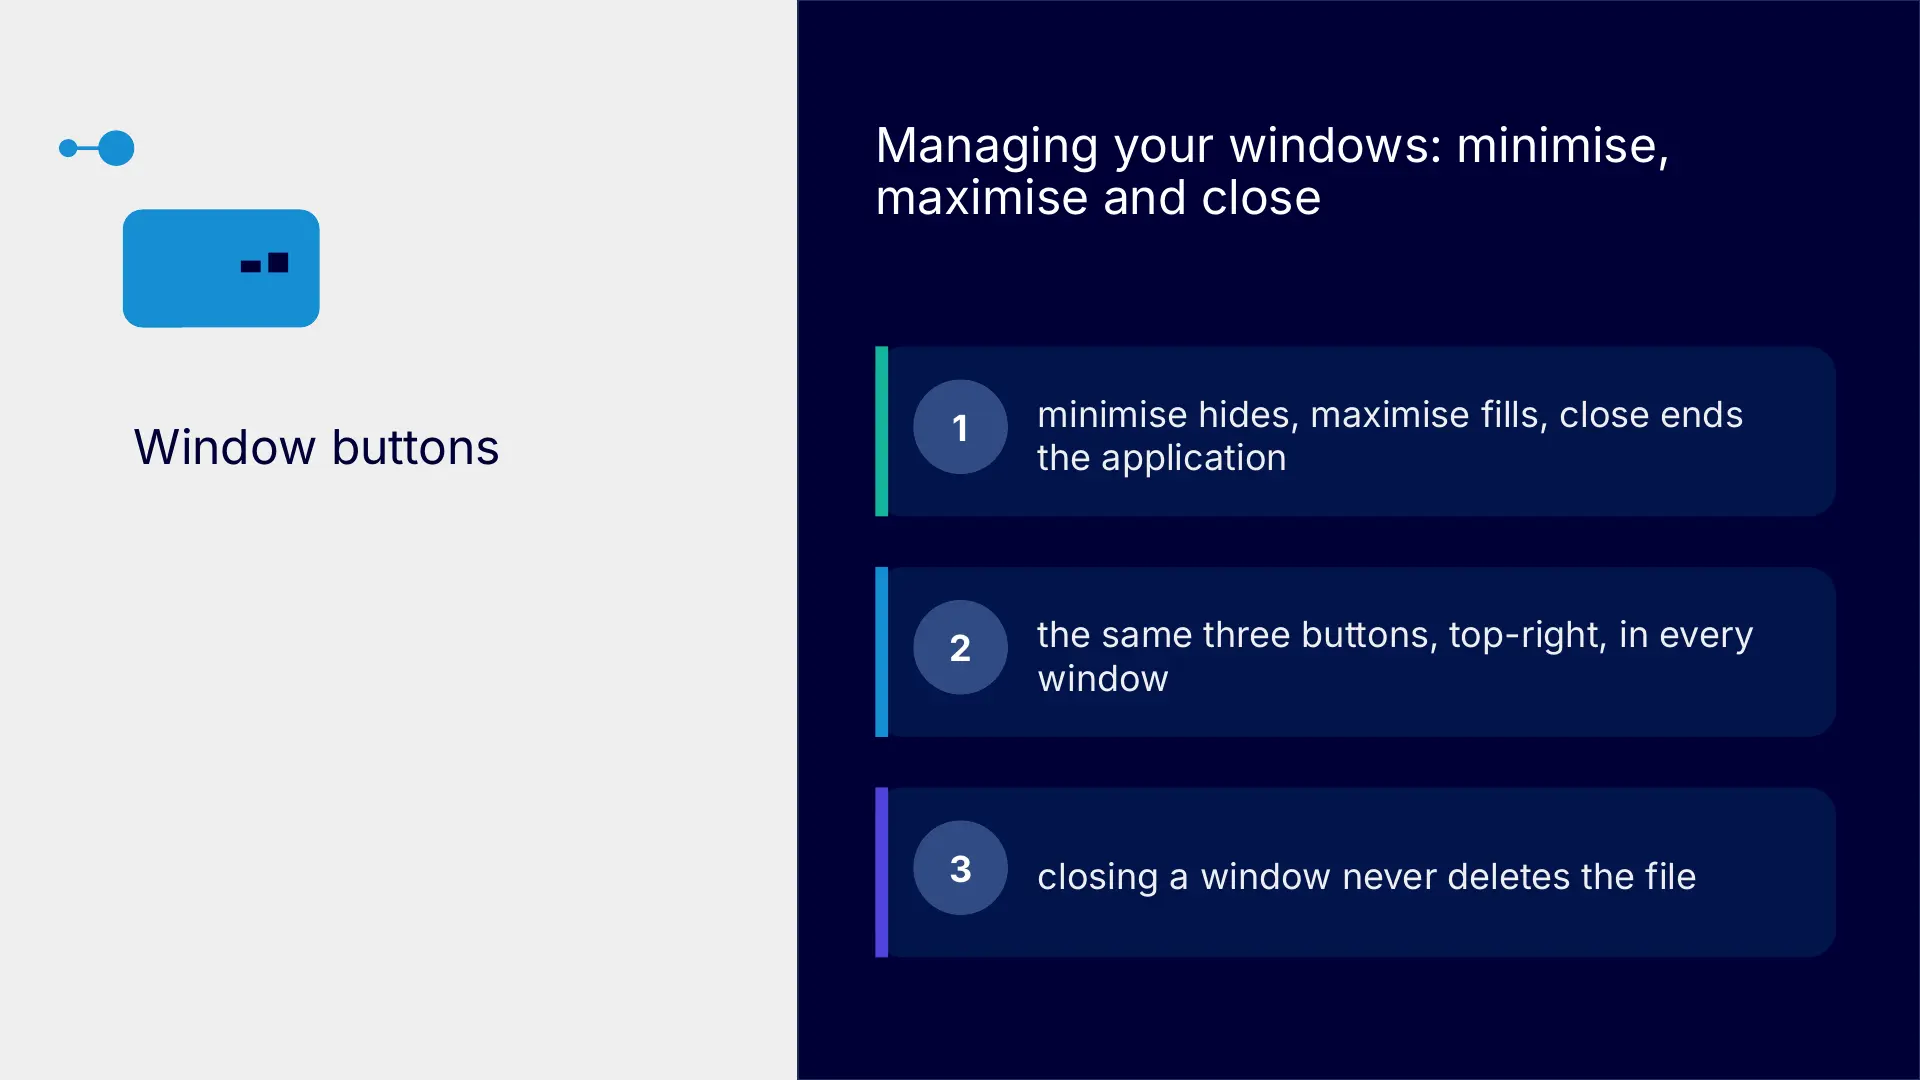
Minimise, maximise and close
- minimise hides a window and leaves its icon on the taskbar
- maximise makes a window fill the screen
- restore returns a maximised window to a smaller size
- close ends the application or closes that window
- double-select the title bar to maximise or restore a window
- closing a window does not delete a file that has been saved
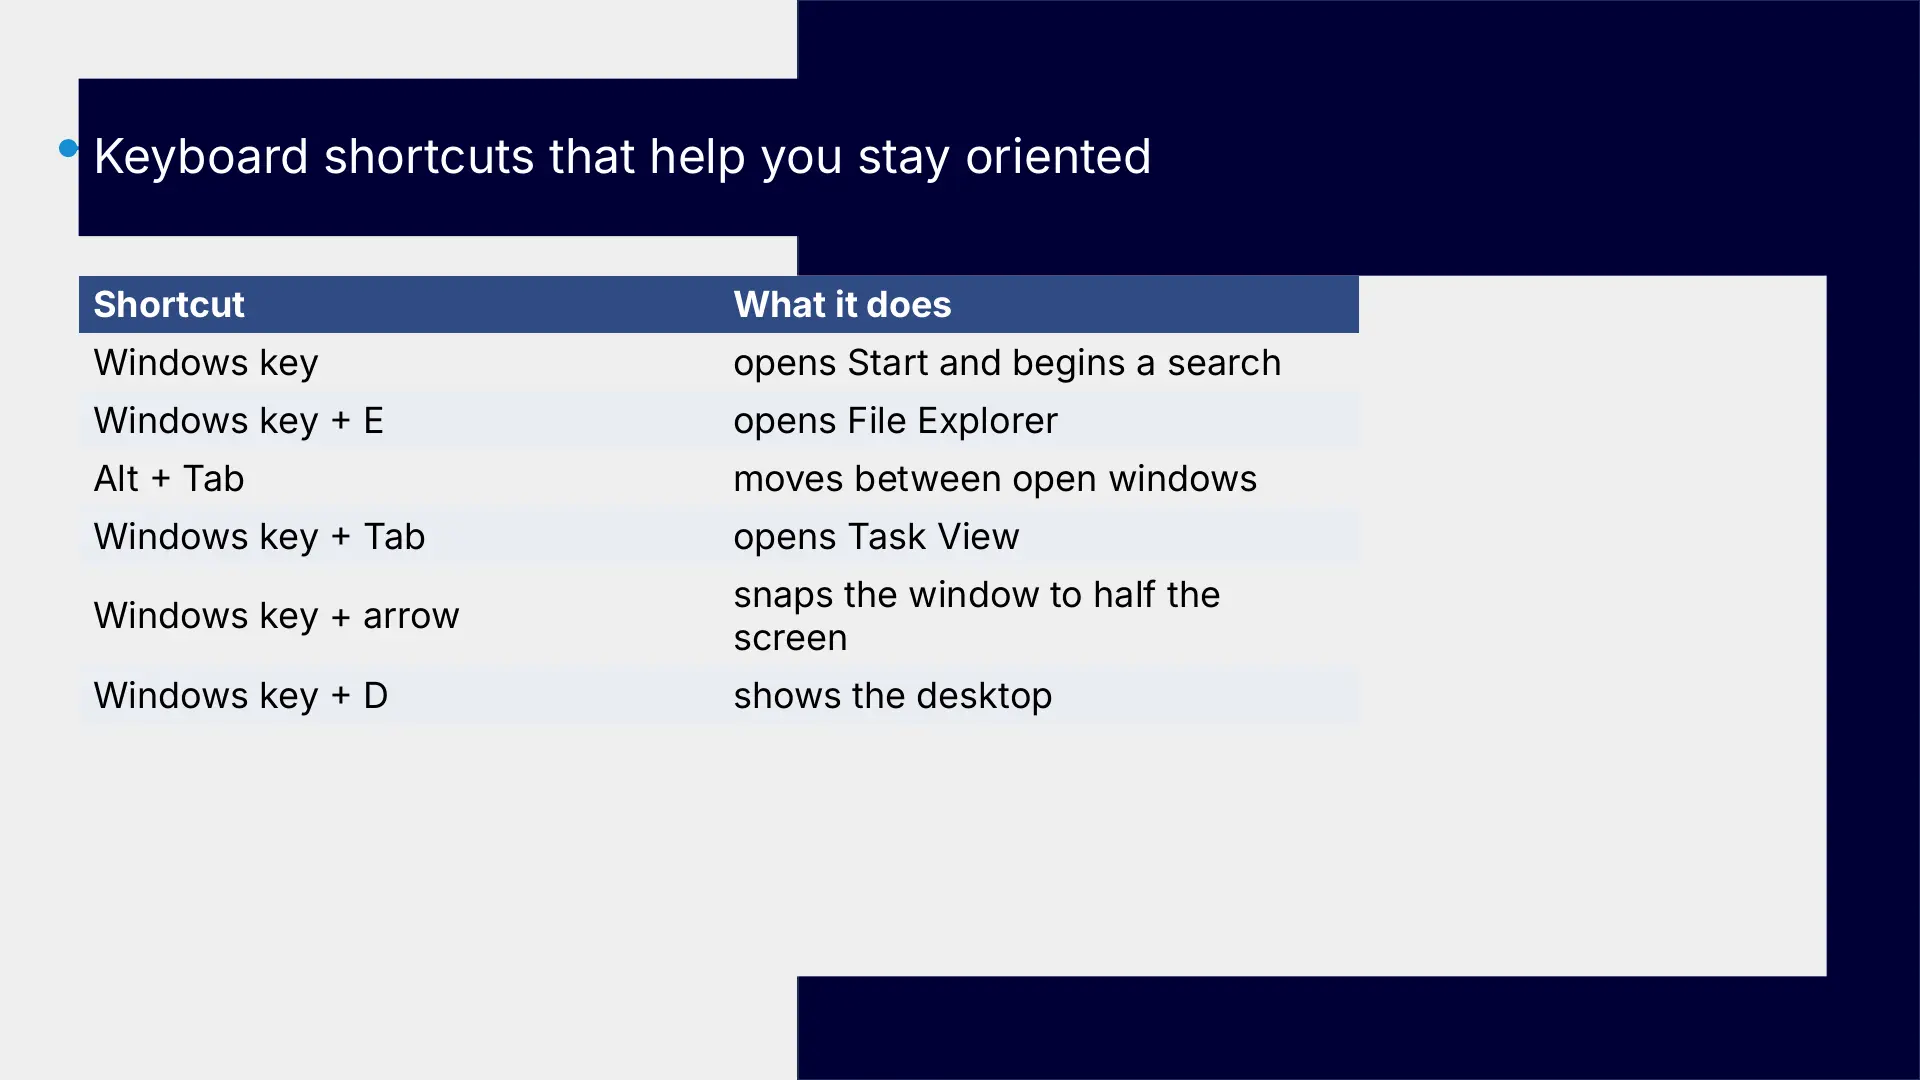
Keyboard shortcuts that help you stay oriented
| Shortcut | What it does |
|---|---|
| Windows key | opens Start and begins a search |
| Windows key + E | opens File Explorer |
| Alt + Tab | moves between open windows |
| Windows key + Tab | opens Task View |
| Windows key + left or right arrow | snaps the current window to one side |
| Windows key + D | shows the desktop |
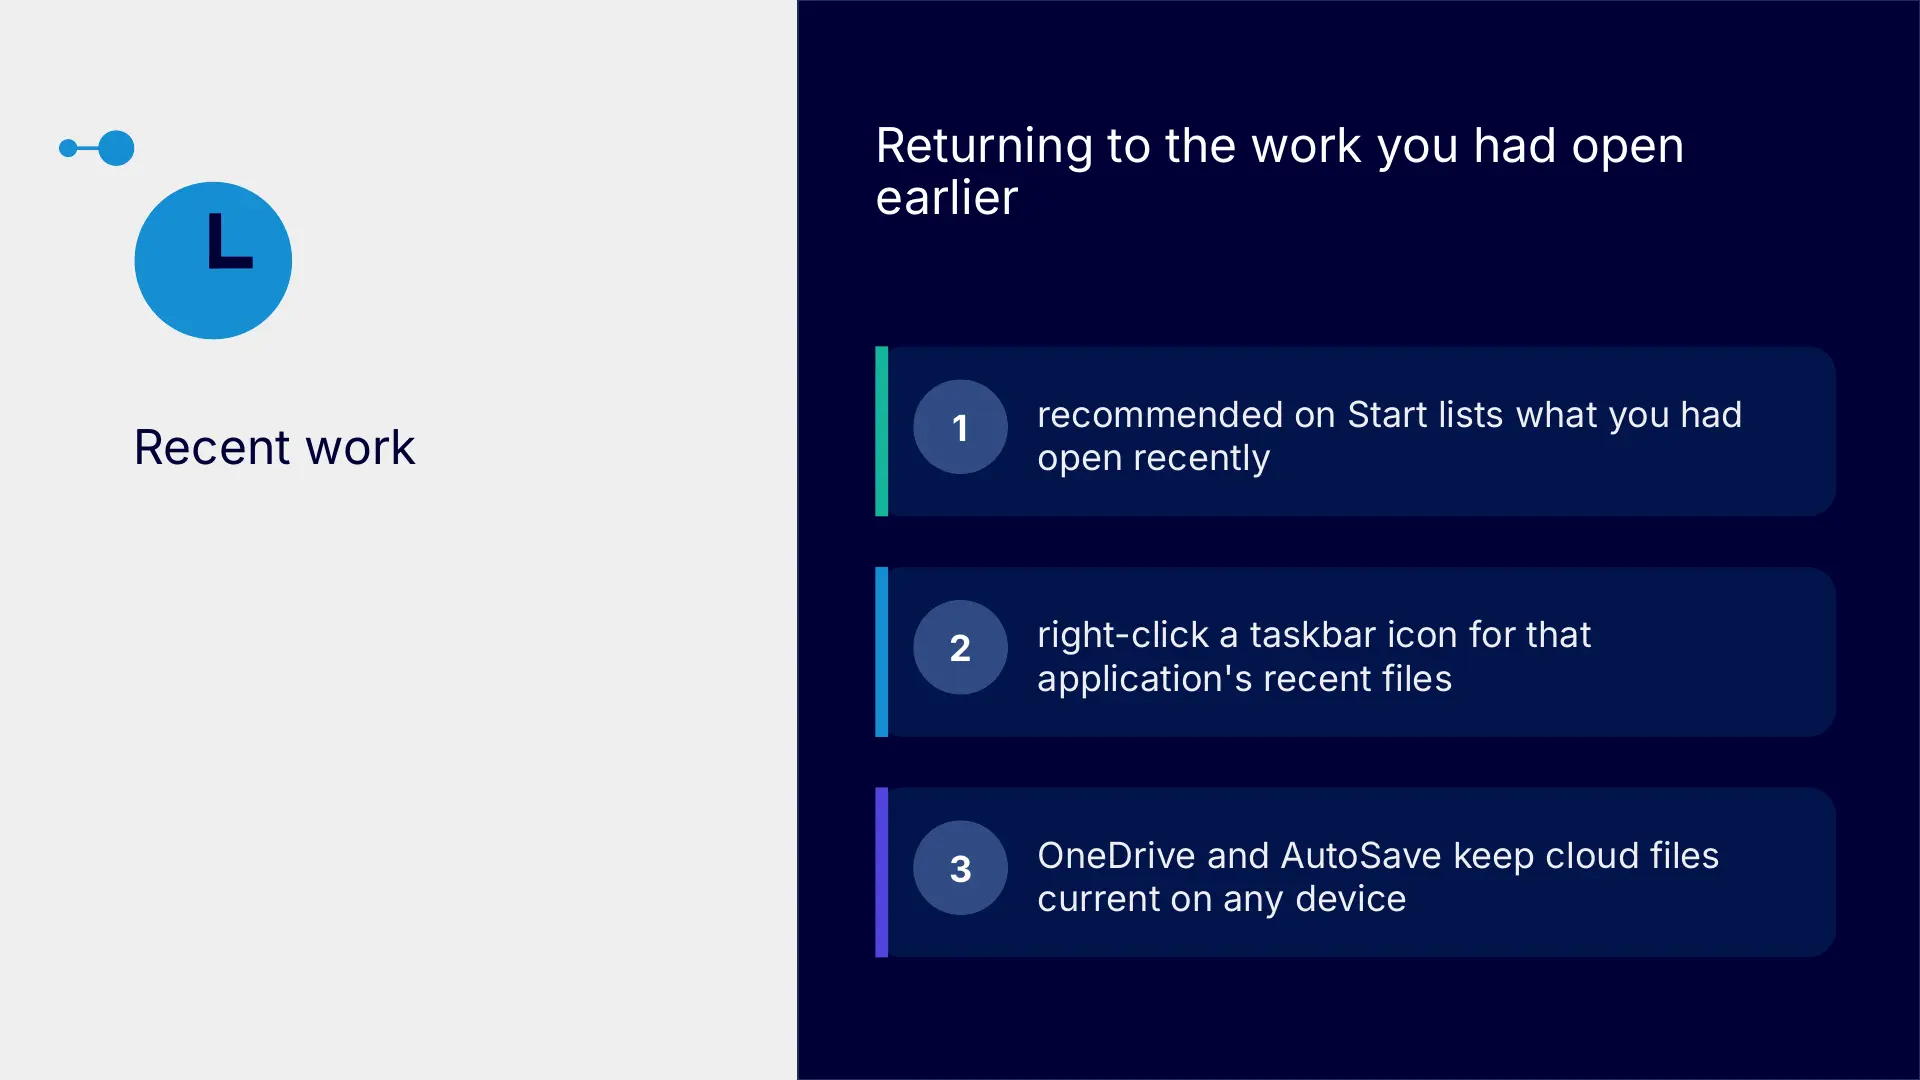
Returning to recent work
There is more than one safe route back to work you used earlier. Choose one route that feels dependable rather than trying to remember every option.
- use Recommended in the Start menu
- right-click an application icon on the taskbar to see its recent files
- use the Home or Recent view in Microsoft 365 applications
- use For you, Shared with you or Recent in OneDrive
- use AutoSave for cloud files so the latest changes are retained
What the visual route and live demonstrations showed
The session’s main visual is a five-stage route rather than a technical diagram. It shows that the skills build in sequence: first recognise the fixed Windows landmarks, then find applications and recent work, use the Microsoft 365 launcher, identify browser or desktop experiences, and finally arrange or switch windows efficiently.
- opening Start and searching rather than scrolling through long menus
- using the taskbar to recognise open applications and return to recent files
- opening applications through the Microsoft 365 app launcher without losing the current browser tab
- checking the browser address bar or desktop title bar to understand which version is open
- snapping two windows side by side and resizing the divider
- moving between work using the taskbar, Alt + Tab and Task View
- returning to recent content through Start, application home pages or OneDrive
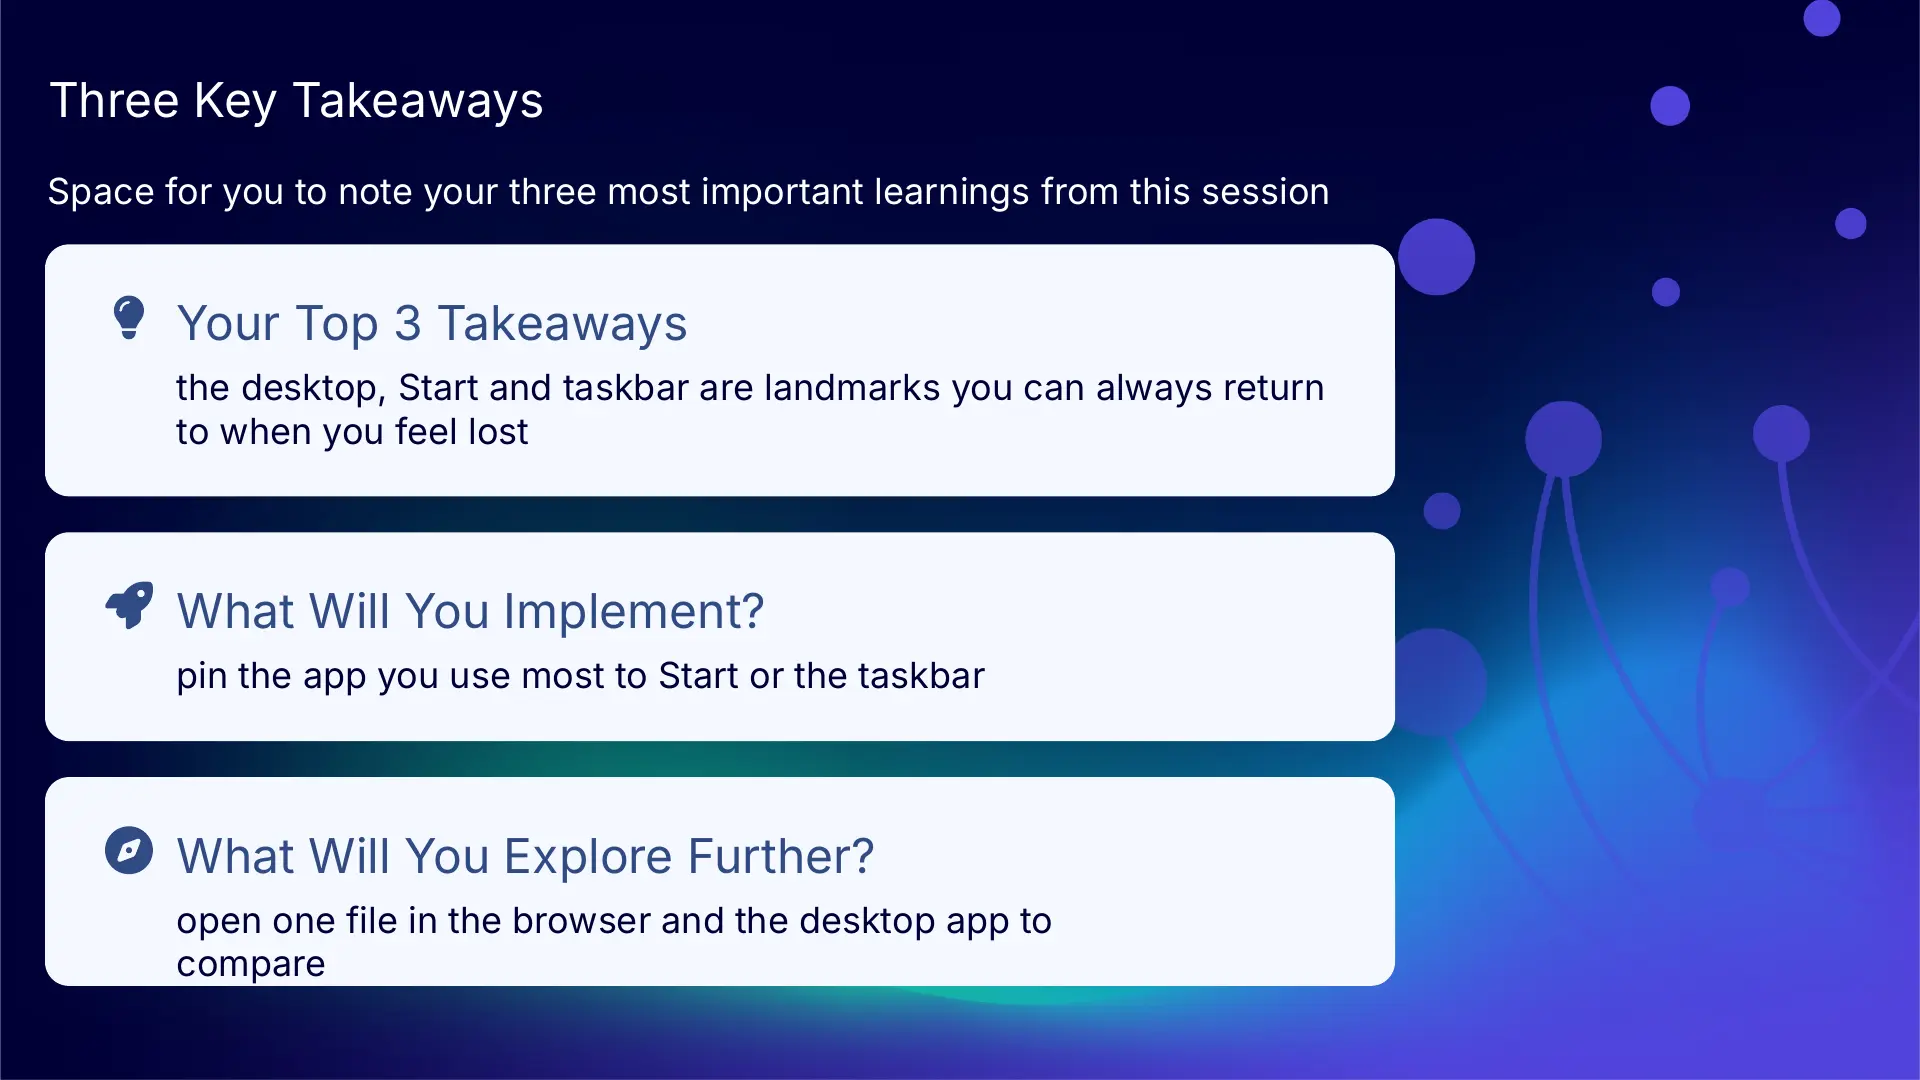
Key takeaways
- the desktop, Start menu and taskbar are fixed landmarks that help Windows feel predictable
- Search and the Microsoft 365 app launcher provide quick routes to applications, settings, files and information
- switching or minimising windows does not close your work, so you can move between tasks without losing your place
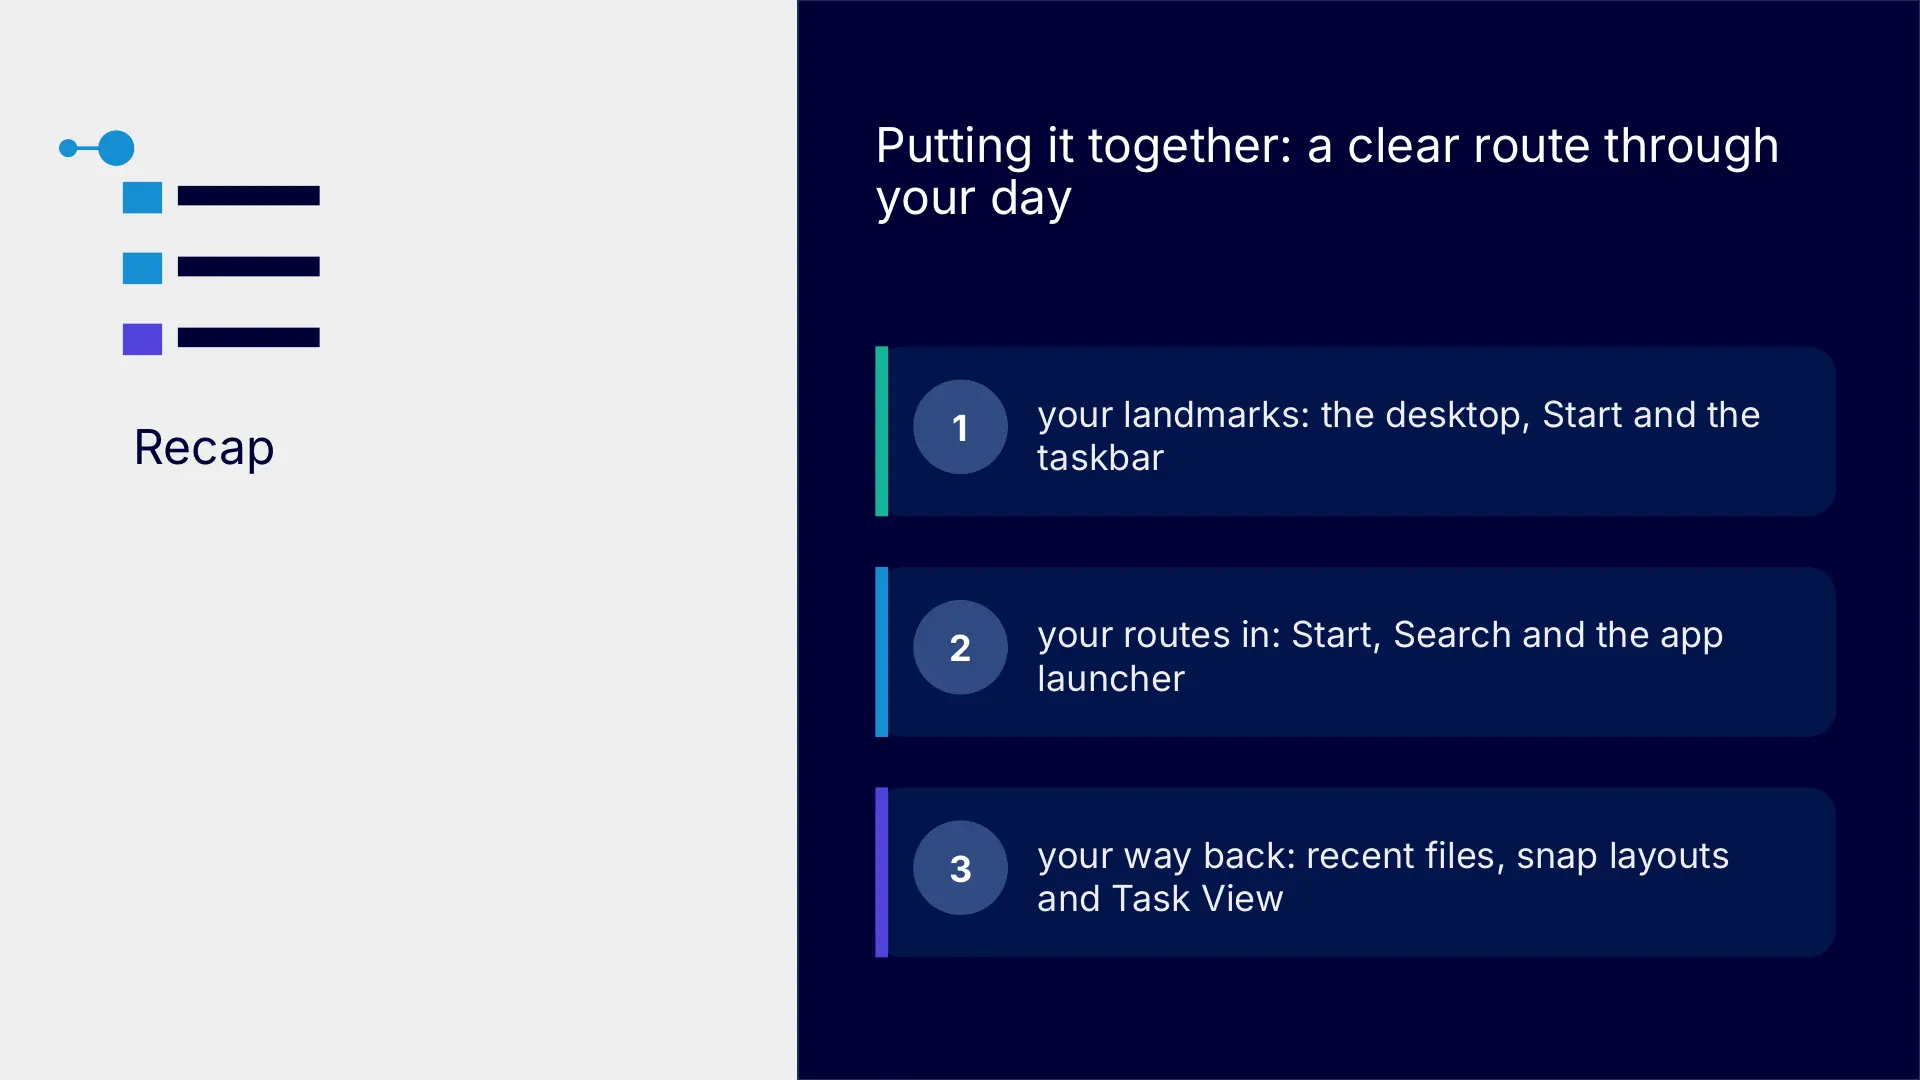
A clear route through your day
- recognise the desktop, Start menu and taskbar
- use Start, the taskbar or Search to open what you need
- use the app launcher for applications supplied by your organisation
- check whether you are in a browser or desktop application
- arrange and switch windows to keep related work visible
- return to recent work through the route you trust most
Actions you can take
Try the tip of the month
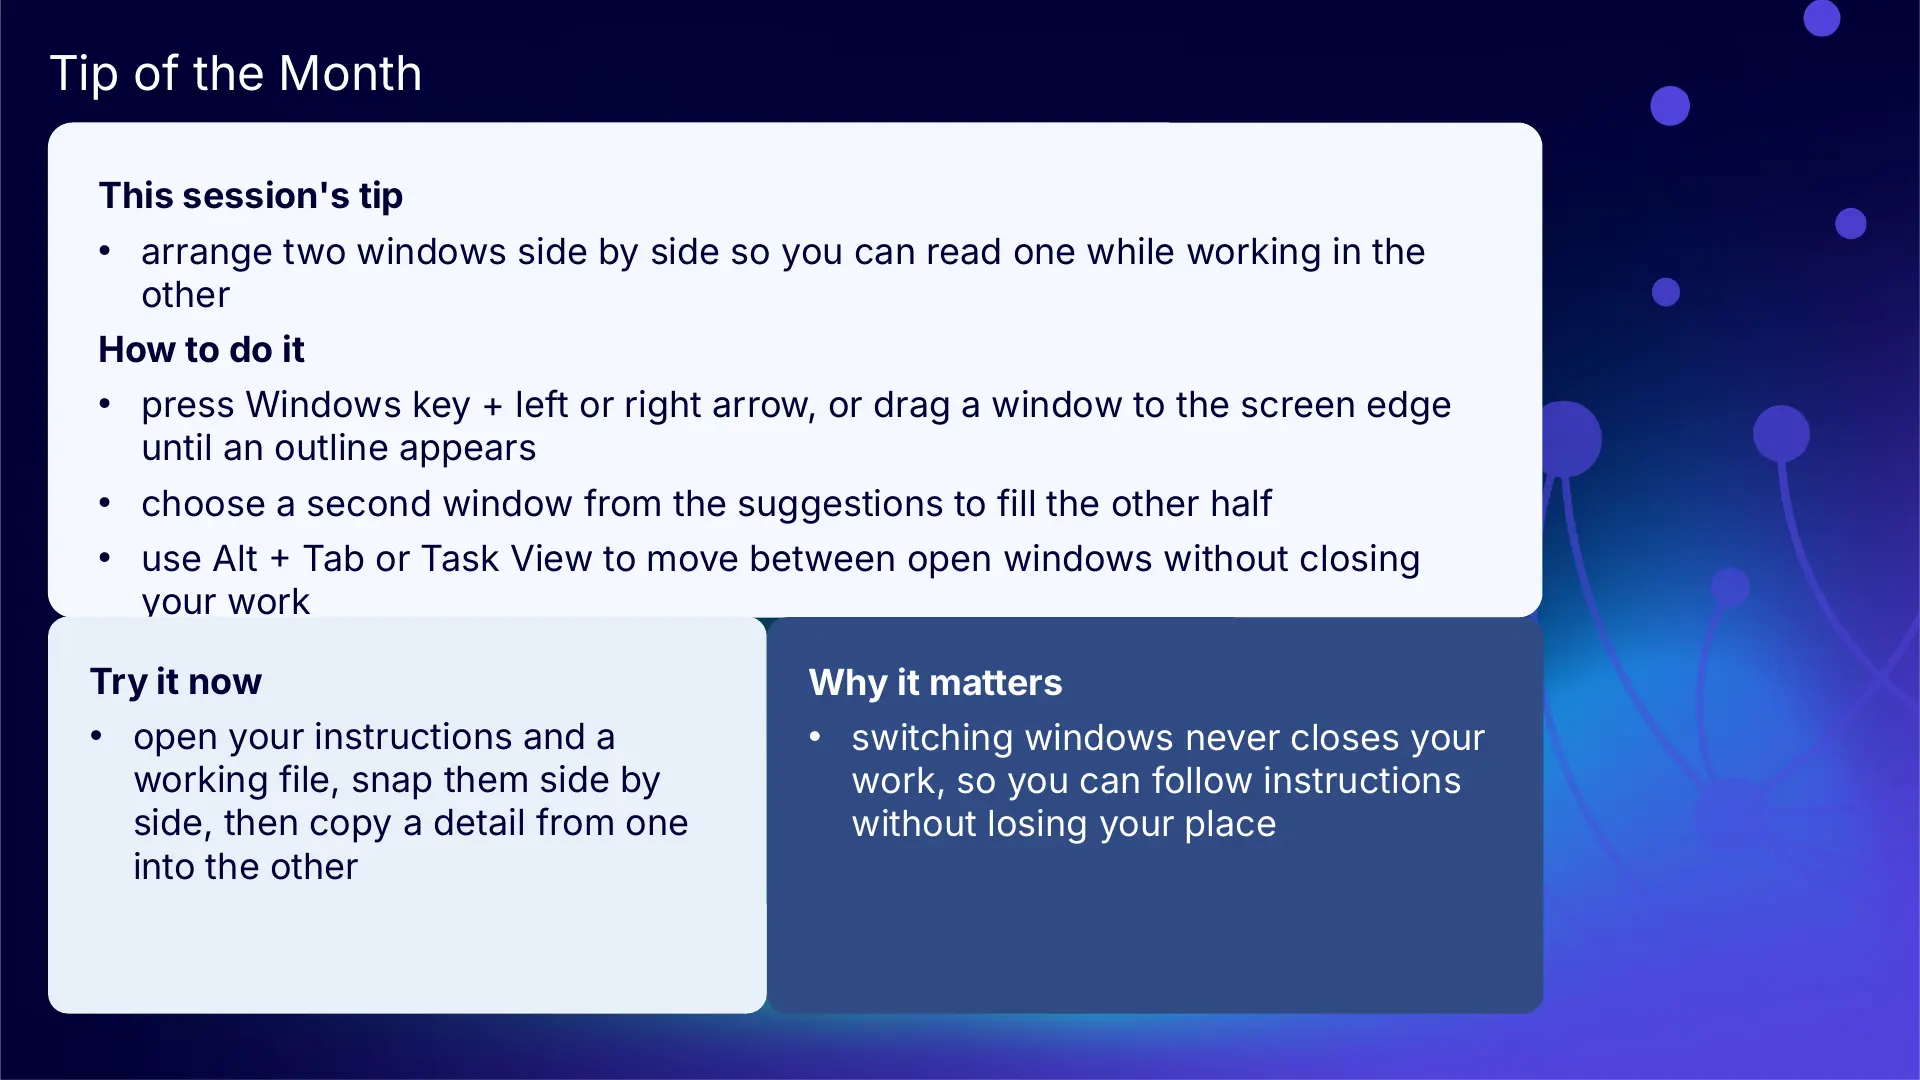
This session’s tip: arrange two windows side by side so you can read one while working in the other
How to do it: drag one window to the left or right edge until an outline appears, release it, then choose a second window for the other half. You can resize the windows by dragging the divider or choose another snap layout by hovering over the maximise button
Why it matters: working side by side reduces repeated switching and can make copying or comparing information easier
Try it now: snap two windows side by side, then copy one detail from the first window into the second
Build confidence with one reliable route
- pin one or two applications you use every day to Start or the taskbar
- use Windows Search once instead of scrolling through menus
- open the Microsoft 365 app launcher and identify the applications your organisation provides
- check whether one open file is in a browser or desktop application
- practise Alt + Tab or Task View with two safe practice windows
- choose one route for returning to recent work and use it again this week
Questions and feedback
Questions are welcome. If something is unclear, ask for it to be explained another way or demonstrated again. Feedback helps WeChange.AI understand what matters to you.
Complete the Support and Skilling Week feedback form
Contact WeChange.AI
For skilling queries, email training@wechange.ai.
- Andrew Boxall, Managing Director: andrew@wechange.ai
- Paul Ford, Industry Director for Education and Philanthropies: paul@wechange.ai
- Josh Wilson, Industry Specialist: josh@wechange.ai
- Elle Avilla, Customer Success and Delivery Skilling Lead: elle@wechange.ai
- Izzy Pochin, Resources and Accessibility Lead: izzy@wechange.ai
Activity sheet
A guided activity sheet for building everyday digital confidence
Follow the route at your own pace. There is more than one safe way to get back to your work.
How to use this activity sheet
This sheet supports Session 1: Windows and Microsoft 365. You can use it after the live session, or follow selected steps while your trainer demonstrates them. The activities build a clear route from the Windows desktop to the applications and files you use every day.
- work at your own pace, and pause after each activity
- use a practice file or non-sensitive work content
- your screen may look slightly different because your organisation controls licences, settings and available applications – make sure you are practising in the web apps
- if a step does not match your device, note what you can see and ask your support team or trainer
- keyboard shortcuts are optional alternatives, not requirements
What you will achieve
- recognise the desktop, Start menu, taskbar and common areas within applications
- use Start, the taskbar and Search to open applications, find information and return to recent work
- use the Microsoft 365 app launcher to find the applications available through your organisation
- recognise browser and desktop applications and choose an appropriate route
- arrange, switch between and manage open windows without losing your place
Your learning route
| Stage | You will practise |
|---|---|
| 1. Find your landmarks | desktop, Start menu, taskbar and shared application areas |
| 2. Open and find | Windows Search, pinned applications and recent files |
| 3. Find your Microsoft 365 apps | app launcher, All apps and organisation-provided tools |
| 4. Recognise where you are working | browser tabs, desktop windows and routes between them |
| 5. Work across windows | snap, switch, minimise, maximise and return to recent work |
Before you start
- sign in to your Windows device
- connect to the internet if you plan to use browser versions of Microsoft 365
- close or minimise anything containing information you should not display or reuse
- open this activity sheet on screen, or use a printed copy
- allow about 30 to 45 minutes, or complete one activity at a time
Activity 1: Find your fixed landmarks
Outcome: Identify the main areas of Windows and recognise patterns that repeat across applications.
Identify the desktop and taskbar
- Look at the background area shown when you sign in. This is the desktop.
- Find the taskbar, normally along the bottom of the screen.
- Find the Start button on the taskbar.
- Look at the notification area on the right for items such as network, sound, battery or updates.
Notice: The desktop and taskbar are fixed landmarks. They help you reorient yourself, even when different applications are open.
Open Start and inspect the sections
- Select Start, or press the Windows key.
- Find the pinned applications near the top.
- Select All apps to view the alphabetical list of installed applications.
- Return to Start and find Recommended or the recent area, if your organisation displays it.
Recognise shared application areas
- Open Word or another familiar Microsoft 365 application.
- Find the title bar at the top and identify the application or file name.
- Look for the ribbon and its tabs, such as Home, Insert or View.
- Look for the navigation pane, status bar, zoom control or view controls. Not every application shows all of these.
Notice: Once you recognise the title bar, ribbon and navigation areas in one application, the pattern becomes easier to spot elsewhere.
Pause and check
- I can point to the desktop, Start button and taskbar
- I can identify at least two areas that repeat across Microsoft 365 applications
- I know that selecting another window does not automatically close the one I was using
Activity 2: Open applications and find what you need
Outcome: Use Start, the taskbar and Search, then choose one route you can trust
Search from Start
- Press the Windows key and begin typing the name of an application, such as Word or Calculator.
- Review the result groups. You may see applications, documents, settings, folders or web results.
- Select the application result to open it.
- Return to Start and search for a Windows setting, such as Display or Bluetooth, without changing anything unless you want to.
Notice: Searching is often faster than remembering where an item sits in a menu.
Use the taskbar
- Find the application you just opened on the taskbar.
- Select its icon to bring the window to the front.
- Select the icon again to minimise the window, then select it once more to restore it.
- Hover over the icon to preview its open windows.
- Right-click the icon and look for recent files and pin or unpin options. Do not change anything unless you want to.
Choose your reliable route
- Open the same application again using either Start, a pinned taskbar icon or Search.
- Decide which route feels easiest to remember.
- Write your chosen route below so you can repeat it next time.
My reliable route to an application is:
Pause and check
- I can search for an application without scrolling through every menu
- I can use the taskbar to see what is already open
- I have chosen one route I can repeat confidently
Activity 3: Find your Microsoft 365 applications
Outcome: Use the app launcher to see what your organisation provides
Open the app launcher
- Open a browser and go to a Microsoft 365 page you already use, such as Outlook on the web or Microsoft 365 home.
- Find the app launcher, shown as a grid of squares near the top-left.
- Select the app launcher and review the applications shown.
- Select All apps if it is available, so you can see more than the recent or pinned applications.
Notice: Your list may differ from a colleague’s because your organisation controls licences and availability.
Explore without losing your place
- Choose an application from the app launcher that you recognise.
- Notice that it normally opens in a new browser tab.
- Select the earlier tab to return to your starting application.
- If pinning is available, consider pinning one application you use regularly.
Record what is available
- Tick the applications you can see. Leave blank anything that is not available or that you are unsure about.
- Add one application you would like to learn more about.
- Word
- Excel
- PowerPoint
- Outlook
- OneDrive
- OneNote
- Teams
- Forms
- Lists
- Loop
- Planner
- To Do
- Whiteboard
- SharePoint
- Copilot
I would like to explore:
Pause and check
- I can find the app launcher from a Microsoft 365 page
- I understand that a missing application may be a licence or organisational availability question
- I can return to my earlier tab without closing my work
Activity 4: Recognise browser and desktop experiences
Outcome: Identify which experience you are using and choose the one that suits the task
Compare the visual clues
- Open an application in your browser using the app launcher.
- Look for the browser address bar and tabs at the top.
- Open the same application from the Windows Start menu, if a desktop version is installed.
- Look for a separate window with a title bar and ribbon, rather than a browser address bar.
- If you have a safe practice file, open it in one experience and look for an option to open it in the other.
Notice: The two experiences may place commands differently. Checking where you are can explain why a feature is not where you expected.
Use this quick decision guide
| Route | Helpful when | Look for |
|---|---|---|
| Start menu | you are at the Windows desktop or need the fullest installed experience | a separate application window |
| browser address bar | you are already browsing and need quick access | browser tabs and an address bar |
| Microsoft 365 app launcher | you are already in Microsoft 365 and want another organisation-provided app | a new browser tab |
Try a simple choice
- For “make a quick change to a shared file”, I would first try:
- For “work for a longer period using the fullest available feature set”, I would first try:
- For “open another Microsoft 365 application without losing the page you are on”, I would first try:
Pause and check
- I can use visual clues to tell whether I am in a browser or desktop application
- I understand that the same file may be available in either experience
- I can choose a route based on the task rather than worrying about one “correct” route
Activity 5: Arrange and switch between windows
Outcome: Work in two places, move between open windows and return without losing your place
Snap two windows side by side
- Open this activity sheet and one other safe practice window.
- Drag one window to the left or right edge of the screen until an outline appears, then release it.
- Choose the second window from the suggestions to fill the other side.
- Drag the divider between the windows to give one side more space.
- Copy a short, non-sensitive detail from one window into the other.
Notice: You can also press the Windows key with the left or right arrow. Keyboard shortcuts are optional.
Switch between open windows
- Select an application icon on the taskbar to bring that window forward.
- Hold Alt and press Tab to move through open windows. Release the keys when the window you want is highlighted.
- Press the Windows key + Tab, or select Task View, to see previews of open windows.
- Choose the method that feels most natural and use it again.
Notice: Switching changes what is in front. It does not close your other windows.
Manage a window safely
- Use Minimise to hide a window while keeping it open on the taskbar.
- Use Maximise to fill the screen, then select Restore to return to the smaller size.
- Close only a practice window you no longer need. Respond to any save prompt before the window closes.
Notice: Closing an application window is not the same as deleting the file. The file remains in its saved location.
Pause and check
- I can place two windows side by side
- I can switch windows without closing them
- I understand the difference between minimise, maximise and close
Activity 6: Return to recent work
Outcome: Practise more than one safe route back, then choose the route you prefer
Try recent routes
- Open Start and review Recommended or the recent area, if it is available.
- Right-click a Word, Excel or PowerPoint taskbar icon and look for recent files.
- Open a Microsoft 365 application and review its Home or Recent view.
- Open OneDrive and look for areas such as Recent, Shared or For you, depending on what your organisation displays.
Choose your way back
- Select one safe practice file from a recent list and open it.
- Close the file, then repeat the same route to open it again.
- Record the route you want to use next time.
My reliable route back to recent work is:
Pause and check
- I can use at least one recent-work list
- I can reopen a file without searching through every folder
- I know that I only need one route I trust, even if several routes are available
Quick reference: keyboard shortcuts
| Shortcut | What it does |
|---|---|
| Windows key | opens Start and lets you begin a search |
| Windows key + E | opens File Explorer |
| Alt + Tab | moves between open windows |
| Windows key + Tab | opens Task View |
| Windows key + left or right arrow | snaps the active window to half the screen |
| Windows key + D | shows the desktop |
Put it into practice: a clear route through your day
- start from the desktop, Start menu and taskbar as your fixed landmarks
- use Start, the taskbar or Search to open what you need
- use the Microsoft 365 app launcher when you are already in a Microsoft 365 page
- check whether you are in a browser tab or desktop window if a command looks different
- snap or switch windows when work needs information from two places
- return through a recent list instead of rebuilding your route each time
Your three takeaways
My most useful learning:
What I will implement:
What I will explore further:
If you need help
- describe what you were trying to do and which route you used
- say whether you were working in a browser tab or a desktop application
- note the exact wording of any message shown on screen
- ask your trainer, local support team or organisation contact about missing applications, licences or organisation-specific settings
Confidence grows through repeatable routes, not through remembering everything at once.